
Shooting with dust and debris on your GH4, A7s or Canon 5D Mark III camera sensor can be quite annoying and frustrating experience, especially when you are working in bright environments. Dust shows up as soft dark spots in the image, which often can ruin your shooting experience, and distract your attention while operating your camera.
Fortunately, there is a simple trick that can quickly resolve this problem avoiding further complications and inconvenience of sending your camera for repair service. In the following video the camera technology specialist Juliet McNally from Ablecine will show us a simple way to clean any camera sensor of dust, debris and smudges.
To start off, set you camera at a low frame rate such as 24 or 25 frames per second, and make sure that you have enough light when you stop down the iris so that you still will be able to see your image. When the iris is closed down between f/11 to f/22, for example, the light entering the lens is narrowed, making the debris much more visible and easier to locate on the sensor’s surface.
The second step is to use a flat light source with an evenly lit surface like the one shown in the above video. You should place the light in front of your lens, and if there are any dust and debris, you should immediately spot it on the LCD screen of your camera. Use a flashlight to locate the dust on your sensor.
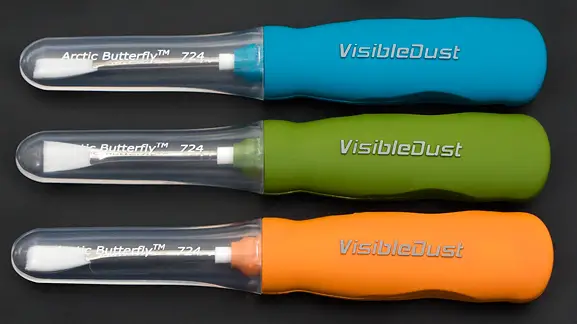
You are also going to need a sensor cleaning solution such as the Arctic Butterly Sensor Brush. The latest models are equipped with bright LEDs that illuminates the sensor while in operation, thus making dust locating an easier task for the sensor cleaning operator. All models of Arctic Butterfly can be safely used on Indium Tin Oxide coated sensors and DSLR’s with built-in sensor cleaning systems.
Optionally, you can use some VSwabs that are specially designed to clean camera sensors without causing further abrasions on their surface. It’s mandatory to use these swabs in conjunction with a particular liquid cleaner. Just put a couple of drops on the swab and swipe across the sensor surface once or twice.
This cleaner lifts dust and dirt particles off the sensor to prevent scratching during the cleaning process. The recent innovations in cleaning solutions now have dust repelling and anti-fogging properties to help keep your sensor clean for a longer period.
You should take into consideration that if your camera has some OLPF filter in front of the sensor then likely enough the debris is located on the OLPF surface, and you will be able to clean it following the above steps.
If after the procedure the dust is still visible, then probably the debris is located between the OLPF and the sensor itself. If so, the best option you have is to send your camera to the nearest service department for your brand camera or your local camera repair shop.
[source Abelcine Blog, via Cinescopophilia]
Disclaimer: As an Amazon Associate partner and participant in B&H and Adorama Affiliate programmes, we earn a small comission from each purchase made through the affiliate links listed above at no additional cost to you.
Claim your copy of DAVINCI RESOLVE - SIMPLIFIED COURSE with 50% off! Get Instant Access!


The dust diagnostic advice was good, thank you. But I am surprised that you removed the lens and stood it on the worktop rear element upwards with no cap, then – after cleaning the sensor – replaced the lens on the camera without checking it for dust. Also that you did not use a filtered blower (i.e. a Rocket) before deciding on direct contact with the sensor brush, which (incidentally) you brushed around the sensor as well as the surface of sensor itself (on some cameras there may be other potential contaminants there, including tiny amounts of greases/lubricants).
Finally the sensor swab was taken picked up off camera without any packaging so it could possibly have picked up dirt from where it lay. A minuscule piece of grit on a swab can scratch a sensor.
Finally the swab you used did not seem to be the correct size for the sensor.
Am I wrong?