
White balance is more important than it might seem, especially coming from a photo background. With raw photographs, you can always adjust the white balance in post without any negative side effects, and unless you are working with fully compatible raw video formats you will not enjoy the same benefits in filmmaking.
Nailing the white balance during recording can help save time at least and ensure you don’t get unnatural-looking skin tones and colors at best.
Harv Video/Audio Stuff believes getting this right is arguably more important on Sony Alpha cameras, such as the a7S III, with their more delicate color science. Plus, anything that happens during a clip can cause unwanted changes, so relying on auto is far from a perfect solution too.
Custom white balances are useful for more than just being more accurate. In Sony cameras, you can actually correct for tint, such as green/magenta shifts that aren’t uncommon.
The best way to go is with a gray card – a real one that is calibrated and measured. These provide a perfectly neutral tone perfectly tuned for cameras. However, a simple white source can do the trick in a pinch.
How do you do this with Sony cameras?
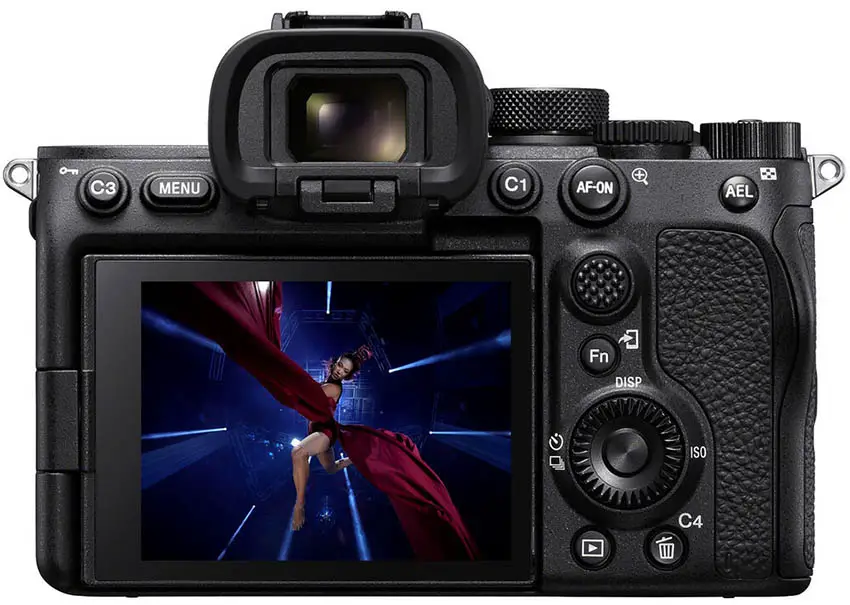
Image Credit: Sony
Head to the white balance menu/selection. This can be a shortcut, found via the Fn menu, or just in the regular menu. Scroll down to Custom 1. Click over and hit set. At this point, you should see a square on the screen.
Next, you should line up your gray card or the other reference source to completely fill the box. The card doesn’t need to be in focus, you just need to make sure it has smooth lighting that matches the scene and fills the box. Once here, hit the center button to capture.
In Harv’s quick test you’ll see how the gray card does a noticeably better job, especially with skin tones, compared to a white sheet of paper.
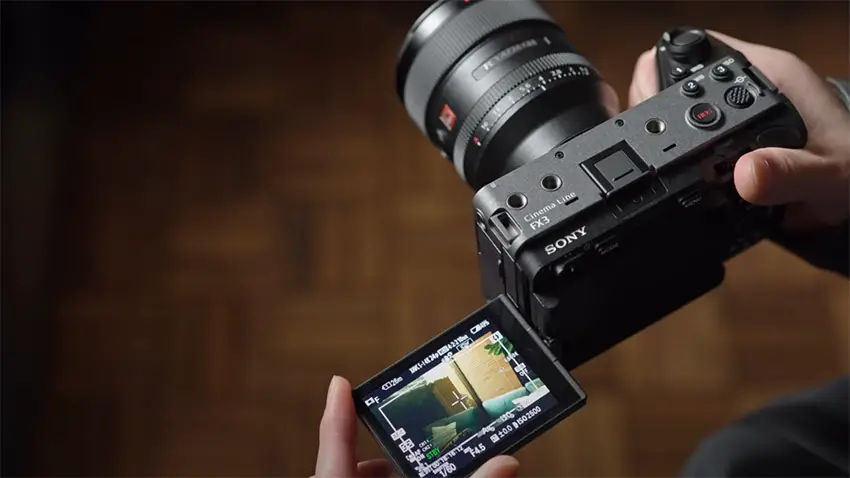
Image Credit: Sony
You actually have access to three custom white balance settings with Sony cameras. This means you can configure multiple quick custom points for different scenarios. If you have multiple shooting locations in your home or studio with different lights this would be a good example of why you may want to do that and have them saved.
These won’t save you from random or new lighting and having to recalculate a custom point. You don’t have to erase all the old measurements though if you have a custom spot to spare.
This doesn’t mean you can’t ever use auto white balance, just that you need to be careful. In some cases, such as documentaries where you don’t have control over the scenes and might move between locations in a single shot you’ll want it to get close. Run-and-gun shooting can still rely on auto and be just fine.
Takeaways:
- Avoid auto white balance when possible.
- Use auto for run-and-gun shooting if necessary.
- Use gray card for optimal colors and skin tones.
- Any white source can work in a tight spot.
- Save custom presets for common setups.
Do you have any of your own white balance tips?
[source: Harv Video/Audio Stuff]
Order Links:
Disclaimer: As an Amazon Associate partner and participant in B&H and Adorama Affiliate programmes, we earn a small comission from each purchase made through the affiliate links listed above at no additional cost to you.
Claim your copy of DAVINCI RESOLVE - SIMPLIFIED COURSE with 50% off! Get Instant Access!


