
Among the things filmmakers never have control over is the weather. It’s unfortunate because sometimes you only have one or two days to nail some exterior scenes and it can be make or break solely on what storms or clouds or lighting you can get.
In some cases everything is nice and sunny, but a perfect blue sky doesn’t add too much drama or detail to the shot. Nowadays you can just try to replace it using DaVinci Resolve.
In a relatively quick tutorial from professional colorist Darren Mostyn, you’ll find out step-by-step how to perform a sky replacement in Resolve 17 using only the Color page.
Starting with your clip and a basic grade what you’ll want to do is add another node and then a layer node along with it. Make sure you have the media that will serve as your replacement sky ready to go.
To do this you’ll have to key out the sky. Hopefully, it’s a nice even blue sky that is easy to pull a key from. That’s what it is in Darren’s test clip. Using the eyedropper he samples a good portion of the sky and it’s pulling quite well.
Making some tweaks he adds some width to the hue to get most of the sky. Minor changes to saturation and luminance complete the effect. Adding a little bit of denoise to the matte finesse helps.
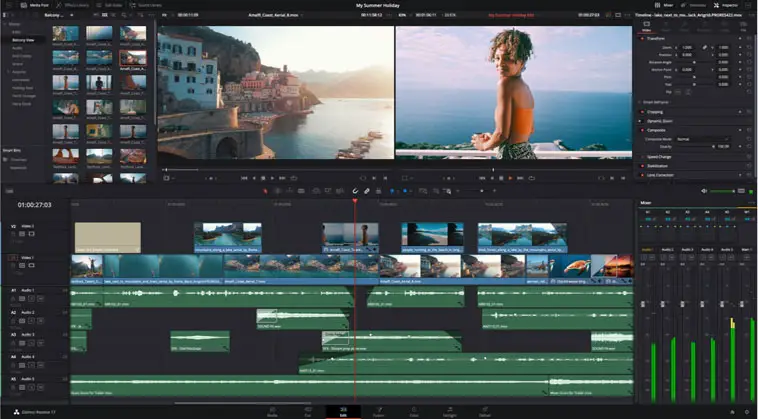
Image Credit: Blackmagic Design
Now, you are going to bring in the new sky. He’s using a simple JPEG image. Just dragging it into the node area will have it automatically set up as an external matte. What you’ll get is four blue squares for alpha channel output and a green square that is the standard RGB out.
To get the matte to function properly you’ll want to find the Match Move effect and add it to the keyed node. Then turn on “Add OFX Input” on the node by right-clicking. Turn off the “Use OFX Alpha” setting. Now you can drag the RGB out (green square) to the input of the keyed node.
Now you can use the Match Move effect to reposition the sky in the frame. As the original doesn’t match up with the full width of the video he is using the Positioning settings to stretch/expand the image to match up best with the shot.
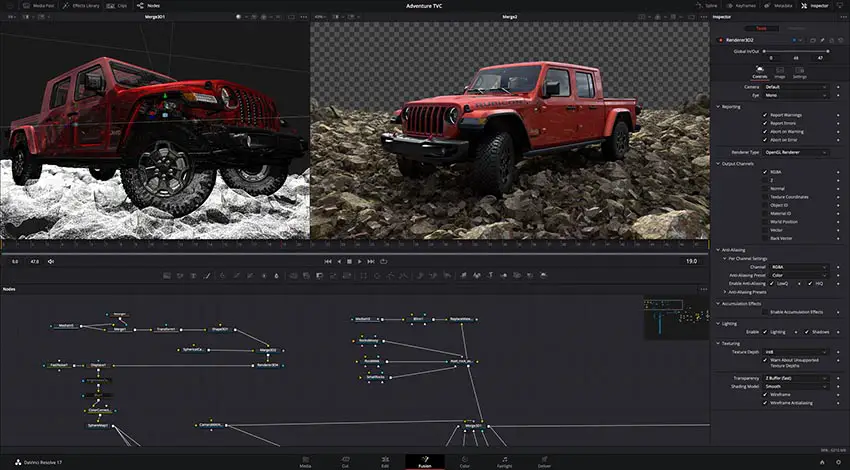
Image Credit: Blackmagic Design
Once the positioning is good, you can use the same keyed node to do your color grading for the sky, which you’ll likely want to do to smooth out the effect. One trick is to head to the Node Key and then dialing back the gain to bring back some of the original sky. This can really sell the effect.
For static shots this is all you need to do to get a convincing effect.
Working with movement will want to add some tracking and he uses a slow panned shot for this tutorial. Using the same exact setup, all you have to do is head to the Match Move tool and hit Tracking.
Selecting the OpenFX Overlay tool you can grab some tracking points. Pick out a couple of easy-to-track areas and let it track. Hopefully, it does a good job. Change back to Compositing and you can check it out.
Now you are set to do it yourself. One thing to keep in mind is that it’s sometimes helpful when out shooting to grab video of just the sky if it looks nice as you might be able to use it for these types of effects later on.
[source: Darren Mostyn]
Disclaimer: As an Amazon Associate partner and participant in B&H and Adorama Affiliate programmes, we earn a small comission from each purchase made through the affiliate links listed above at no additional cost to you.
Claim your copy of DAVINCI RESOLVE - SIMPLIFIED COURSE with 50% off! Get Instant Access!

