
Tracking in DaVinci Resolve is near magic. Most of the time I just hit track and it runs through the entire clip without a single issue, perfectly tracking whatever subject I happened to select.
The other times can be a bit flawed. Complex objects or even scenes where the subject moves in and out of the frame or is covered up can confuse the tracking system. These cases need a bit of the editor’s touch to bring them back in line.
To fix bad tracking you just need to learn a few more things about the tracker tool. From professional colorist and editor Darren Mostyn is a great tutorial on how to fix your tracking and make sure you are getting the ideal grade.
Making sure your workspace is in the best place for reviewing your tracking is where you should start. The easiest way is to head to the Color page and hit the Enhanced Viewer mode (shortcut: Option + F). This gives you a larger view of your footage and you can bring back the tools you need to see.
You should now have a nice, clean view of the clip in question.
Mostyn’s clip is making a couple of adjustments. He wants to change the door, he wants to tweak the taxi, and adjust a woman’s coat. Being a tracking shot you have everything moving. Plus, the people in the shot are walking throughout and cross over many of these subjects.
Starting with the coat he uses the qualifier to select the red since it’s a very clear color. Unfortunately, that red is also bringing in some of the taxi and another building sign. When he starts adjusting the color and then cleaning up the qualifier you can see it. Fixing this will require a power window and tracking.
Image Credit: Blackmagic Design
Drawing the window and then heading to the tracker you’ll want to take the shot and track forwards to start. In this shot, you’ll also need to track backward since she doesn’t start in the shot. The first problem is that when she walks behind a lamp post the tracker loses her.
Heading to the last frame where she was being tracked well you should head over to Frame mode from Clip. Making a very small tweak will add a keyframe here.
Play forward a bit while staying in frame mode and then simply manually move the window over the subject when they are visible again. You should have another keyframe automatically. Now, Resolve will make the proper move.
For the rest of the shot, all you have to do is return to the starting point and track backward, making any frame adjustments you may need.
Up next is the door adjustment. It’s an orange door that stands out quite a bit. Again, another qualifier will help here along with a window. Removing the softness and supposedly help with tracking and you can always bring it back later.
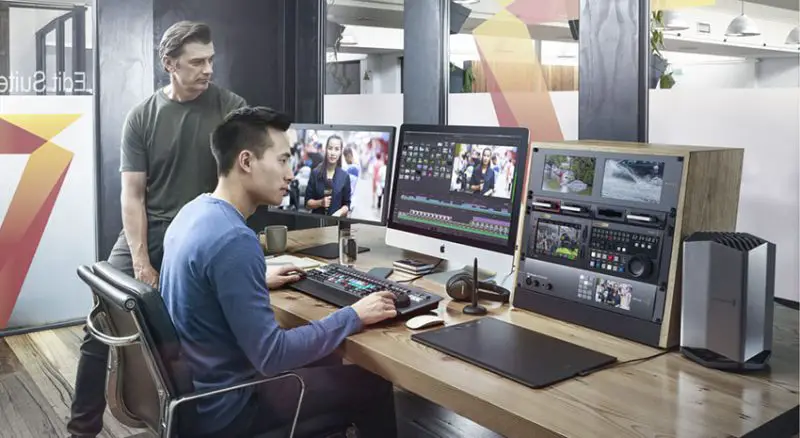
Image Credit: Blackmagic Design
The issue here is that people cross over and it loses the track. Keyframes will work again, but there is another trick you can learn. In this case you stay in clip mode and move the window to track something that moves in the same way.
For example, the sign above the door moves similarly. Then, once that tracking is done you just reposition it to cover the door again.
It’s not quite perfect. To fix this, you can do the same thing, but turn off some of the tracking parameters. Mostyn removes Zoom, Rotate, and Perspective 3D, keeping just Pan and Tilt. This should be plenty of data for these types of objects. And it works!
Last is the taxi, which has a color that is similar to other objects in the scene. He makes a window to start and just hits track forward. It’s okay but gets bumped a bit in the middle when the couple walks into the shot.
In cases where some small thing goes wrong, a spike on the tracker panel, you can select and delete that section. Automatic keyframes are generated on either end and that can fix the issue. If that isn’t it, you’ll want to go into Interactive Mode at the bottom left of the Tracker panel.
Starting again from the beginning you can see all the tracking points. If certain points are the only ones causing problems you can select and delete them to rely on tracking from another part of the subject.
It works very well in this test. Now you can head to Frame mode for additional tweaking. Wherever you see issues you can adjust the window at any frame that has an issue.
Looks good. Apply a qualifier how you want – red in this example – and check your grade.
That’s three extra tools to fine-tune your tracking:
- Frame Mode and Keyframes
- Tracking Another Subject and Using Tracking Data
- Interactive Mode for Changing Points
Do you have any of your own suggestions for tracking in DaVinci Resolve?
[source: Darren Mostyn]
Disclaimer: As an Amazon Associate partner and participant in B&H and Adorama Affiliate programmes, we earn a small comission from each purchase made through the affiliate links listed above at no additional cost to you.
Claim your copy of DAVINCI RESOLVE - SIMPLIFIED COURSE with 50% off! Get Instant Access!


