
If you want to do color grading I think everyone will say you should start using DaVinci Resolve. It is effectively the standard for color grading and now even has a full-fledged NLE.
Beyond that, with every iteration, they expand upon the toolset dramatically by adding tons of new and useful tools to help filmmakers better tackle their edits.
Being so comprehensive provides a great deal of flexibility on workflow. However, it can be confusing if you start digging into some options.
That is why MiesnerMedia put together a video to dissect the differences between all the different color wheel options in Resolve 17 – primary, log, and HDR. They act differently and you should know how they work to choose the best tool for your edit.
Primaries
Broken up into Lift, Gamma, Gain, and Offset wheels, the Primaries tool is your most basic option and likely the one most people start out with.
It is somewhat straightforward as Lift refers to the black point, Gain refers to the white point, Gamma affects the midtones at a set point, and Offset affects everything at once.
The color and exposure control all function in the same way. It’s a sensible way to handle it.
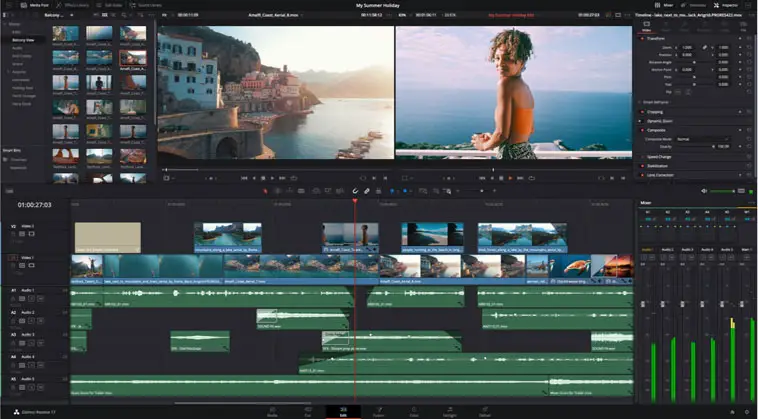
Image Credit: Blackmagic Design
You can change the Primaries wheels to a “Log” option. It looks similar, but now you have Shadow, Midtone, Highlights, and Offset. While the standard wheels affected the actual black and white points, the Log tools actual pivot from a point a little bit above or below the black or white points, respectively. It works more broadly in their area than the original wheels.
The key here is that you can actually control the point where the correction starts happening by adjusting the low range and high range.
A lot more control over what you are affecting. Offset still works the same way, but it works before the controls happen, so your ranges will actually stay the same relative to the changes.
HDR
High Dynamic Range wheels are a bit like the Log wheels, but with a lot more control and options. It starts out with Dark, Shadow, Light, Global, but you also have Black, Highlight, and Specular available.
You can also set the specific zones for each wheel and make adjustments that way for more precise control.
You can control the position and softness of each point. Plus, each wheel has its own saturation and exposure controls. Then you can use your wheels to make color adjustments with added precision.
This is important because it allows you to pick and choose what areas of the scene are affected by choosing a range based on the exposure of the image. It’s not a uniform control that affects all images equally.
Especially if you want to start creating HDR images that you need to be careful where your exposures sit and where your highlights and shadows sit. Rename the wheels to make it even easier to understand.
The main downside? HDR wheels take a lot more time. A hybrid approach may be the best options. Get close with Primaries, move to Log when you need a little more control, and then head over to HDR for the most complex tasks.
This is a basic and very important tool for color grading and it is very good to learn about how it works.
Do you use the Log or HDR wheels in your workflow?
[source: MiesnerMedia]
Disclaimer: As an Amazon Associate partner and participant in B&H and Adorama Affiliate programmes, we earn a small comission from each purchase made through the affiliate links listed above at no additional cost to you.
Claim your copy of DAVINCI RESOLVE - SIMPLIFIED COURSE with 50% off! Get Instant Access!


