
High-speed imaging is a ton of fun and the Chronos 2.1-HD is a cool little camera that can reach up to 1,000 fps at Full HD resolution. That’s amazing considering even the best cinema cameras can barely reach a quarter of that. And once you start lowering the resolution you can get it going even faster – over 10,000 if you can deal with a limited vertical resolution.
HarrisonTheEditor has the Chronos 2.1-HD and walks through how to best get set it for recording. There’s a fair amount to consider as you plan to get started. Keep in mind, this does also apply to the Chronos 1.4 if you have that already.
As with all high-speed recording you’ll want to make sure you have a lot of light. A LOT of light. When you get to high frame rates you have to consider that that is going to speed up your shutter speed. Faster shutter speeds mean less light getting in and therefore you’ll need to compensate with more light. And, you’ll need something flicker-free for video.
While just hitting the scene with more light is one option, you can also go with faster lenses to help make up some of the difference. Be careful with your lights as control of ultra-bright lights can be difficult as modifiers will eat up a fair bit of it.
Getting set you’ll need to choose your resolution and frame rates. Full HD at 1,000 fps is going to be a great high-quality setting. For 5GB of recording time in the camera you will be able to get about 5.5 seconds of recording in Normal mode.
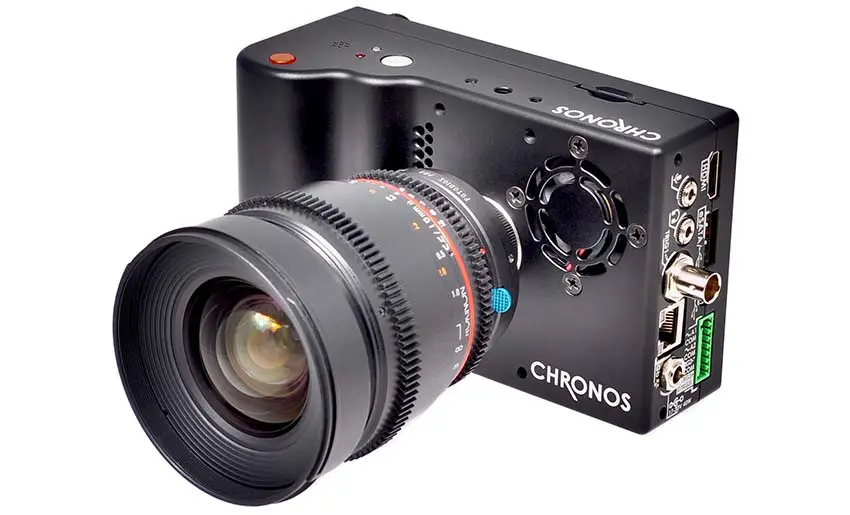
Image Credit: Krontech
For selecting a shutter speed you can go with the standard 180 degrees. However, you can slow it down to go with very close to open gate, or 360 degrees. For the most standard motion blur the 180-degree rule is golden, but if you need more or less light an adjustment to the shutter speed is possible, just keep in mind you’ll get more or less blur.
This camera does benefit greatly from calibration to ensure you aren’t getting weird stuck pixels or errant lines in your footage. You should also white balance your footage using a gray card.
When you are just about ready to go you can actually go ahead and hit record. The camera will continuously record and save the most recent 5.5 second block. Then you can perform your action and hit the record button again to stop the recording and save the last few seconds.
You can view your footage and skim through or playback at a normal frame rate. This is a nice preview so you can review without having to get the footage over to a computer. You can also mark in and out points to save the portions that you want and cut anything you don’t need.
Once you make your “edits” you can save the media. It’ll save from the cameras memory to more standard options like and SD card or SSD. An SSD is recommended as it will transfer a lot faster than an SD card. You can select a few different options here as well, including bitrate, format, frame rate, etc.
Interestingly, you can actually save in raw formats if you want the absolute best quality you can get. There are also some standard options like H.264.
It feels like a lot but the process looks straightforward. After a few tries it feels like it would become second nature to run through all these settings.
It looks like a fun little camera. Is this something you would consider picking up?
[source: HarrisonTheEditor]
Order Links:
- Chronos 2.1-HD High Speed Camera (Kron Technologies)
Disclaimer: As an Amazon Associate partner and participant in B&H and Adorama Affiliate programmes, we earn a small comission from each purchase made through the affiliate links listed above at no additional cost to you.
Claim your copy of DAVINCI RESOLVE - SIMPLIFIED COURSE with 50% off! Get Instant Access!

