
Quite literally adding one additional key to your editing repertoire can speed up your editing in DaVinci Resolve. It’s the Alt (Windows) or Option (Mac) key. It all has to do with shortcuts.
It can change the behavior of certain tools to accomplish something more specific. Knowing how this works will make editing a breeze and it can affect so many different controls in Resolve.
If you want a breakdown of how useful the Alt and Option keys are for quickening your editing workflow you should watch this video from MrAlexTech. He goes very in-depth with plenty of examples.
1. Adding Only Video
Sometimes when you are adding to the timeline, such as with B-roll, you don’t need the audio. If you hold the Alt key and drag a clip to your timeline it’ll lay down just the video track. For just audio, you can use the Shift key.
2. Selecting Only Video
When you drop a clip with audio onto your timeline both the video and audio are linked. If you want to change just the video you need to un-link it to select it. For example, with the Alt key you can select a specific track, like audio, and select and delete it. You can also just move it to other tracks using the up and down arrow keys without unlinking the tracks.
3. Duplicate
Select your clip with the mouse and hold down the click, press and hold Alt key and drag the clip to another track and you should see it duplicate. You can do this with anything on the timeline, including transitions.
4. Add Keyframes
If you want to more quickly establish keyframes you can use the Alt key. In the example he pulls up the retime curve. If you hold Alt and click on the line you can automatically place a keyframe at that location. Add a few and then drag them how you want.
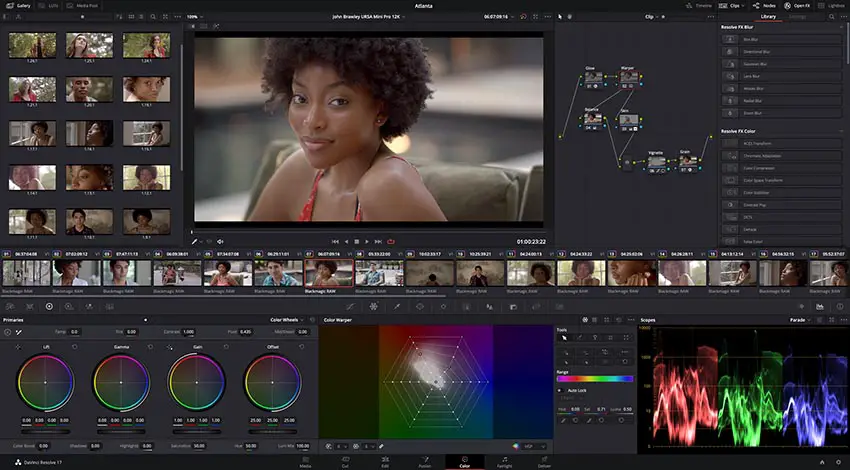
Image Credit: Blackmagic Design
5. Copy Keyframes
The duplicate trick also works with keyframes. In the curve, if you select your keyframes, then hold Alt and drag you can duplicate the keyframes.
6. Audio Keyframes
You can use the Alt key in the same way with audio and work directly on the timeline to quickly adjust your audio volume. It’s easy and doesn’t require additional menus.
7. Sub Frame Scrubbing
Sometimes your video and scratch track don’t line up with your master audio track. Even at the frame level you might not be getting your clips to line up where you need. If you hold Alt and then use the left and right arrow keys you can do sub frame scrubbing to make precise adjustments that are less than a frame.
8. Play Over
This is a nice shortcut if you want to rewatch a particular part of your timeline on repeat for closer examination. After you hit play you can hit Alt + L and you will be instantly transported back to where you originally starting playing from. Repeat as much as you want.
Image Credit: Blackmagic Design
9. Copy Attributes
After you do a lot of work to one clip you likely want to share that work on a similar clip. To copy just the attributes you can do a normal Ctrl + C copy of the original clip. Then head over to the new clip and hit Alt + V to do a special paste. It brings up the Paste Attributes box where you can select all the different attributes you do and do not want to copy over.
10. Remove Attributes
Not actually an Alt key shortcut but related. If you want to undo parts of the attribute changes you can head to Edit tab and find the Remove Attributes box. This will let you select what you want to remove from a similar list.
11. Standard Transitions
In the Effects Library you can set your most-used transition as a standard transition in the right-click menu. If there is one that you use the most you should do this and then when you have a place you want to use it you can just hit Alt + T to add it.
12. Join Clips
Sometimes you might want to join together clips that were incorrectly cut. Using Alt + \ you can join together clips that were simply cut earlier on regardless of how long ago it was done. However, you can’t join together clips that don’t share an edit point, so if you cut out a section in the middle you can’t just join together the two ends.
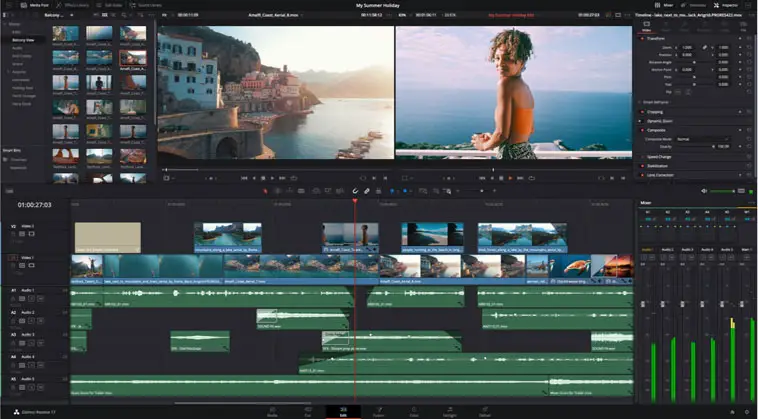
Image Credit: Blackmagic Design
13. Ins and Outs
Using I and O keys you can quickly mark in and out points. If you want to remove these points you can just use Alt + I and Alt + O. If you want to get rid of all of them you can use Alt + X. If you want to play back just within the in and out points you have set you can hitting Alt + / to play through these points.
14. Export Selections
If you have ins and outs that will follow over to the Export screen. So if you just want to render a specific part they are super useful. Or, if you had ins and outs and want to export the entire timeline you can hit Alt + X on the deliver tab and clear them all.
15. Selecting After
Sometimes you are far along and want to make an edit that requires moving everything past a certain point. The Y key will select everything on the timeline past the playhead on your primary track. You can change the primary track by hitting Alt + the number (1, 2, 3…). If you want to select all the tracks if you hold Alt and hit Y you will select everything in every track past the playhead.
16. Locking Tracks
If you want to lock down tracks for editing you can just add the Shift key. So Alt + Shift + the number of the track will lock it so you won’t accidentally edit it.
[source: MrAlexTech]
Disclaimer: As an Amazon Associate partner and participant in B&H and Adorama Affiliate programmes, we earn a small comission from each purchase made through the affiliate links listed above at no additional cost to you.
Claim your copy of DAVINCI RESOLVE - SIMPLIFIED COURSE with 50% off! Get Instant Access!


