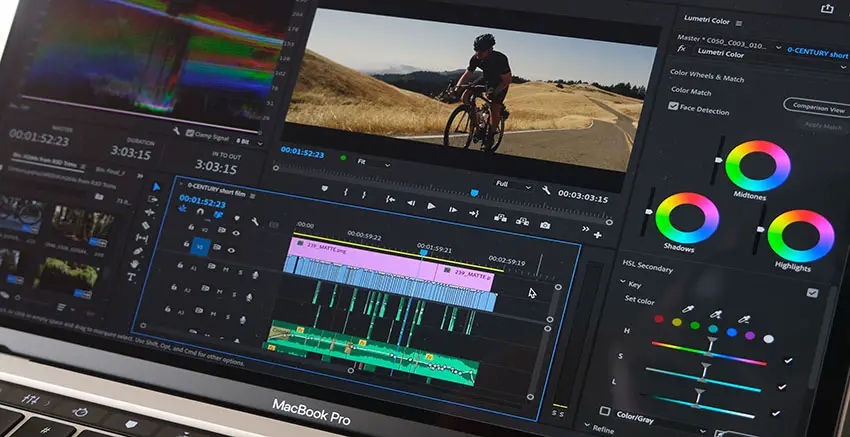
When you are shooting in some places with artificial lighting – say fluorescents or cheaper LEDs – you may see some quite annoying rolling bands in your footage. In some cases, a slight tweak to your frame rate or shutter speed will help get rid of it.
In other situations, you might just have to live with it. You aren’t completely lost if this is what you end up with, there are some ways to fix it in post.
In particular, Matt WhoisMatt Johnson has a tutorial for removing slow rolling flicker bands using Adobe Premiere Pro CC. It’s a bit more specific and maybe won’t do the job for faster moving flicker, but it is still immensely helpful to know.
With your footage open and ready to go in Premiere Pro the first step will be to apply your color grade in the color tab. Matt starts by applying a LUT and then making a few tweaks to get the footage where he wants it. You’ll want the base grade done before you take the next steps.
To start the fix, you’ll want to add another Lumetri color effect. This will give you a new set of tools and options. You’ll then want to select the band in your clip. Matt uses the pen tool, or free draw bezier, to make a box around the band.
Make sure you do this at the start of your clip. Next, head to the mask feature and make adjustments so that the feather is covering where the band is fading. This will make a cleaner transition at the end of the day.
This should all still be done in the second Lumetri Color effect. Now, since you have the band masked out, you can make some tweaks using the color tools to minimize the impact of the band. You might want to increase exposure, reduce contrast, and adjust color as needed until it looks like it might just match the surrounding footage.

Image Credit: Adobe
Now you will need to create a move for the effect to follow the band as it moves through your clip. Animating the mask if fairly simple. You will want to select the mask and click the stopwatch for Mask Path. Make sure you are at the first frame again when you do then. Then head to the last visible frame in your clip.
On this frame you can move the mask to cover the new band location and add a keyframe. This will have the mask simply move along with the flicker band. It looks much better with not too much work. You can repeat this to fine tune particular aspects of the clip as well since some areas might be more or less impacted by the flicker.
Matt does have a preset for removing bands if you want a jumpstart on the process. Though he does point out it is best for slower bands and not fast bands. Those he might cover in the future.
What is your take on removing bands?
[source: Matt WhoisMatt Johnson]
Disclaimer: As an Amazon Associate partner and participant in B&H and Adorama Affiliate programmes, we earn a small comission from each purchase made through the affiliate links listed above at no additional cost to you.
Claim your copy of DAVINCI RESOLVE - SIMPLIFIED COURSE with 50% off! Get Instant Access!


