
Once you start going beyond the basics in Premiere Pro you’ll find that various effects or tools become infinitely more useful if you localize them to a specific area of the frame. This is where masks come in handy.
Masks are an extremely effective and easy-to-understand method for selecting an area of your scene that you want an effect to work or can be used on its own to cut out areas to create certain effects.
Interesting in upping your mask game? The guys at Premiere Basics put together a video on five tricks on using masks in Premiere Pro to help out.
Trick #1: Superhero Landing
Shooting from a tripod, you can record yourself jumping in the air and then taking a superhero pose. Run out of the frame and keep the camera rolling for a bit for a clean shot of the background.
From here you should take the blank clip and place it underneath the shot of you jumping in the air. Now, find the peak of the jump and add a cut. Highlight the section of the clip on the left, right-click and select Frame Hold Options and click Hold On.
Now, you should outline yourself with a mask. Keep it close but you can leave some room. At this point you should Nest the clip. Next is adding a Transform effect to the clip.
Make a keyframe and using the transform tool to move yourself or talent all the way up and out of the frame as if they are falling from the sky. Change the shutter angle to 180 so you can add some blur.
With everything in place you can then use this to make it look like you are doing a superhero landing. Imagine other ways you can make use of this tool.
Trick #2: Color Grading
This focuses on making a subject pop. Start again with duplication and move the new clip up a track. On the top clip, you can draw a mask around your subject’s face.
Once done you can then use the mask path tool to have it start tracking. Before that you’ll wan to check the options menu to make sure preview is enabled. Once that is done you should feather the mask to make any grading look more natural.
From here you can just use Lumetri color to tune up your subject to make them look better or simply make them pop off the background.
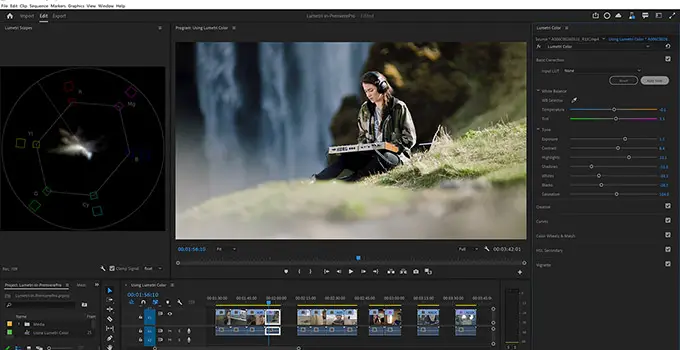
Image Credit: Adobe
Trick #3: Transition
If you have ever wanted to create the transition where the scene shifts as something moves across the frame you can do that with the mask tools. In this example, you have a person walking across the frame and then want the transition to follow this person’s movements.
In the middle of the clip create a mask that traces the back of the moving subject. Then head back to when they are off frame and move the mask up. Now you can use the tracking along with some manual corrections to have this edge of the mask follow the subject all the way across the scene. A little feathering might help.
Trick #4: Clone Effect
Using a tripod again you can film a couple people doing something, such as passing a ball between one another. Now you can have the people swap spots and do the same thing again.
In Premiere, you can then create a mask in the middle to overlay the different clips to make it look like someone is throwing the ball to themselves. You might need to line up any moving objects, but with a static camera and enough takes it shouldn’t be too hard.
Trick #5: Levitating
Another tripod shot. If you want to have something fly you can do it by using a fishing line and holding the object up in the air. Shoot a blank of just the background and then you can simply mask out the fishing line and pole to make it look like the object is floating in the air unassisted.
Any other tricks you can think of?
[source: Premiere Basics]
Disclaimer: As an Amazon Associate partner and participant in B&H and Adorama Affiliate programmes, we earn a small comission from each purchase made through the affiliate links listed above at no additional cost to you.
Claim your copy of DAVINCI RESOLVE - SIMPLIFIED COURSE with 50% off! Get Instant Access!


