
Sticking with the default picture profiles on your Sony a7 IV, FX3, or a7S III is a fine plan. You can consistently get a decent look. Taking some time to fine tune your settings and then getting properly set up with LUTs and careful color grading will help you nail things and get great skin tones.
Filmmaker Jacques Crafford walks through his favorite profiles settings and then what he does in post to get things looking just right. He even takes a nice detour into white balance and how it does and does not affect your image and how LUTs work.
Jacques has been experimenting with various profiles as well as without any profile. The best options are not so surprising:
- S-Log3
- S-Cinetone
- No Picture Profile
After the tests, S-Log3 is the winner of simply what looks best. It delivers overall, especially with far superior dynamic range than the other options. The second benefit is the sheer amount of flexibility you have in post. Plenty of aftermarket solutions are available for this standard profile.
To get it set up right you will head to PP8, which is S-Log3. Use S-Gamut3.cine and have Detail set to -7.
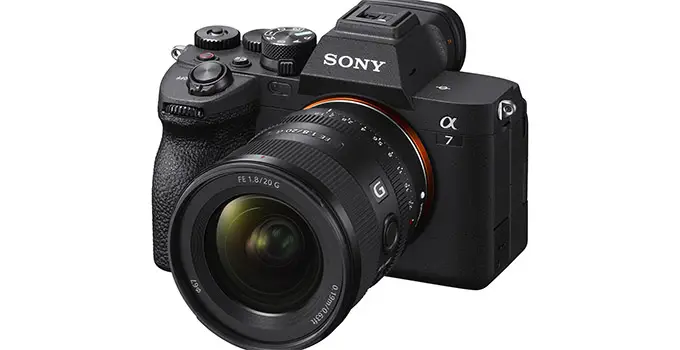
Image Credit: Sony
The more baked-in profiles are known for giving a faster turnaround time. With a proper workflow using LUTs and a color space transform you can get S-Log3 working very quickly. In Resolve with proper setups you can have it work instantly on import to get you 90% of the way there.
Picture Profiles are far from the only thing to use to tune your color. White balance is part of the equation. Sometimes people consider proper white balance as taking some of the look out of an image by making it too neutral.
This is really only the case if you are going for a specific look. You might also reconsider going neutral on white balance if the scene doesn’t call for it, like if it is a golden sunset that is supposed to be very warm. Colored lights is another situation where white balance doesn’t work.
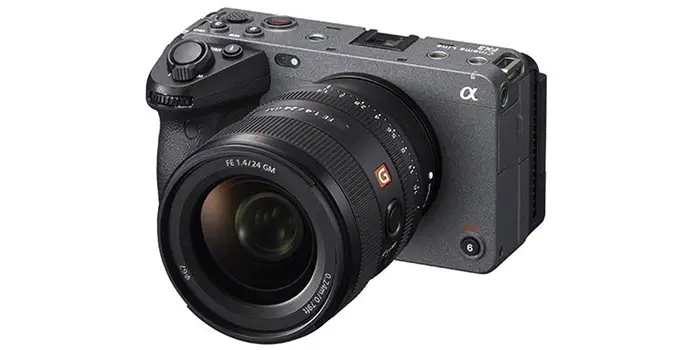
Image Credit: Sony
You’ll have to learn how to balance all these different aspects of color while keeping skin tones looking good.
Jacques is using DaVinci Resolve, though the method should work in any NLE with color grading controls. Working with S-Log3 footage the first thing he does is apply a neutral LUT to bring back the basic contrast and color. Since the footage is properly white balanced it all turned out neutral.
For skin tones you can verify things are neutral by heading to the vectorscope. Using a qualifier to select skin tones you can see the colors of just the skin. Then, heading to the vectorscope you can compare where these colors fall agains the flesh line. If you haven’t use this tool before now is the time to start using it.
To check out more of the scene you can use the waveforms. This should give you a good look at the highlights and shadows as well as how balanced the image is.
Looking at the waveforms you’ll have a balanced image when you see the colors stacked on one another. If one of the them is above or below the others it usually means it is having a greater impact on that part of the scene.
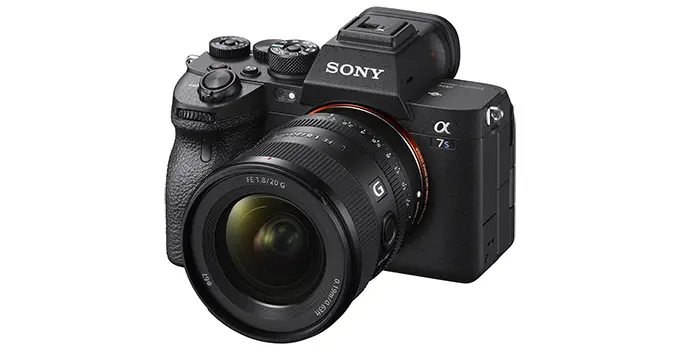
Image Credit: Sony
Using a grey card or a ColorChecker is a good way to check and make sure you have reference points of black, white, and grey to balance your image.
Now, if you have accurate skin tones at this point and want to apply a creative LUT you will notice that skin tones still look great even after the look is applied.
You’ll have to be careful with each shot as sometimes there can be some color shifts due to things in a scene. Reflections and bounce can add some tints naturally and if you use the scopes properly you can easily eliminate this as part of your initial edits.
You also don’t have to always go neutral. Just make sure your decision is deliberate and not an accidental color shift.
As you get more into grading you may want to isolate the skin tones and make adjustments to them alone. Doing something like boosting the luminosity of the midtones to give skin tones a bit of boost can be helpful to add a little pop.
To do this right you’ll want to use masks and qualifiers and potentially some trackers to get it right.
What did you think about these tips for nailing skin tones?
[source: Jacques Crafford]
Order Links:
- Sony a7S III Mirrorless Camera (B&H, Amazon)
- Sony a7 IV Mirrorless Camera (B&H, Amazon)
- Sony FX3 Cinema Camera (B&H, Amazon)
- Blackmagic Design DaVinci Resolve Studio (B&H, Amazon)
Disclaimer: As an Amazon Associate partner and participant in B&H and Adorama Affiliate programmes, we earn a small comission from each purchase made through the affiliate links listed above at no additional cost to you.
Claim your copy of DAVINCI RESOLVE - SIMPLIFIED COURSE with 50% off! Get Instant Access!


