
Slow motion is the fun stuff and just hugely practical when you want to start collecting more interesting B-roll. It’s just tough to get in high quality unless you fork out some cash for premium camera systems. Or is it?
There are some tricks that can be done with any camera – even if you max out at only 30p. Using clever camera work alongside a bit of post-production effects can sell a slow-mo look without a slow-mo camera.
For an example of how to pull this off with product work we can look at Paul E.T. who has a simple and quick tutorial for how he does it.
This method is designed for working with static objects as it will become harder if the item moves around on its own. So, pick a nice item that you want to have moving in slow motion.
Shooting
Now you’ll need to select a background. You can go with a straight black or a green screen for the best effect. If you are hoping to put your object on another backdrop then green screen is the way to go.
Set up your object on a stable object (like a tripod for the camera used in the demo) and that can rotate (like a tripod head). There are plenty of spinning devices you can use to pull this off if a tripod doesn’t work for your object.
Light it as you want. Green screens should have a very even light and if you have a black background make sure it is a deep black.
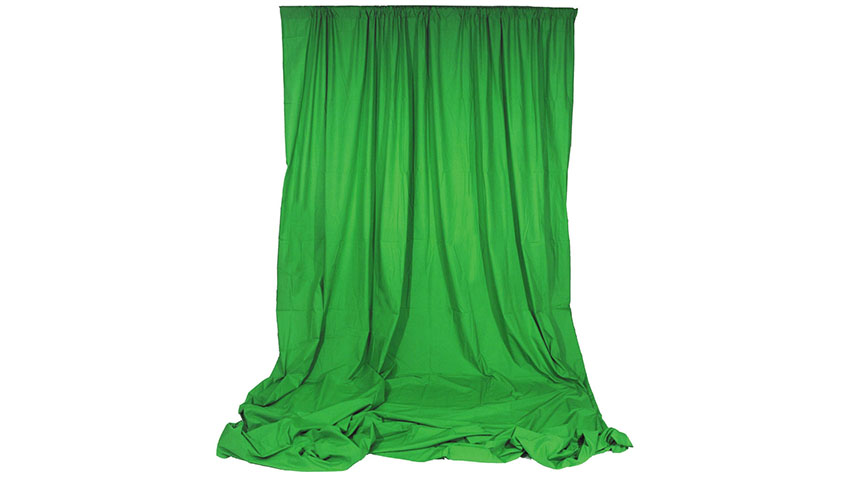
Image Credit: Impact
Frame it up carefully. Make sure you have a clear view of the bottom of your object because you will be removing the tripod or other support in your NLE and if it isn’t clear or it is a little blocked then you won’t be able to do this easily.
Set your frame rate to the highest you can, though we are assuming here that you are limited to 30 or maybe 60 fps. You can follow the 180-degree shutter rule for this effect.
Hit record!
Now for the simple but effective technique. With the camera rolling you’ll want to rotate it slowly, as if it was actually in slow motion. This is how you sell the effect.
Editing
Drop your footage into the timeline. If you can you should work in a 24p timeline and with your 30p or 60p footage slowed down to match. This should give you a little bit of help in getting the smooth slow-mo look.
You’ll now want to create a mask that isolates your object from the background and support. You might need some keyframes to get this right.

Image Credit: Adobe
After that perform the normal keying (in the case of a green screen) or a grade to get the background looking right.
Now you have an object that is floating in space.
Drop that on your background of choice. Next, you’ll want to apply some animation. In this test he makes it look as if the camera is tossed up into the air and falls back down.
To sell that he adds the up and down movement and then uses speed ramping to the movement to give it a similar feel to how it would look if it was actually tossed in the air.
It works and looks pretty good. Might be a nice trick to have in your back pocket for a future shoot.
What did you think of this effect?
[source: Paul E.T.]
Order Links:
Disclaimer: As an Amazon Associate partner and participant in B&H and Adorama Affiliate programmes, we earn a small comission from each purchase made through the affiliate links listed above at no additional cost to you.
Claim your copy of DAVINCI RESOLVE - SIMPLIFIED COURSE with 50% off! Get Instant Access!


