
Editing a video is usually the last step before it is delivered to be viewed. To improve the footage, the method normally entails manipulating or rearranging video clips.
Professional video editing isn’t easy to learn, but with practice and patience, you’ll be able to develop a strong blend of creativity and technical knowledge.
So, if you’re ready to take your video editing to the next level and start delivering professional-quality work, these tips will be quite helpful. Here’s a step-by-step tutorial to getting you started editing like a pro.
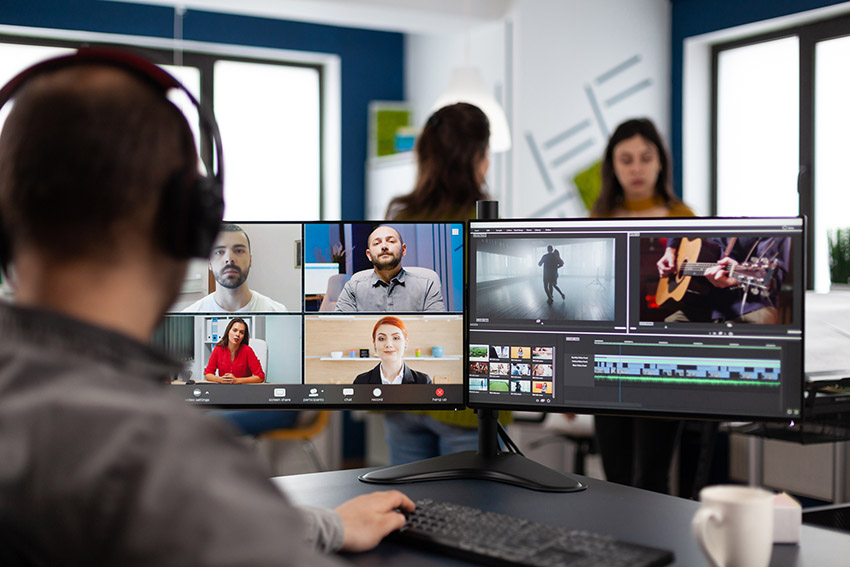
Image Credit: Video Caddy
1. Pick the right software
Professional video editing software has a huge influence in deciding a film’s potential, which is why picking the appropriate software is so important.
However, choosing the proper editing software is a personal choice, as most of them provide all you need to make conventional video edits. Still, you may prefer one over the others due to its features, usability, and user interface.
Popularity among professionals and nonprofessionals alike, ease of use, power, accessibility, affordability, and ability to keep up with newer content formats are all characteristics of good video editing software.
The following are the most extensively used video editing software apps:
- Adobe Premiere Pro
- CyberLink PowerDirector 365
- DaVinci Resolve
- Corel VideoStudio Ultimate
2. Use the right hardware
While a fast computer will not definitely make you a better video editor, it will allow you to spend more time on the story you’re trying to tell rather than on your computer rendering.
What you need to do is upgrade to a faster SSD drive and boost your system RAM to at least 8GB. This will allow you to access files and software more quickly, minimize loading and export times, and drastically reduce editing times.
You can also use cloud storage, although upload speed and storage space may be limited.
3. Color corrects the footage
Color is an important design element that you may use to draw attention to specific themes, elicit specific emotions, and establish the mood or ambiance of a scene. As a result, video editing tools now include many color-altering choices that were previously exclusively available with photographs.
Color correction is the process of adjusting various aspects of an image, including brightness, contrast, and saturation, to ensure that all of the clips have the same coloring.
Color correction also allows you to achieve a stunning final image by balancing the image for a specific look or expressing your artistic flair. It basically determines which areas of the frame the eyes are drawn to and what appears attractive to the eye.
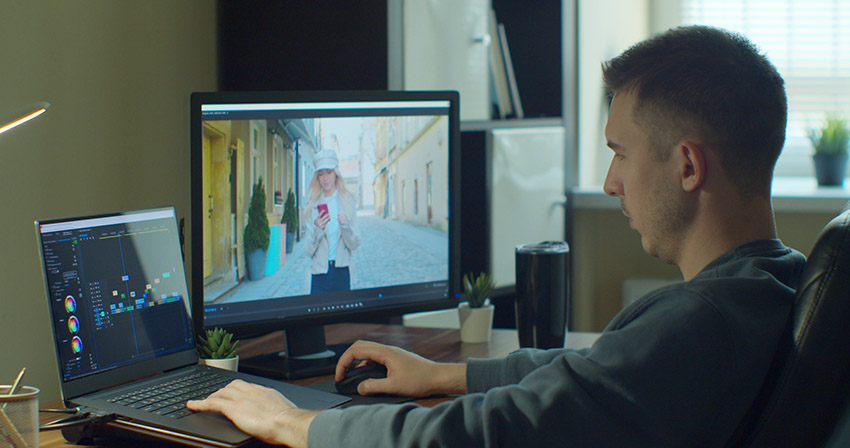
Image Credit: Video Caddy
4. Use consistent texts and titles
Aside from the title, opening/closing billboards (for broadcasting), and film credits, you may need to insert other text depending on the sort of film.
Consistent text, titles, and font kinds can elevate a film, whereas inconsistency might detract from the viewing experience.
Your titles are your first chance to catch your audience’s attention and set the tone for your video. Titles, meanwhile, are a wonderful indicator of what’s to follow and should not be distracting to the spectator.
Try to understand how the arrangement of text and titles affects the video; you can make a lot of bold decisions with your titles, but if you’re not sure, always play it safe and utilize the title reference toll.
5. Pick good music
It’s more vital than the camera you’re using to make sure your project has strong sound because it’s a powerful technique to move the video ahead and develop emotion around your message.
It is critical, however, that you do not use a piece of popular music for which you do not have the rights. This will almost certainly result in the music owner placing a copyright notice on your video, causing it to be blocked in numerous regions.
Finally, clear up undesired sounds like breaths or stutters, and utilize crossfades between sound clips to smooth up transitions between them to guarantee that music does not get lost.
6. Export for the web
After you’ve finished editing your video, you’ll need to prepare it for export. Most editors have a natural urge to use high video resolutions, but this is only beneficial if the film is shown in cinemas or on ultra HD displays.
However, with technological improvements, most videos are now viewed on phones, iPads, computers, or televisions, so knowing how to export for the web is essential.
As you understand which export options are ideal for you, the procedure of exporting becomes easier. However, if you’re just getting started, you can utilize the distributor’s recommended exporting option to ensure the highest possible quality.
[source: Video Caddy]
Disclaimer: As an Amazon Associate partner and participant in B&H and Adorama Affiliate programmes, we earn a small comission from each purchase made through the affiliate links listed above at no additional cost to you.

