
With the implementation of the S-Log2 profile in the A7s, Sony has finally fulfilled one of the highest demands of professional shooters and enthusiasts alike for enhanced control over the image in an affordable package. Usually, a flat, Log curve would be present in much higher level cameras like the F5/F55/and more recently the Sony FS7. Canon had a Log curve on their 1DC flagship 4K DSLR, but at a price of $10,000, it is out of reach for most of us.
And now that it is available at a lower price point, many people are faced with the difficulties associated with grading S-Log footage. Anyone who’s done it knows that the process could be quite overwhelming, especially for people who don’t have much experience with colour grading. It is not as simple as applying an S-curve to a flatter image, adding some contrast and making your image pop, quite the contrary. The intricacies and the science of colour grading Log footage, can be rather complicated and take a long time to master. However, there are some basic tricks one can use to get started.
The next brief, but super handy video tutorial produced by Matthew Pearce suggests a smooth and efficient workflow on how to colour grade S-Log footage in a matter of seconds using DaVinci Resolve.
In general, the S-Log profile loves light. It is a good practice to overexpose the image by one or two stops when shooting in this mode. Be careful with the highlights, though, and make sure they are protected and not clipping. You can then open the footage in DaVinci Resolve or any other color grading software and do the following adjustments.
Mathew Pearce’s workflow suggests to open your footage inside DaVinci Resolve and apply a node to get the right exposure of the selected clip. You can do that by bringing down the Offset in the Colour Wheel Window.
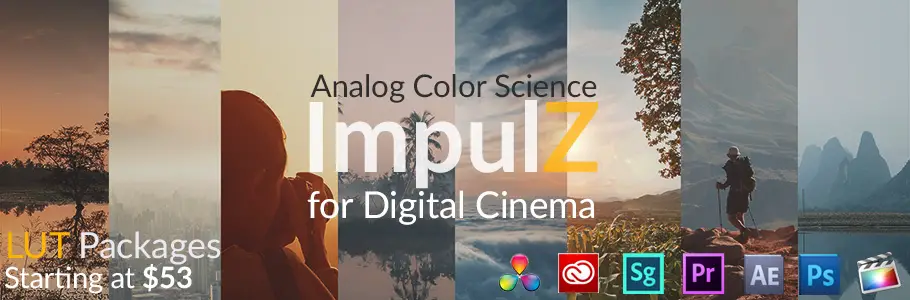
The second step is to add another node and apply a LUT to the image. In the above tutorial, Pearce uses paid Vision Colour ImpulZ LUTs and the Sony Slog2 Kodac Vision3 200T 5312 LUT in particular. ImpulZ LUTs are in the familiar .cube format, and so they work in most editing and grading apps.
If the colours of the image are too saturated for your taste after applying the LUT, you can always bring the Gain down to get a more natural looking image.
And, the final step is to return to the first node and adjust the levels of the highlights and shadows in the Color Match Window to fine tune the overall look of your footage. You can then copy the settings of the current clip and paste them to the rest of the clips of each particular scene.
This is a simple and straightforward 3-step process that would give you the ability to take advantage of everything the S-LOG profile has to offer without spending too much time on colour grading. Of course, there are many other different ways to go after to achieve similar results in other colour grading platforms.
We would be more than happy to hear what kind of workflow you use for grading S-Log or any other Log footage (BMD, Canon, ARRI, etc.) in the comments below.
[via cinescopophilia.com]
Disclaimer: As an Amazon Associate partner and participant in B&H and Adorama Affiliate programmes, we earn a small comission from each purchase made through the affiliate links listed above at no additional cost to you.
Claim your copy of DAVINCI RESOLVE - SIMPLIFIED COURSE. Get Instant Access!


Hi there, i have bought an FS7 and the impulz luts.
I notice there are no dedicated FS7 luts in the package, am I right in assuming I can use any old slog 2 or 3 lut or are there specific ones i should be using
Thanks
Yep, you can use any for Slog-2, and Slog-3 LUTs from their package , just make sure you use them accordingly depending on which log curve you shot in
I’m working in Premiere Pro CS6 where I don’t have access to LUTs. I use Atomos Shogun recorder. Now I have the S-Log 3 monitor LUT in the FS7, but where can I get a LUT for the Shogun that replicates the display on the viewfinder LUT?
The way I ‘grade’ in Premiere, I use the Luma Curve and draw an approximation of the S-Log 3 curve. I find though that exposure value can skew this a lot. It is very tricky. If anyone has figured out a better curve to use in Premiere, I would love to discuss it.
in the presets you should have Lumetri Colour in CS6
Are you sure you mean “price point” and not price and, if so, why? Wouldn’t it be more useful to discuss the price since you haven’t provided demand curves? Wait, do you think they are the same and that “price point” is just a fancy way to say price? It isn’t.
For us it is.
When you get into real production you’ll find that communication is one of the most important things. There will be no room to use the wrong terms, and someone who deliberately and knowingly uses the wrong terms won’t last long.
hahah what a joker. I’m heart broken. Pleaeeeeese