
One thing that makes a video look professionally made is adding in some tracked effects. Moving subjects and VFX that line up with elements on screen is difficult, but the results can be spectacular. Understanding tracking and how to do it and then how to apply additional effects on top of that can be tough to figure out.
Coming from YouTuber Billy Rybka is a tutorial on how to easily track objects and titles in DaVinci Resolve.
The way he shows off is one of the most effective ways to do so and it’s easy to pick up even if you haven’t messed around with these types of tools in the past. Just make sure you have at least Resolve 16 installed, and it doesn’t even have to be the Studio version.
First thing is to jump over to the Fusion tab. If you are more at home in the Edit and Color pages this may have a learning curve.
One thing to know is that you’ll want to make sure the clip is prepared, and if you have edits made to the clip you’ll want to make sure Fusion knows how to work best with the footage, starting with frame 0.
What you’ll want to do is right-click the clip on the timeline and hit New Compound Clip. Then it’ll start you on the right frame.
Fusion uses a node-based workflow, which hopefully isn’t too unfamiliar if you already use Resolve. What you’ll need to do first is add a Tracker node and place it between the standard MediaIn and MediaOut nodes.
Image Credit: Blackmagic Design
Selecting the tracker node will show you an actual tracking tool show up on the footage. For the most effective tracking, you’ll want your subject to have a significant contrast compared to the background. Move the tracker over your subject and pick a good, recognizable spot that will maintain contrast.
If you need more contrast, one thing you can do is add a ColorCorrector node before the Tracker node. Apply some contrast or saturation and you can go crazy. At the end, you can just turn off this node after the tracking is complete.
With the tracker on the person in Rybka’s clip he then tightens up the selection to better fit the subject. You’ll have some tools in the inspector tab, Rybka goes with best match for adaptive mode and lowers the match tolerance. Then in Operation, he changes it to Match Move.
Make sure the playhead is at frame 0 and then hit track forward. If things are perfect Resolve will track things well and you are set. If not you can stop at a frame, adjust the selection point, hit forward again, and repeat until you are done.
Image Credit: Learn Color Grading
Now that things are tracked you can add an effect. Rybka uses one of his callouts for the test. He brings it into Fusion and connects it to the Tracker node. He adjusts position and size of the callout to place it on the subject being tracked.
Heading back to the Operation settings in the Tracker node you’ll find checkboxes for position, rotation, scaling, and flatten transformation. If you want the effect applied to the new effect then leave it checked, if not just un-check the box.
Now, in his callout example, you may want to have the text box stay stationary while the point on the subject is tracked. This is also possible. Looking at the node tree again, you’ll unlink the callout node and connect its output to the output of the tracker node.
This should create a merge node. Then you head over to callout controls and right-click to get options to connect it to other nodes. In this case, select the TrackerPath. It should mean that the tracking only affects the effects that are connecting to the tracking.
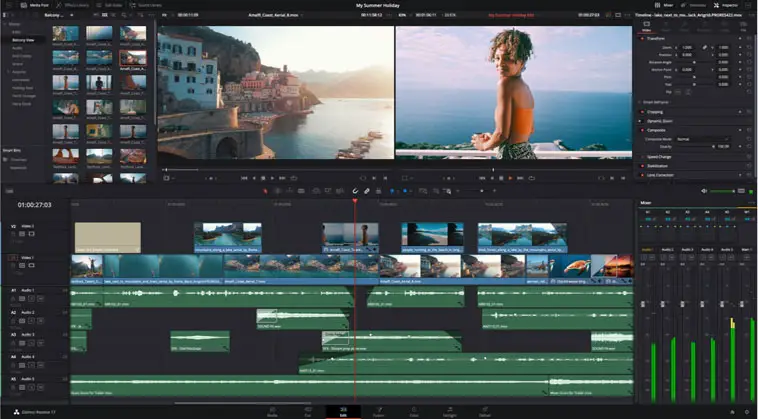
Image Credit: Blackmagic Design
For a stationary graphic, you do a very similar thing. Bring the media in, connect that to the tracker output’s merge node and then in between the merge and media add a transform node.
With transform, you can then link position, such as center, and have it tracked.
It’s a nice way to get into Fusion and a tracked effect looks really cool. This is definitely a video worth checking out.
[source: Billy Rybka]
Disclaimer: As an Amazon Associate partner and participant in B&H and Adorama Affiliate programmes, we earn a small comission from each purchase made through the affiliate links listed above at no additional cost to you.
