
Dual Native ISO is a more recent benefit for all levels of cinema camera. The Blackmagic Pocket 6K Pro even has Dual Native ISO and the advantages that presents. While it seems almost risk-free, image quality can be affected if you try to make use of different settings. In particular, the concern is about dynamic range.
If you want to see how exactly this might affect your shooting, Frame Voyager put together a very well organized video that details all the pieces of information you might need. It even gives a primer on the basics if you are just getting started with some of these topics.
An introduction to all these topics is useful, though I’ll run through it even faster than they do in the video. ISO is the core topic, and this refers to how sensitive the image sensor is to light. The higher the ISO the more sensitive and therefore the better it is in situations with limited light.
Also, the higher the ISO the more noise you will see in the final image. Native ISO is the particular setting in which the image sensor produces maximum dynamic range, anything higher or lower is using some sort of processing or technique to adjust the sensitivity and this reduces dynamic range.
Dual Native ISO uses a more advanced technique that basically provides the sensor with two native options where you can get maximum image quality. On the Pocket 6K Pro those two settings are a low of ISO 400 and a high of ISO 3200. You can still set other ISOs, but they are based on these native options.
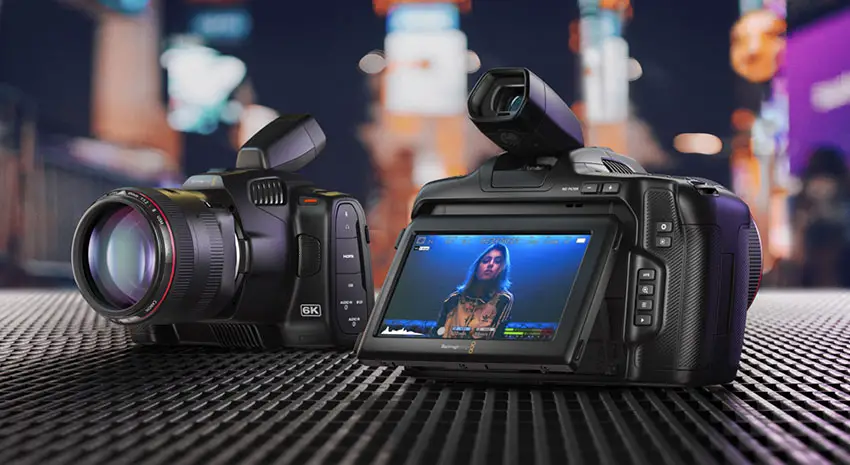
Image Credit: Blackmagic Design
For those exact settings, the dynamic range should actually be nearly equivalent. On the Pocket 6K Pro you have about 13 stops total. Now, as you change your ISO settings your range will move around. What we mean by range is how many stops above and below middle gray you are capturing.
With ISO 400, you will capture 7.5 stops below middle gray and 5.9 stops above. If you go down to ISO 100, that changes to 9.5 stops below and 3.9 above. This means as you lower your ISO you actually have more latitude in your shadows. The opposite happens when you go above ISO 400.
It’s similar for how the high native ISO range works, though that starts at ISO 1000 and above. Filming at the native ISO settings guarantees the most balanced range for most shooting conditions – though the high setting will still contribute noise to the image.
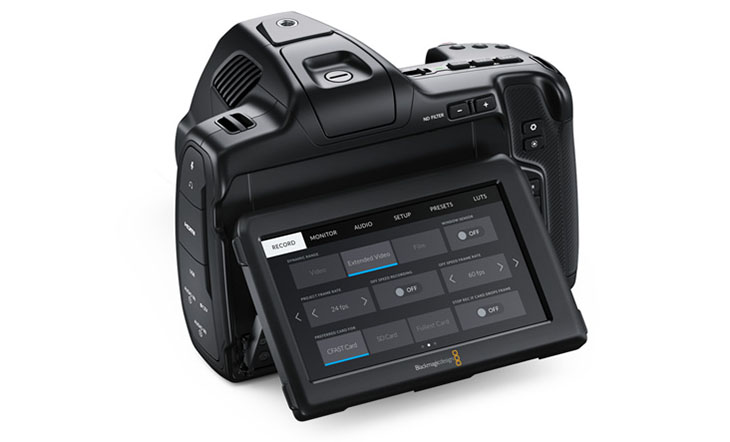
Image Credit: Blackmagic Design
Best practice is to just film at the native ISO since it’ll give you the most wiggle room in post as long as the exposure is mostly correct. You can tweak a little bit to just nail the exposure.
The balanced dynamic range is also very helpful as it looks nice without much work in post. Extreme exposure and contrast may change this for particular shots. Finally, the last thing is you should adjust ISO as your last step. Change the aperture or ND first.
If you have some unique situations, the absolute best thing you can do is test it out yourself. Going out and shooting it yourself and seeing how it affects your image and editing workflow is the best learning experience. Knowing your camera is super important.
[source: Frame Voyager]
Order Links:
Disclaimer: As an Amazon Associate partner and participant in B&H and Adorama Affiliate programmes, we earn a small comission from each purchase made through the affiliate links listed above at no additional cost to you.

