
No matter what computer or NLE you have, using proxies will speed up the editing. It is a common technique for professional workflows, especially when working with heavier media, like raw or high frame rate shots, that are incredibly taxing on your computer.
Even if you can handle playback, once you start throwing on some grades or effects you may notice some slowdowns. Proxy files can help.
If you have an older computer or even just a new high-res camera you should consider adding proxies to your workflow. If you are a Premiere Pro editor there is a great tutorial from filmmaker Javier Mercedes. He goes over the basics and how to do it yourself.
Simply put, proxy files are smaller versions of your original media and usually use edit-friendly codecs. The NLE can then use these files in place of the original media when working on the timeline. Premiere is even smart enough to go back to the original files for your export.
You have two options for generating proxies:
- Create proxies as part of an ingest step.
- Record proxies in camera using built-in settings.
To create proxies in Premiere you can simply select all your footage in the bin, right-click, and then hit Proxy > Create Proxies. The recommendation is to switch from H.264 over to something like ProRes Proxy.
These files are designed for fast editing and are still highly compressed to not take up too much space on your drives. Choose a destination and hit okay. It’ll do this in the background so you can start right away.
You will need to turn them on, and there is a button you can add to the menu to simply toggle it on and off. This is useful if you opt for much lower resolutions since for grading you may still want to be using the originals instead of proxies.
Image Credit: Adobe
If your camera has a built-in proxy recording option there is an easy way to link them in Premiere. Make sure you have your proxy and original files in a good place, then find your originals using the project folder bin.
Select them, right-click, and head to Proxy again. Now you should hit Attach Proxies. Navigate to your proxies and you can select the matching file.
Depending on naming it may or may not automatically attach all of the files. One way to fix this is to select Media Start as the linking method. With the Sony files, this works to automatically ties everything together.
There is a third method Javier wants to jump into since high frame rate files have slightly different considerations.
Interestingly, if you try to create proxies in Premiere with 120p footage you might notice that ProRes Proxy doesn’t go higher than 60p. With the Sony cameras, you can’t even record proxies with 120p footage.
To do this, you will actually need to work with the HEVC (H.265) codec to create compressed proxies up to 120 fps. In Premiere, you’ll want to create a setting preset for creating proxies.
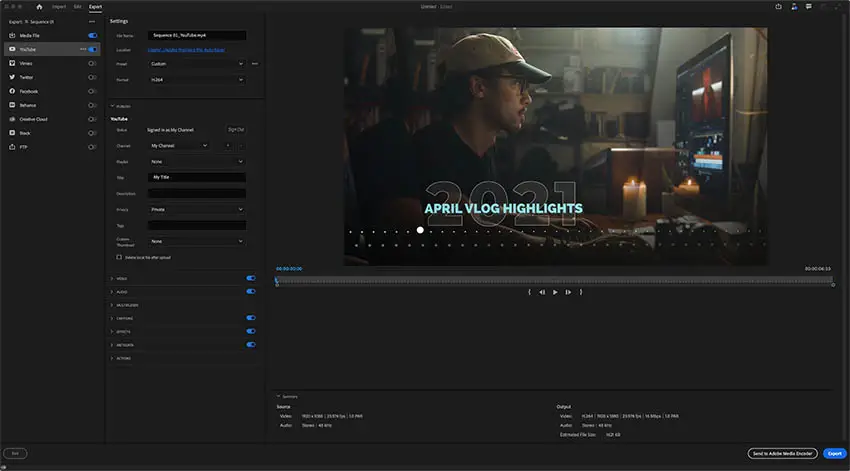
Image Credit: Adobe
You will want to create a preset using Media Encoder and select format as HEVC. Go and set a lower resolution (720p) and then lower the bitrate. This will cost you quality, but it is just a proxy. You can then save this ingest preset somewhere on your computer.
Heading back to Premiere Pro you can open Create Proxies again and then add Ingest Preset. Find your new preset file and select it. Now you should be able to use it as part of your regular workflow.
Proxies are a great tool for most editors, unless you happen to have a super-powerful computer and very easy-to-use files. I can’t imagine that is most of us though.
[source: Javier Mercedes]
Disclaimer: As an Amazon Associate partner and participant in B&H and Adorama Affiliate programmes, we earn a small comission from each purchase made through the affiliate links listed above at no additional cost to you.


