
It has been nearly a decade since I last shot some 16mm film. It was part of film school and I am incredibly happy to have had that experience. It was educational and a lot of fun.
Unfortunately, not many people have the opportunity to shoot on film at all today. Believe it or not it isn’t as difficult as it seems. With a little effort and digging you can start shooting 16mm yourself.
You will need some help, and for that there is filmmaker Brae Hunziker. He put together a nice guide on finding a camera, picking film stock, developing & scanning, and why it’s worth doing.
Part of the beauty of 16mm is its placement between the home movie feel of Super 8 and the commercialized Super 35. It brings in just enough of that grit and grain while also bringing a bit more character. It’s an awesome choice if you want to get an aggressive film look. A lot of pros use 16 for their shoots.
16mm is a bit of a process if you want to do this on your own in 2021 as the equipment itself isn’t so easily available. Finding a camera is tough and your first spot. The Bolex H16 is among the most popular with the Reflex model being ideal since you can get through the lens viewing.
It is going to run you a few thousand dollars for a used model. If you have the cash I think it is among the best – it’s what I used for a bunch of shoots and its simplicity and reliability was great.

Image Credit: Bolex
There are some alternatives if you want to save some cash. One is the Krasnogorsk-3, or K3. It is a Soviet-made spring-wound 16mm mirror reflex camera that was made between 1971-1993. Spring-wound and mirror reflex are the important parts. It means you can just wind it up without any batteries and there is a reflex viewfinder so you can compose through the actual lens.
If you are looking for one Brae found a guy named Max who runs the K3SUPER16 Instagram and does a great job in refurbishing them and even modifying them. This means you can get a K3 with Super 16mm or Ultra 16mm gates and even get a Canon EF or PL mount.
There are a few flavors of 16mm. Standard 16mm is a 1.33:1 aspect ratio while Super 16mm ups that to 1.66:1 for more widescreen shooting. There is Ultra 16mm as well which goes to 1.85:1. Depends on what you are aiming for with your footage. Standard 16mm is fine but Super 16mm is more of a staple while Ultra 16mm gives you even more widescreen.
Standard with the K3 is the Meteor 17-69mm f/1.9 lens. It doesn’t actually cover the full Super 16mm or Ultra 16mm frame, which results in some vignetting if you use focal lengths wider than 25mm. Brae didn’t actually experience any vignetting, however I would guess that image quality isn’t going to be ideal at the edges and not all versions of the lens will match this performance, not that it is too big of an issue.
Now you can get to pick your film. The K3 takes standard 100’ daylight spools of which there are a few varieties readily available. Kodak has a few options in color negative or reversal and black-and-white negative or reversal. If you are coming from photo you need to take into consideration the film’s speed or ISO.
For daylight shooting getting some 50D film is a good place to start. It has finer grain and good performance in daylight. Also, you need to remember with film cameras is that the through-the-lens view depends on what you can see through the lens. If you need to throw on dark ND filters you will destroy your ability to monitor with the viewfinder.
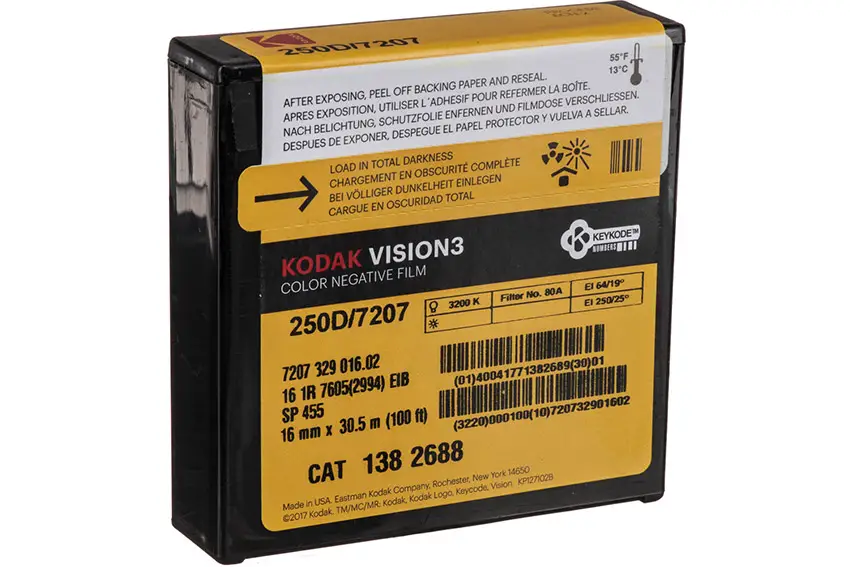
Image Credit: Kodak
For overcast or dimmer lighting then 250D will do the trick and night/interior shooting is best with 500T. Breaking it down, the number is simply the ISO rating for speed and the D/T refers to the color temperature the film is balanced at. D, or Daylight, will come out looking properly balanced with natural light while T, or Tungsten, is best under yellow artificial lights.
Keep this in mind if you plan on using your own lights as modern LEDs often offer daylight color temperatures. Filters exist to use daylight film under tungsten light and vice versa but you will lose a lot of light in the process.
Loading up film is a more involved process. You can load it up in daylight since daylight spools block light from hitting most of the spool. You need to open up the cover and at this point, you should use a blower to clean out any dust. Remove the take-up spool and carefully place in the new roll. Take a couple of feet of film out so you can load it in the rollers. You’ll need to form a loop around the top and bottom and make sure the perforation is engaged.
Reinsert the pressure plate and load the film into the bottom set of rollers. Close up all the guide pieces and rollers and take the excess and place it in the take-up spool. Run the film a little bit to make sure everything is looking good. To be extra careful you can use tape to seal up any edges where light could potentially sneak in.
When working with film, you actually need to think about exposure different than digital. Film actually benefits from overexposure and is worse with underexposure – the opposite of digital. Overexposing by 1-2 stops can get you a richer negative.
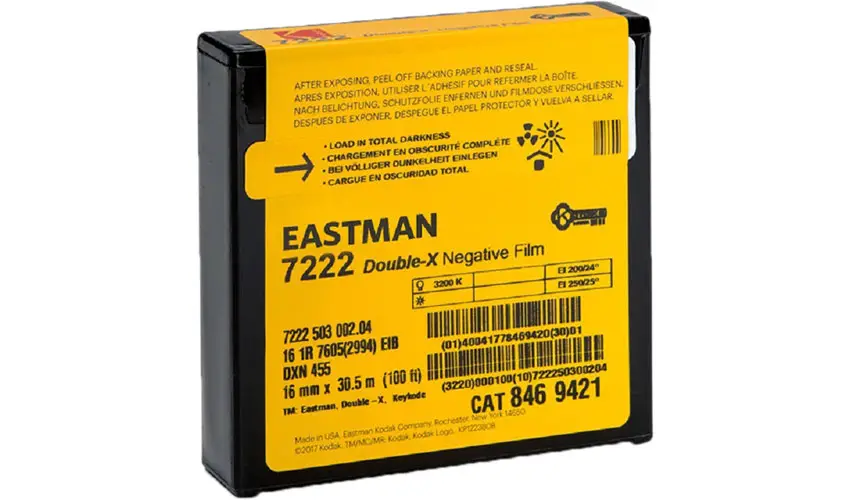
Image Credit: Kodak
Unless you are doing some experiments with buckets of chemistry at home with black-and-white film, you are going to need to find a service for developing and scanning. This is the pricey part.
Brae uses Video and Film Solutions in Rockville, MD. They will process a roll of film for $12 and do some cleaning and add a leader for another $6. For scanning, he trusts Nicholas Coyle who will do scans for $30 a roll. There are options for cropping, color correction, and more. Going with a log image is a good start as you can then grade it yourself.
To shoot, ship, develop, and scan a roll of 16mm film, you are talking a total of $133 a roll. It’s definitely pricey as each roll is only around 3 minutes of film. It can also be totally worth it if you want to try out film. You also don’t need to do everything all the time on film, save it for special moments or when the film feel is desired.
There is a ton of information in this video that walks you through nearly every step. If you want to do 16mm shooting today you should check it out.
[source: Brae Hunziker]
Order Links:
- Kodak 7207 VISION3 250D 16mm Color Negative Film (B&H)
- Kodak 7219 VISION3 500T 16mm Color Negative Film (B&H)
- Kodak 7203 VISION3 50D 16mm Color Negative Film (B&H)
- Kodak 7213 VISION3 200T 16mm Color Negative Film (B&H)
- Kodak 7266 Tri-X 16mm Black-and-White Reversal Film (B&H)
- Kodak 7222 Double-X 16mm Black-and-White Negative Film (B&H)
Disclaimer: As an Amazon Associate partner and participant in B&H and Adorama Affiliate programmes, we earn a small comission from each purchase made through the affiliate links listed above at no additional cost to you.

 Upgrade in July")