
It has become genuinely amazing what level of video editing and production you can do from the comfort of your own home using relatively affordable tools. One such example is the creation of a Digital Cinema Package, or DCP. Before, you needed some powerful equipment and some expensive software licenses to make one.
Then it became something only reliable for highly-technical editors. Now, you can get it done using Premiere Pro. Since many indie filmmakers are looking to get their films distributed or screened at festivals, having a DCP is often a necessary hurdle that took a chunk out of your budget. Or just do it yourself with this tutorial from chungdha.
A DCP might be a foreign term until you start applying for film festivals or other screenings. DCPs are a standard that was developed to ensure maximum quality and support in professional screening environments. It’s a hyper-specific export and packaging method.
If you want to get this set up in Premiere Pro you will want to get set up before you start editing. Making a new Sequence, you can get everything lined up right away.
With a custom editing mode, you can go with a timebase of 24.00 fps though some theaters might supports others. Set a frame size of either Flat 1998 x 1080 or Scope 2048 x 858 for 2K or HD delivery. Things like pixel aspect ratio being square (1.0), audio being 48kHz, and more can be left to defaults.
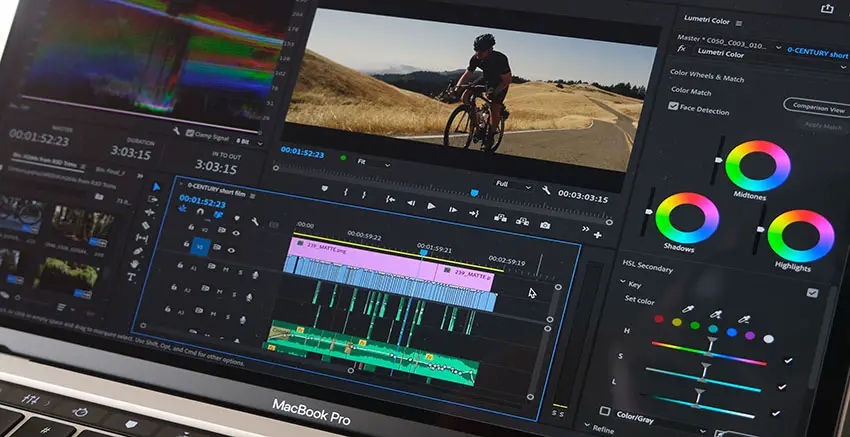
Image Credit: Adobe
When you finish editing and are ready for export, you’ll need to again be careful as you set up to save the project.
Heading to the export settings, you’ll want the following:
- Format: Wraptor DCP
- Preset: 2K Digital Cinema – Flat or Scope, 24 fps
- Video Codec: JPEG2000
- Video Dimensions: 1988 x 1080 (Flat) or 2048 x 858 (Scope)
It is possible to render out in 4K, using Flat 3996 x 2160 or Scope 4096 x 1716 resolutions, but to do that you will need to visit the linked website under Additional DCP Tools and pay for a license to do so.
Audio is fairly standard, with 48000 Hz as the default and either stereo or 5.1 mixes.
These files will end up being extremely large. The lower compression and packaging of the files will eat up a lot of hard drive space so it is helpful to have some dedicated drives specifically to hold your DCPs. You will likely have to send along or provide the files at some point if you do end up with a screening.
Have you ever made your own DCPs? Have your own tips or tricks?
[source: chungdha]
Disclaimer: As an Amazon Associate partner and participant in B&H and Adorama Affiliate programmes, we earn a small comission from each purchase made through the affiliate links listed above at no additional cost to you.
Claim your copy of DAVINCI RESOLVE - SIMPLIFIED COURSE. Get Instant Access!

")
