
Making the jump to shooting in log is a huge step in any filmmaker’s journey. It requires learning a lot about the technical aspects of video production as well as learning how to create an ideal workflow to make the most of the footage you carefully captured. Before you get started though, you will need to learn what log is, how to shoot in it, the different profiles available, and how to edit it. That’s a lot.
You could just try through trial and error or your own painstaking research, or you can check out this video from pro editor Waqas Qazi. He breaks down all aspects of log and using it in DaVinci Resolve.
You need to understand what log footage is first. Simply put, log is a gamma profile that captures an extremely flat (low contrast) image that will maximize dynamic range captured in compressed formats. Being flat means it doesn’t look great straight out of camera, but it can be adjusted a lot better during grading. It’s also a lot more forgiving than a baked-in Rec.709 look.
If you are shooting log you will need to understand how your camera handles it. Some cameras might prefer a slight overexposure, others might want to be right on the money, and others might have situations where it just doesn’t perform well at all. There are also some cameras with multiple log profiles. You definitely need to do some research to find best options for your specific camera.
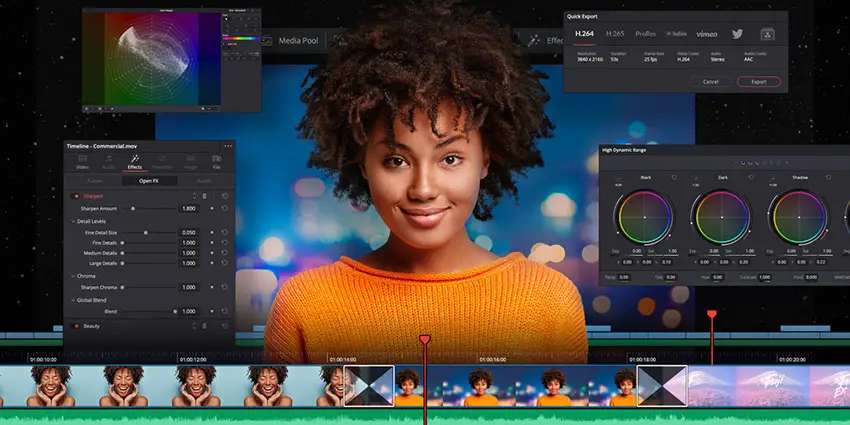
Image Credit: Blackmagic Design
Also, to be honest, you may still want to consider working in a standard or Rec.709 profile instead of Log. If you need a quick turnaround or are just very inexperienced, you might have a better experience with a different profile than log. However, if you want the best and can learn the workflow you should absolutely use log.
There are a couple of ways to convert your log image into a more usable function. The first method presented is to do a color space transform. Adding this function to a node you will then have a selection of options where you can select the camera color space and gamma. This will get you set for the input transform. Now, for a Rec.709 look, you would want to check your project settings and change the timeline color space to Rex.709 Gamma 2.4 and now you should have a good-looking picture.
A more traditional method for handling Log is to use a LUT. There are a lot of LUTs built into Resolve already and all you have to do is open your node and then add a LUT from the list. You should find all the basic options there already. There is a slight difference in the results and one may be easier than the other for your workflow. Differences are very subtle though, so try it out for yourself.
Do you have any log grading tips?
[source: Waqas Qazi]
Order Links:
Disclaimer: As an Amazon Associate partner and participant in B&H and Adorama Affiliate programmes, we earn a small comission from each purchase made through the affiliate links listed above at no additional cost to you.

