
DaVinci Resolve is the industry standard color grading software and everyone should take a stab at learning it – there’s even a free version and Blackmagic just announced the new Resolve 18 is on the way.
Anyway, if you are looking to use it more or have already made it part of your video editing workflow, you probably want to learn a bit more about how to save some time in the edit.
One trick that you should check out for color grading anything with people comes from filmmaker Donovan Anderson. It involves only a single node so this should be very quick and simple.
Opening up a sample project or clip to work on head over to the color page to get started. Heading to the middle section of the bottom controls (where curves is likely your default) you will see three dots at the top right of this area.
Click on that and make sure that “editable splines” is checked. This makes sure that when you select an edit point on your curves you will be able to edit the curve using the spline points.
Now, usually you would just head in and drag a couple points around to create a decent S-curve for contrast. With editable splines you just click on the end points and then select the spline to add the curve nice and easily. This should get your footage to a good spot.
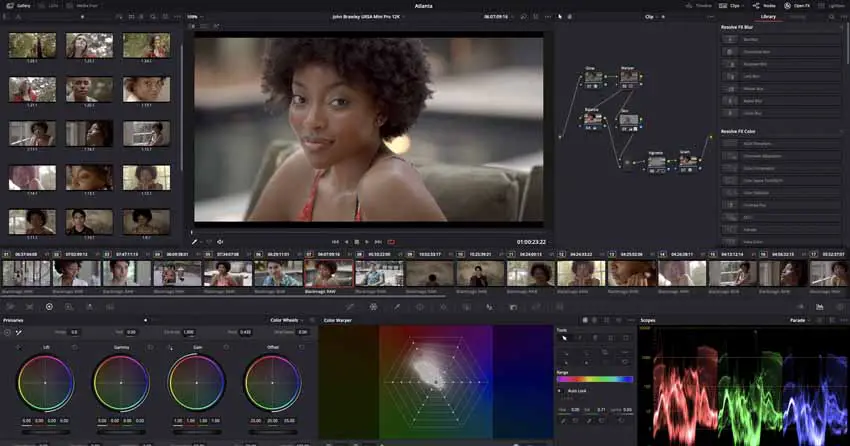
Image Credit: Blackmagic Design
Move over to the color warper after you do that. This tool is powerful and is brand new from Resolve 17 so it might not be something most people have tried out yet. In here he takes the yellow point and shifts it slightly over to orange.
After that, using Control Donovan clicks the red point to have both yellow and red selecting. He then just slightly increases the luminance of these points. It really makes the skin tones pop and brings them out a bit from the background. No windows or masks required here.
With that all done if you have more clips that are very similar to the one you already graded you can quickly apply similar settings. Starting with the finished clip you can do a Grab Still in the Gallery.
Select the clips you want to apply the grade to and right-click the still to select the append node graph. This will add the edited node from the initial clip to the new ones.
Nice and quick way to get your clips basically ready to go without much time or effort and yet without giving up fine control.
[source: Donovan Anderson]
Disclaimer: As an Amazon Associate partner and participant in B&H and Adorama Affiliate programmes, we earn a small comission from each purchase made through the affiliate links listed above at no additional cost to you.


