
It’s still early in the year and if you made a resolution to learn more about video editing then you are in luck. Premiere Basics has 10 new tricks for editing up to 10 times faster in Premiere Pro.
There’s a variety of tips packed into this quick video including some less-known settings tucked away in the menus and some customization options that might make some tedious tasks much faster.
There’s really no reason to not watch the video even if you weren’t planning on learning more about editing. Any time saved is going to help you out in the future.
This video moves quick so let’s get to it:
1. Ripple Markers
By default, when you use ripple trim or ripple delete the markers on the timeline stay fixed where they are instead of following along with the edits. To avoid having to constantly make those adjustments after each edit you can make them also get moved with ripple edits.
All you have to do is head to the Markers tab of the menu bar and head down until you can see “Ripple Sequence Markers” and turn it on. Problem solved.
2. Transcribe in Background
Currently in beta, there is a major text panel update that allows you to automatically start transcribing your clips in the background. To do this you just need to head to Preferences > Transcription… to open the menu.
From here there is a simple check box to automatically transcribe clips. You can also set the default language and preferences though you can likely leave this at only transcribing clips in your sequence.
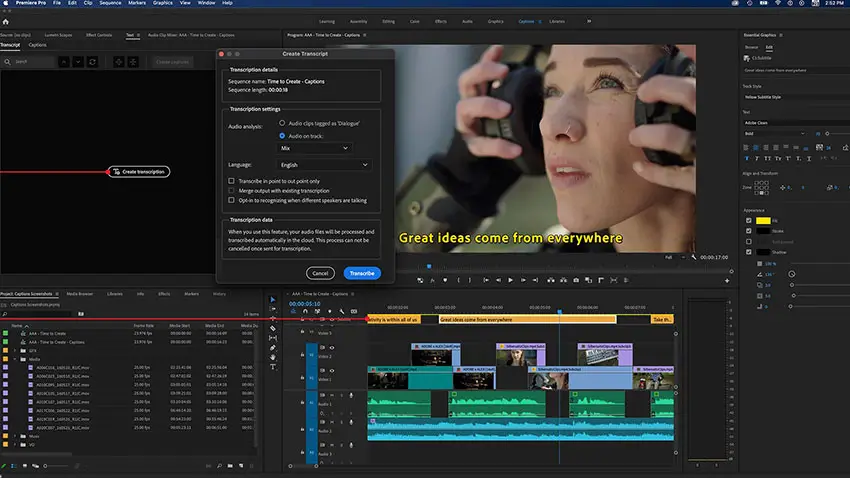
Image Credit: Adobe
3. Edit via Transcription
With your clips transcribed you can open up the text panel and view all the text from your video. Then, using the text panel, you can extract (cut) text and the sequence will make the cuts for you based on that.
4. Zooming In
Getting a close-up look at your footage isn’t the easiest thing to do. Using the dropdown menu you have to guess at the percentage that might work best. To make this better you can set some keyboard shortcuts using the “Zoom Monitor” in, out, and to fit settings. Set them how you want.
Now with just a couple taps of your keyboard you’ll be able to zoom in and out.
5. Unnest Clips
If you have a nested clip you no longer want nested there is a simple fix. Disable the insert and overwrite toggle on your sequence settings and just drag the nested sequence from your media pool where you have it on your sequence. This should give you the original clips not in the nest.
6. Prevent Offline Media
This is a preemptive tip more than a fix but it is an important one. When you collect the media and clips you want to use in your project you need to get things organized. Putting everything in the same folder as your project file will make it easy to keep track of everything and make sure nothing goes offline.
7. Sync Settings
Make sure if you end up working on a new PC that you are able to quickly regain all your preferences, settings, and workspaces. Head to Edit > Preferences > Sync Settings… Here you can check off the things you want to sync, including Preferences/Settings, Workspace Layouts, and Keyboard Shortcuts.
If you are trying to recover settings after getting it set up in the past all you have to do is go to File > Sync Settings > Sync Settings Now and it should recover everything.
You can even choose to use settings from a different account if you wanted to steal from or match up with them. Another method is simply to save your shortcuts as a preset and export that as a file you can share and save anywhere you want.
8. Swap Clips
It isn’t always easy to swap the places of two clips on your timeline. Unless you hold down Control + Alt while you drag your clip. Just do that and drag the clip over top of the other one and Premiere will swap places and keep everything else intact.
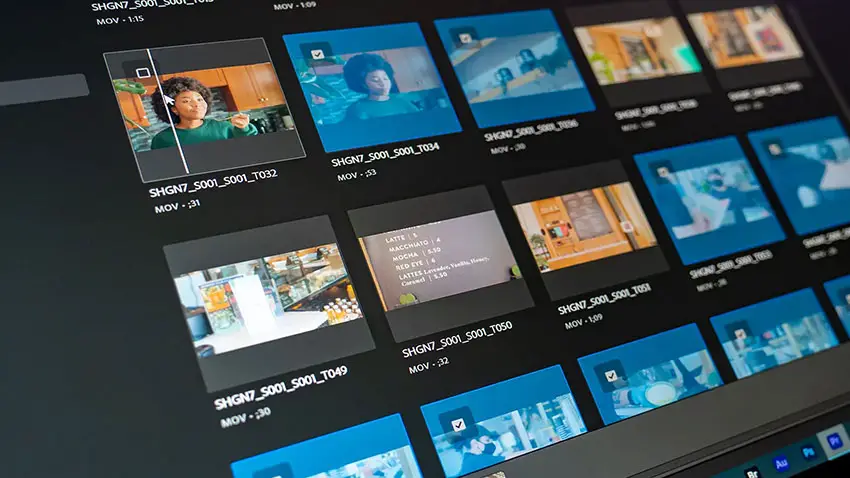
Image Credit: Adobe
9. Faster Cuts
The razor blade tool is pretty good for making some quick cuts. Even better is a keyboard shortcut. The default is Control + K and you can instantly apply cuts to clips on your timeline. Change it to something even faster if you want.
10. Faster Exports
When you are all wrapped up you may want to make exports go even faster. Before you start editing you should double check your Sequence Settings to make sure that Video Previews are set to a high-quality format like ProRes.
Premiere will constantly be rendering out any effects or edits as you work and if you set them to be a high-quality codec then you can save time in the export.
This is because in the export panel you can find a setting to “Use Previews” which will use those files instead of re-rendering everything on your timeline. Since the hard work was already done it should speed things up.
Do you have any Premiere Pro tips to share?
[source: Premiere Basics]
Order Links:
Disclaimer: As an Amazon Associate partner and participant in B&H and Adorama Affiliate programmes, we earn a small comission from each purchase made through the affiliate links listed above at no additional cost to you.