
Resolve is a very intimidating piece of software. There is an astounding amount of control over your image, especially when you get deep in the color grading tools.
Beginners can quickly get frustrated when they start using things like the color wheels since it isn’t uncommon to start loosing control over the color after you make a few tweaks.
You can get much more precise color control with a few tricks and knowledge. For that knowledge we turn to one of the best in the business for understanding color grading: Alex Jordan from Learn Color Grading. He has a great hack to taking control of your color in Resolve 18.
Taking a sample image he performs a basic grade using the color wheels to get it into a fairly neutral place. With that done he looks to make some additional adjustments.
Starting with the Gain wheel he starts adjusting the color and while it is mostly working in the highlights, as expected, there are changes happening in the mid tones and shadows as well.
That isn’t exactly the most intuitive way for it to work. This is a bit by design as that is how the Gain color wheel is supposed to work. It stretches the image starting with the highlights and this drags other parts with it.
Performing changes with the Lift wheel produces the same results but from the shadow side of things.
This isn’t a bad thing and often it is a just fine tool for the job. Other times this may be a tad frustrating, such as when you want to tweak the highlights in an image that is already contrasty.
In these cases, you might want to bring down highlights without also crushing the already dark shadow areas.
There is a solution for this problem.
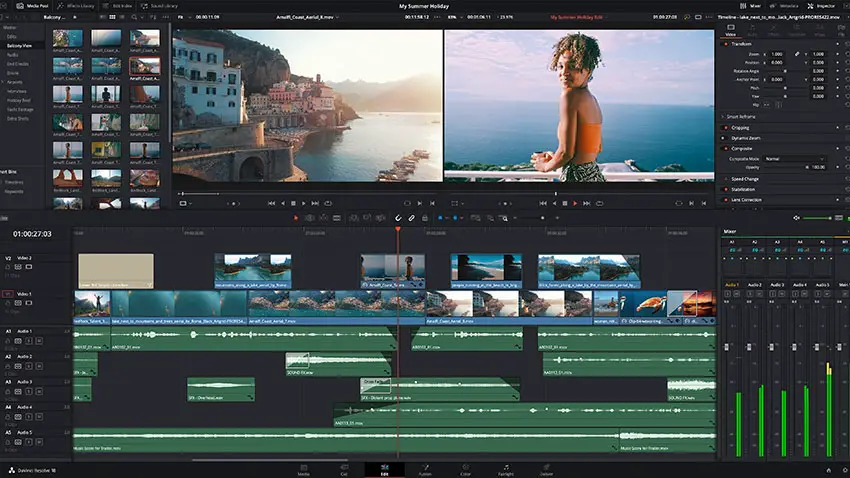
Image Credit: Blackmagic Design
The way is to check out the other set of wheels. By default you are working with the Primaries wheels. What you’ll want to do is change over to the Log wheels. You’ll see immediately that even the names of the wheels change from Lift, Gamma, Gain to Shadow, Midtone, Highlights.
To make this even easier you can ignore the Midtone wheel in the middle and focus on the Shadow and Highlights wheels. You can do this by adjusting the range controls.
These tell you what is impacted by the Shadow and Highlights wheels. Changing the bottom range to 1.000 will make it so that you are essentially splitting the wheels between the top and bottom halves of your scopes.
When you start making changes to the wheels now you’ll see that changes are going to be localized to the shadow or highlight area depending on which wheels you are adjusting.
Beginners should still look out for some things when using these controllers. For example, using the shadows wheel can sometimes oversaturate the shadows, which is not recommended.

Image Credit: Blackmagic Design
You can quickly fix this though. In another node, you can head to the Luma vs Saturation control to move the saturation in the shadows down to adjust the shadows without hurting the highlights.
By simply pulling the shadows side down you won’t have a perfect adjustment. To check on this you can switch from histogram to input to get a better look at the data.
In the example, you can see that some of the highlights were brought down. By bringing up the area that was impacted back up you can make a perfect curve.
This is a great technique for beginners as it gives much more precise control and a better understanding of how different adjustments will impact the final result.
[source: Learn Color Grading]
Order Links:
Disclaimer: As an Amazon Associate partner and participant in B&H and Adorama Affiliate programmes, we earn a small comission from each purchase made through the affiliate links listed above at no additional cost to you.

