
As a new filmmaker there are some lessons that you will unfortunately learn when you make a mistake and it becomes engrained in your head to never do again.
Or, learn from the mistakes that other people already made and are willing to share with you so that you don’t run into terrible situations.
Tomorrows Filmmakers is here to help with a ton of tips for newer filmmakers. Today, they are looking at 10 things you should check before you hit record.
This is the whole “measure twice, cut once” philosophy where if you make sure it’s right before you get started you can save yourself some headache later.
1. Leveling Your Camera
Before you even get started with technical settings you’ll want to make sure your camera is straight and level. Most cameras have a digital level that you can have right on the screen and make sure you are level.
Related to this you want to make sure you can clean up the edges of your image as best you can by either moving the camera or zooming in. It’ll save you a lot of time in post.
Image Credit: Sony
2. Check Your Resolution
You’ll definitely want to make sure you are recording at the best quality. Check you resolution, codec, etc. before you hit record. This is especially true when you are working with multiple cameras. Making sure everything is synced up is going to make life a lot easier.
Consequences of a bad setting here can be terrible.
3. Check Your Frame Rate
If you are often jumping between different frame rates on your projects, say shooting 24p for interviews and then moving to 120p for slow motion B-roll, then this is critical to check before you start rolling on a new shoot.
The last thing you want is to forget you set the camera to 120p and then start recording a long interview at an awkward setting. It can be corrected to an extent but it might still feel off.
The reverse is also awkward as you don’t want to think you are shooting in slow motion and then just get a bunch of regular motion footage that can’t be slowed down.
Image Credit: SmallRig
4. Check Your Focus
Hopefully this is a little more intuitive, but you should be checking your focus before every take. Ideally if you have some assists like a zoom in or peaking you should be using that as well. Focus is something that can be ruined by a variety of factors, so always take a look.
Understanding depth of field can help you out as well. Sometimes having more or less can be advantageous.
5. White Balance
Another setting that can be a pain to correct later is white balance. Sure, if you are shooting raw it might not actually matter all that much, but for any other compressed format white balance is crucial. Getting it right in camera will ensure that your colors look right when you start working with it in post.
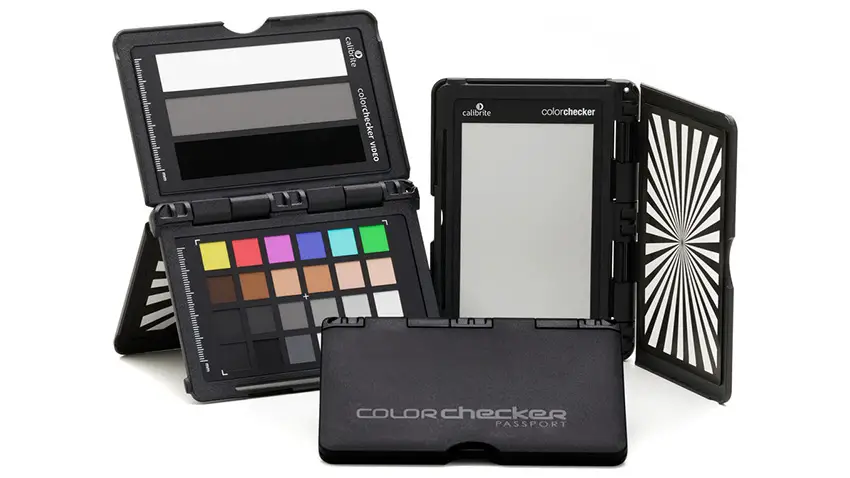
Image Credit: Calibrite
Having a grey card or other color checker can be very helpful for more precise setting of your white balance when you have the time. Every location should have a new setting to make sure things are looking good.
6. Check Your Exposure and Shutter Speed
Exposure is critical for making sure you are getting all the detail and information you need in your clip. Underexposure and overexposure can quickly ruin a shot.
Double checking that you aren’t blowing out areas of your footage unintentionally or losing details in the shadows that can get ruined with noise if you pull it up is important.
Shutter speed is a key part of your exposure calculation and can affect the look and feel of your footage. The usual trick is the 180-degree shutter, which is basically that the shutter speed should be “double” your frame rate.
So 24 fps would use 1/48th second shutter speed. It is what people are used to seeing and therefore feels the most natural when it comes to movement.
7. Set Up Your Picture Profile
Picture Profiles will determine a lot about the footage you are going to get to work with in post. Some profiles are designed to be used without needing much editing while others will require full grading to get to a publishable state.
One of the worst things you can do is not realize you are in the wrong profile until it is too late. It can make it difficult to achieve the creative look you were planning.
Using a flat look of sorts is the best if you want the most flexibility. On top of that, using a display LUT so that you can look at a preview of what the final footage is going to look like will help a lot.
Image Credit: Zoom
8. Check Your Audio
Ah. A common failure of beginning filmmakers is to focus so much on what the image looks like that audio is left without much double-checking. If you are using a second system then the forgetting to hit record on the audio recorder is something that nearly everyone has done at least once.
The other thing to check is your levels. A pair of headphones is just as important as your camera monitor. This can tell you more than just your levels. Sometimes interference or other issues can’t be seen just by looking at levels. Without good audio your footage is worthless.
9. Format Your Memory Card
You should get into good habits when it comes to media management. After every project your should offload and organize your footage. Then, before you start a new project you should format your memory cards. It’ll ensure you have the maximum space for anything you may need to cover.
Image Credit: SanDisk
Keep some extra cards with you too. At least one extra will suffice, but really you should keep as many as you can on you in a nice case.
10. Battery Life
Get into a habit of recharging all your batteries whenever you wrap on a project and get home. Similar to memory cards you should also make sure you have spares lying around.
Before each take you should be double checking where your battery life currently sits. You don’t want to have the battery run out in the middle of a take. Best case you just swap out the battery and try again. The worst case is you corrupt your media and lose more than just a single take.
Image Credit: Anton/Bauer
Good practice is to swap out your battery when it gets to a point a good way from dead, like 20-30%.
Keeping a charger on set so that you always have something with a bit of juice can be a lifesaver in difficult situations.
That’s a lot of stuff that hopefully becomes second nature as you become more experienced. Learn from everyone else’s mistakes and hopefully, it’ll save you now.
[source: Tomorrows Filmmakers]
Disclaimer: As an Amazon Associate partner and participant in B&H and Adorama Affiliate programmes, we earn a small comission from each purchase made through the affiliate links listed above at no additional cost to you.

