
There are many shooting scenarios and situations where using an Easyrig can be quite beneficial and does make a lot more sense for your project, especially when working with a heavier camera or any other third-party support system. The main idea behind the concept of an Easyrig is that you can easily carry a heavy fully rigged camera package for an extensive period without wearing out your arms and shoulders.
Plus, the Easyrig is super simple to set up. First, you need to put on the backpack and tighten the straps. It is also required to attach the top handle of your camera (or your additional rig) to the clamp hanging from the arm of the rig. Tighten up everything making sure that your camera system is secured and can’t fall out.
EasyRig 2.5: Things to Know from LensProToGo on Vimeo.
When utilizing an Easyrig you can flawlessly move the attached camera in various directions, having it in front of your face down to the level of your knees, which gives you a lot of flexibility and freedom to perform some unconventional camera movements with virtually no strain on your arms. The Easyrig support system actually absorbs all the weight of the rig, that makes shooting for longer periods of time a breeze.
You’ll be surprised how well you will feel with significantly less fatigue in your hands and back after a long 12-14 hours shooting day. You can use an Easyrig when you plan to operate your camera entirely handheld and need to move promptly from a location to location. It’s almost a mandatory accessory when your intention is to stay on set for many hours utilizing some heavier cameras such as the ARRI Alexa, Amira, URSA, etc.
On the other hand, there is a widely spread misconception about using a 3-axis gimbal such as the Movi M10 or DJI Ronin attached to an Easyrig. Many people tend to believe that this will be an extremely easy way to get super smooth shots, however when using a hand held gimbal stabilisers rigged in this way you shouldn’t overlook the vertical bouncing movements caused by operator’s walking that definitely will have an impact on the captured images.
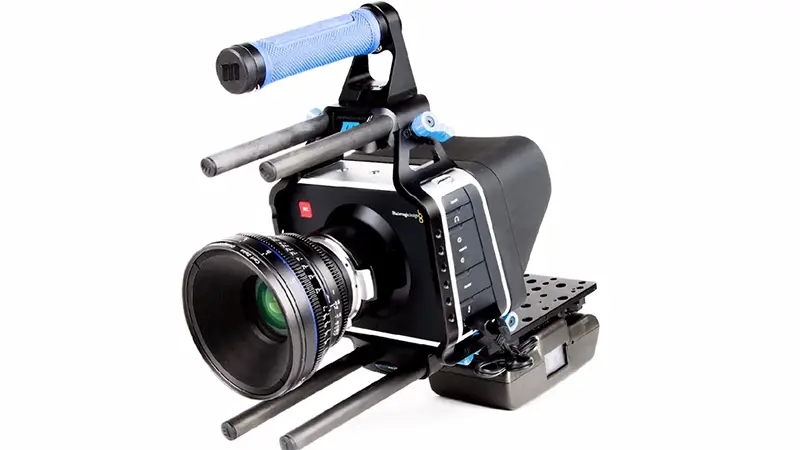
The other important thing you should be aware of when you set up an Easyrig is that you have to use a top handle or other solid mounting point on your camera for this to work. In case you are shooting on any of the Blackmagic Design Cinema Cameras, you will need a cage with a handle to be able to attach the camera to the supporting system. The Easyrig 2.5, in particular, is designed to carry a fully rigged cinema camera package weighing between 17 and 22 pounds.
You can utilize the support system with a lighter camera package, however, the tension on the line of the Easyrig will cause the camera to rise to the arm, so you will have to hold it down a little bit more while operating. At last, but not least, before shooting you should distribute the weight around you camera and the accessories you’ve attached so it will be relatively balanced when hanging.
With the ability to evenly distribute the weight of a camera throughout operator’s entire upper body via its overhead cable mechanism, the Easyrig is a common camera support system being one of the industry favourites that makes a difference and has an enormous impact in situations where a lot of handheld work is involved.
[source: LensProToGo]
Disclaimer: As an Amazon Associate partner and participant in B&H and Adorama Affiliate programmes, we earn a small comission from each purchase made through the affiliate links listed above at no additional cost to you.

