
Split screens are a good way to get a lot of information on the screen. They can also complicate your timeline since you are going to need to layer multiple clips and then organize and/or animate them in a way that is visually appealing.
There are plenty of different ways to lay your clips out and you need to decide which works for your video. And as with nearly every goal you set in an NLE there are a ton of tools and options that can get you there.
Looking at Adobe Premiere Pro CC, the Storysium channel has a breakdown of four different ways to create split screens in your next video project.
1. Scaling
This is the most basic method you can use and it makes a lot of sense. All you do is bring in all your clips on top of each other. It is easiest if all your clips have the same resolution and that they match the timeline resolution.
Select the top clip and head over to the Effect Controls panel. Using the Scale function set it to 50%. This should shrink your clip plenty. You can then copy these settings and past them to the other clips. They should all now be the size of a quarter of the frame.
Now you want to place them each in their own corner. Here are the position settings you’ll want to use in 16:9 timelines:
- Top Left: 480, 270 (Full HD); 960, 540 (UHD)
- Top Right: 1440, 270 (Full HD); 2880, 540 (UHD)
- Bottom Left: 480, 810 (Full HD); 960, 1620 (UHD)
- Bottom Right: 1440, 810 (Full HD); 2880, 1620 (UHD)
Now each should be seated in one corner nicely. A basic split screen. To add a space between the clips you can just use the rectangle tool and draw them into place as bars along the split lines. Using the graphics panel you can get these fairly precise.
2. Cropping
If you don’t want to do a perfectly even scaling of all your clips for more creative control you can start by using the crop tool. You can adjust the cropping to focus in on the main part of the frame that has the action. You may want to be particular in how much you crop to keep certain clips at the same size as one another. Also, you can move some clips a little off-screen to make some space between the different shots.
When you leave space between the clips you can adjust the color by adding a simple color matte and drop it on the layer underneath all the other clips. It’s a simple solution.
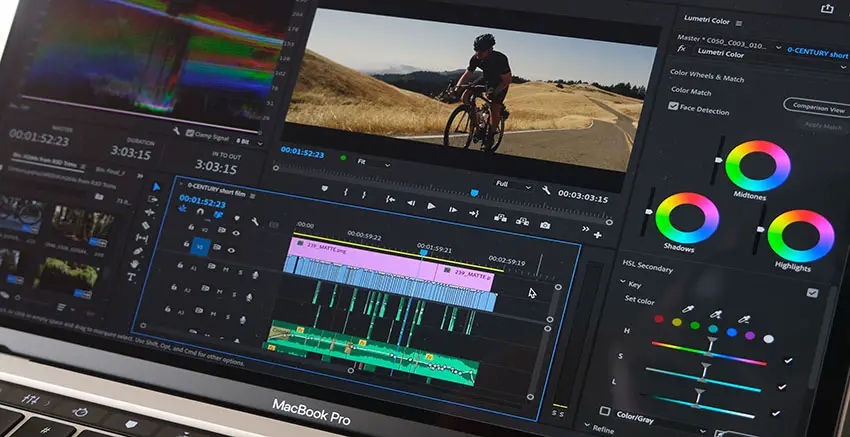
Image Credit: Adobe
3. Radial Wipe
The previous two examples are useful but fairly simple – sticking to some straight lines parallel to the edges of the screen. For diagonals and more creative positioning, you can use the Radial Wipe. In particular, you want to find the Effect in the Video Effects > Obsolete folder.
Add this effect to the top clip and then change the Transition Completion to 50%. Next, you can set the Start Angle to the diagonal that you prefer. You can then reposition the clip and adjust the center point to best match the two clips. You can reposition the bottom clip separately. That’s all you need.
To add the line like in the other clips you can use the pen tool and draw over the cut point. Then use the Essential Graphics panel to make adjustments to color and size and more.
A more advanced technique allows you to use more than just two clips for a layered effect.
4. Masking
The last option is masking. This tool allows you to select certain areas of a clip to show or hide. Using the pen tool in the Opacity settings in the Effect Controls panel you can draw a mask path on your clip. There are also built-in ellipse and rectangle mask options.
You can then draw around the area of the clip you want to show, adjust position, and change scaling to line it up with your other clip.
There is a default amount of feathering which you likely won’t want. Plus, if you want to create a border you can use the standard ellipse tool to draw an ellipse outline which you can then line up with the mask you created.
Watching it shows off a lot of different options and tools you can use to create these looks all by yourself. Definitely a good watch.
[source: Storysium]
Disclaimer: As an Amazon Associate partner and participant in B&H and Adorama Affiliate programmes, we earn a small comission from each purchase made through the affiliate links listed above at no additional cost to you.
Claim your copy of DAVINCI RESOLVE - SIMPLIFIED COURSE with 50% off! Get Instant Access!


