RED did a lot of things right when they developed the KOMODO. Among the best things was a focus on making a complete camera system that can be picked up and used with minimal add-ons. Another thing was making the menu system and options easier to understand. Part of those changes included simplifying the list of recording formats to some more basic terminology – definitely helps if you are new to RED cameras.
On the other hand, RED formats are still something to consider when you begin shooting and the options now lack absolute clarity about what their differences actually are. If you want to know the best formats to choose then you should watch this video from filmmaker Mateo Allen.
There are a few options to consider before you start shooting:
- Format
- Resolution/Frame Rate
- Aspect Ratio
The format can be broken down into two key options – R3D, or RED RAW files, and ProRes. Resolution seems very straightforward, but you need to know that the KOMODO will actually crop in on the sensor if you choose a lower resolution if you are shooting R3D.
Interestingly, ProRes 24 fps footage will actually downsample from the higher resolutions if you choose a lower resolution. Resolution will also impact your frame rate options.
As for slow-motion options, the KOMODO can record in 6K up to 40 fps, 5K up to 50 fps, 4K up to 60 fps, and 2K up to 120 fps.
Mateo tends to stick with 6K 24 fps in RED RAW the most. He also opts for 5K at 50 fps for high-quality slow motion as it is a good compromise in terms of cropping and resolution. The 4K and especially the 2K crops get to be a bit much. It’s changing too much of the frame at that point.
The issue with 6K and 5K isn’t anything to do with quality, but the weight of the R3D files if you are doing longer takes, even when bumped down to the LQ setting. Something like an interview just takes up way too much space. For longer projects you can opt to go with ProRes 422 as there is a substantial space savings.
We’ve mentioned different RAW settings already, but to break it down more the R3D files can be set to HQ, MQ, and LQ. These are fairly obvious quality options from high to low. While all are still going to provide great quality, you should consider how the difference between the files is the bitrate.

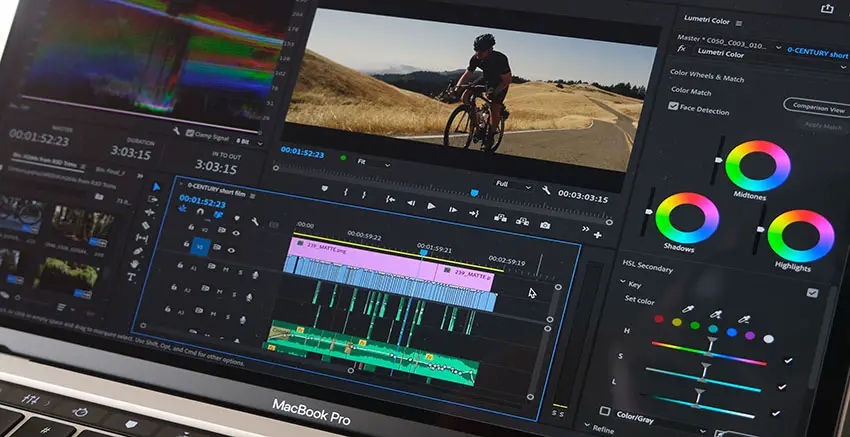
Image Credit: Adobe
Something with a lot of fine detail might benefit from HQ while a static interview will be totally fine with LQ. Keep in mind that file size does change dramatically as you move up, so if you are trying to save space and still want some raw benefits then LQ will likely be just fine.
Simply put, going with high-resolution R3D LQ files is the best bet for most of your shooting, especially when going with 6K resolution. As for slow motion, if you can avoid going below 5K you are going to get the best results, though 4K is usable. Finally, opting for ProRes for longer takes is a good way to save space without giving up much in terms of quality.
[source: Mateo Allen]
Order Links:
- RED KOMODO 6K Cinema Camera (B&H)
Disclaimer: As an Amazon Associate partner and participant in B&H and Adorama Affiliate programmes, we earn a small comission from each purchase made through the affiliate links listed above at no additional cost to you.
Claim your copy of DAVINCI RESOLVE - SIMPLIFIED COURSE with 50% off! Get Instant Access!


