
In a world of raw and pretty damn good auto white balance color temperature itself doesn’t get too much attention. Shooting in raw, for stills and video, usually means you can just change the white balance and color temperature after the fact without any negative repercussions. And auto modes do a good enough job that any small tweaks needed are usually not an issue.
Understanding color temperature becomes hugely important to understanding lighting. When you work with any type of lights and gels you will only benefit from learning about it as how you manipulate your lights is going to seriously impact your shot. Filmmaker Brady Bessette breaks it down.
Just to start with color temperature you are likely going to see a chart from around 2700K to 10000K in reference to color temperature. Here are the key points:
- 2700K = Tungsten, Very Warm/Orange, Household Light Bulbs
- 4000K = Warm White
- 5600K = Daylight/Natural Light
- 6500K = Cool White
- 10000K = Skylight
In simplest terms the lower the Kelvin temperature the warmer and the higher the cooler. It goes from orange to blue.
Now, this will interact with your camera’s color balance. If the camera’s white balance setting matches the color temperature of the light the lights will appear to be pure white. What the camera’s white balance setting does is balance the color to the temperature of the light.
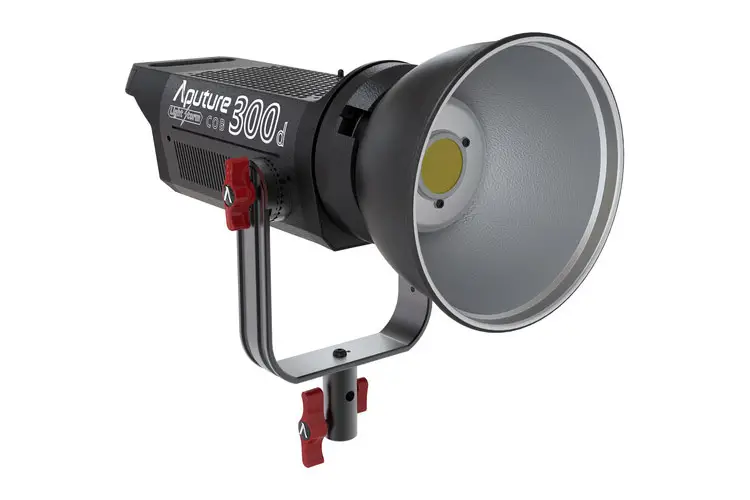
Image Credit: Aputure
Understanding this there are times where you want to get a warmer or cooler look in your image. For example, a sunset or sunrise is naturally warmer and you wouldn’t want to set your white balance to just turn it a neutral white.
With artificial lighting you need to be careful that everything matches up. Otherwise you will get into situations where you are getting mixed color temperature in the scene where some lights will appear cooler or warmer than the others.
Sometimes this is within your control and sometimes. It can also be used for effect by having some light be warmer than others.
Nowadays you can help control this in each shot with bi-color LED lights which you can tune perfectly for each shot. If you have a single color light there is the option to use gels as well, but that comes at a steep cost in brightness.
You will want to think about when and where you want to use different color temperatures. If the lighting is motivated by something else in the scene then you might want your cine lights to match up.
For example, late in the day with a warm sunlight coming in through a window or a basic lamp or a candle you will likely want a warmer light that actually looks warm on camera. Middle of the day or a skylight beaming in would likely benefit from a daylight-balanced light and a matched camera white balance to get a pure white, neutral light.
Just remember that white balance is telling your camera what true white is supposed to be. If you have a light with a color temperature lower than the camera’s white balance it will look warm and if you have a light with a temperature higher than the camera’s setting it will look cool. Adjusting and balancing these two settings or features is helpful in creating a good look in your final shot.
Understanding white balance and color temperature is crucial to nailing lighting.
[source: Brady Bessette]
Order Links:
Aputure Light Storm C300d Mark II (B&H, Amazon)
Disclaimer: As an Amazon Associate partner and participant in B&H and Adorama Affiliate programmes, we earn a small comission from each purchase made through the affiliate links listed above at no additional cost to you.

