Log gamma profiles are a pain the use. I’m not going to sugarcoat that since I don’t think any company has made it simple enough for your everyday shooter. They keep putting the option in cameras without much instruction—just the promise of how it delivers the best possible image quality.
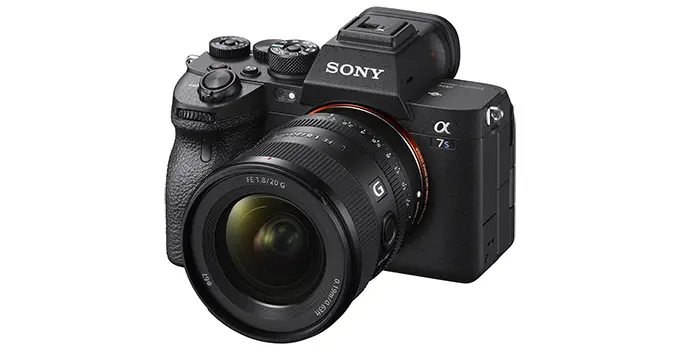
If you are a Sony shooter, especially one with a top-tier video pick like the a7S III, you might want to check out this easy trick for shooting effectively in S-Log3 from Chris Brockhurst. It’s well worth learning how to use it and on a mirrorless camera without a lot of helpful monitoring tools it does require a little bit of extra work to nail.
An area of the menu that I don’t think many people delve into is the metering modes. There are options like evaluative, center-weighted, spot, and more, but nobody really bothers with it when most of your shots are looking just fine on exposure. They are an amazing tool when you learn them and can help with difficult gammas like S-Log3.
Before we get started, there are generally some more foolproof ways of nailing exposure. For example, you can properly configure your zebras, a gray card, or use an external monitor with false color or waveforms. For run-and-gun or changing environments these aren’t always the easiest to use.

Image Credit: Sony
With Picture Profile 8 and Gamma Display Assist you should have a good preview. Then go find Metering Mode in the menu and change it to Spot Large. In the Spot Metering Point menu change it to Focus Point Link. What you now have is a spot metering point that follows your focus point around the image.
He uses the Spot Large focus point and navigates around the image using the joystick or the touchscreen to select different areas of the screen to see what the exposure is for that subject. What you should be doing is making sure that your main subject is exposed properly to your expectations, which may be +1.3 or +1.7 if you follow expose to the right rules.
You can adjust the focus area size and the metering spot size if you find the recommended settings were too large.
Overall this is a quick, simple way to better understand the overall range of your image and see if you might need to make some exposure adjustments to preserve data in certain areas.
[source: Chris Brockhurst]
Order Links:
Disclaimer: As an Amazon Associate partner and participant in B&H and Adorama Affiliate programmes, we earn a small comission from each purchase made through the affiliate links listed above at no additional cost to you.
Claim your copy of DAVINCI RESOLVE - SIMPLIFIED COURSE with 50% off! Get Instant Access!


