
Adjustment layers are an incredibly powerful tool available in many Adobe products, including Premiere Pro. It is basically an empty layer on which you can place effects that will apply to all the clips below that layer.
It can help save time by applying effects to an entire range of clips as a batch or even as you edit and swap out different clips without requiring working with each piece of footage individually.
There are plenty of ideas you probably already have for using adjustment layers. If you want to see just how far they can go this video from Premiere Gal shows off four creative ways to use adjustment layers.
You’ll first need to know how to make an adjustment layer. It’s easy. Just right-click in the blank space of the project panel and head to New Item > Adjustment Layer…
Make sure the settings make your sequence. Just drag and drop it onto your timeline.
1. Letterbox
You can create a nice widescreen effect with a letterbox over your footage. All you have to do is find the Crop effect and drag and drop it onto the adjustment layer in your timeline.
Now you can control the percentage of crop and set things like keyframes. This is actually very helpful if you are working with open gate or footage that will need to be cropped and want to easily make tweaks to your footage height without giving up the entire frame just yet.
2. Batch Color Grading
You can apply a universal color grade over all your footage in one step by using an adjustment layer. In this example, she applies FilmConvert Nitrate over her project. This makes sense since it can be used to add a specific film emulation across the entire timeline.
Image Credit: Adobe
Using adjustment layers like this can make it faster to get a general feel for a final look without spending a lot of time working on clips individually.
You can use multiple effects on a single adjustment layer so these can be as complex as you need.
3. Smart Layers and Project Templates
After you make some adjustment layers, you may find that you want to keep using the same effect in future projects or elsewhere in this project. That is because of how the adjustment layers store the data.
If you try to apply the same adjustment by dragging the layer into the timeline again it won’t show any active effect. What you will need to do is copy your effects into the Source area of the adjustment layer.
Open up your effect controls and you’ll see there are tabs at the top—one of which should be labeled as the “Source.”
Now, all you need to do is go copy your applied effects from the active adjustment layer and paste it in the source area. Now, you’ll be able to drag and drop the layers into the timeline and have the effects applied.

Image Credit: Adobe
Make a bin to store all your new master adjustment layers.
What you can do now is create a project template with your “smart” adjustment layers already there. Now, all you have to do is open a project template and you’ll have these premade adjustment layers ready to go.
4. Text Blurs
A nice effect that can make use of adjustment layers is applying a blur to footage that sits underneath text. Doing what you have done before you can easily drop a new adjustment layer over your footage and then apply the gaussian blur effect.
You’ll want to be careful where you stack your blur and other layers as you wouldn’t want to do something like blur your letterbox crop. Easy to fix if you do by just dragging a layer upwards.
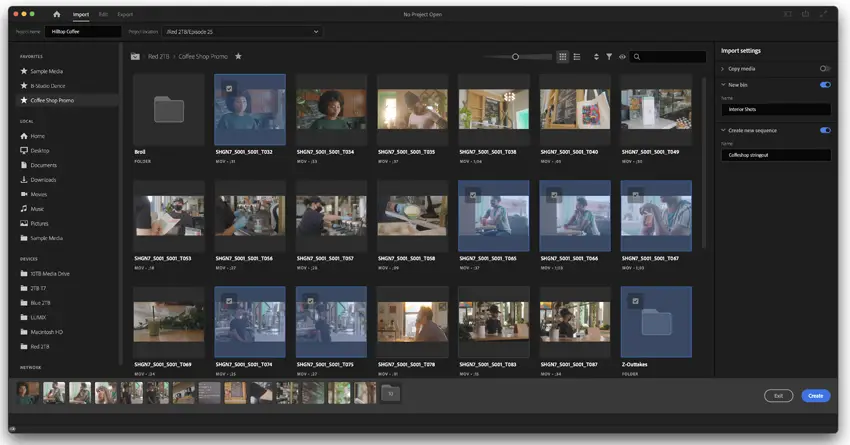
Image Credit: Adobe
A neat trick is applying keyframes on your effects in the layer so that you can add text and have the footage underneath blur as the text arrives and unblur as the text vanishes.
Using adjustment layers in combination can allow you to easily create more complex effects without too much work.
What do you use adjustment layers for?
[source: Premiere Gal]
Disclaimer: As an Amazon Associate partner and participant in B&H and Adorama Affiliate programmes, we earn a small comission from each purchase made through the affiliate links listed above at no additional cost to you.


