
LED lights come in all shapes and sizes and one of the most fun to take off in recent years is the tube. Almost like a fancy fluorescent light, these new LED tube lights provide a unique and very useful shape for filmmakers.
They also are small and can be positioned in ways that can help create a variety of different looks.
You don’t even have to take my word for it. Make Better Content is a fan of LED tube lights, specifically showcasing the Nanlite PavoTube 30C, and has three different methods for using a pair of the fixtures to light up your video.
These setups do ask for having a pair of LED tube lights, so you should look at some of those two-light kits.
1. Key + Rim/Practical
This setup is going to use one as a key light and another serving as a rim and practical fixture. The key light should look soft and cinematic, meaning that is should add depth and dimension to your subject.
First, you’ll want to position the key light at a 45-degree angle to the subject. This will create a nice fall-off into the shadows and give you more depth. Most of these lights come with mounting tools to get it positioned as you need.
Also, he sets up the light horizontally instead of vertically. These lights are already diffused and large so shouldn’t need much work to get looking soft. Being horizontal will focus it onto the face and not so much on the whole body.
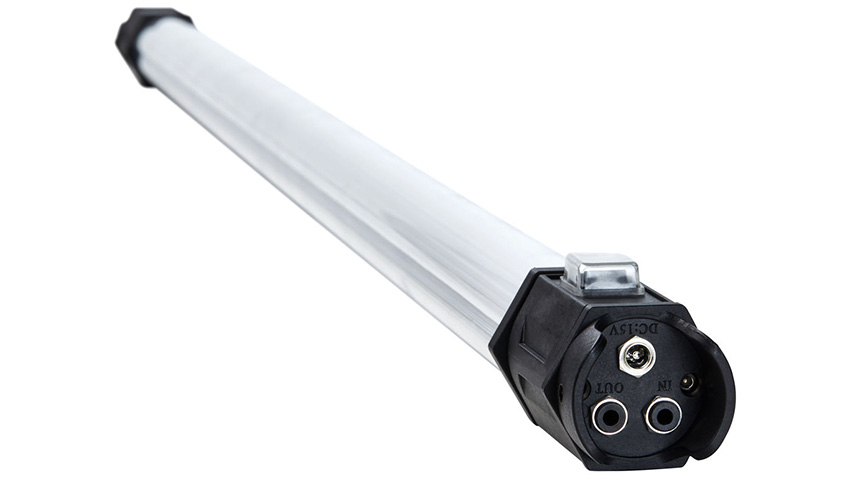
Image Credit: Nanlite
Keep the light as close as possible without getting it in the shot. The closer the light the softer it will appear. Boom arms come in handy here.
The second light is serving as a practical light and a rim light. Keeping it in the frame and setting it to a warmer temperature can bring some visual benefits to your shot. It also is facing the subject and camera on the opposite side of the key light to give a little bit of illumination to the subject. Simple and it works.
2. Key + Accent
This setup keeps the key light exactly the same but moves the second light to serve as an accent.
Nanlite’s tubes have full-color mixing and in this shot, he repositioned the light below the frame and facing the background. Then he set it to purple (any color will work) and it created a nice colored background instantly.
You will want to keep the background light away from the subject to ensure good separation. Some spill will cause unwanted blending and dilute both. Adding a grid to your key light can help.
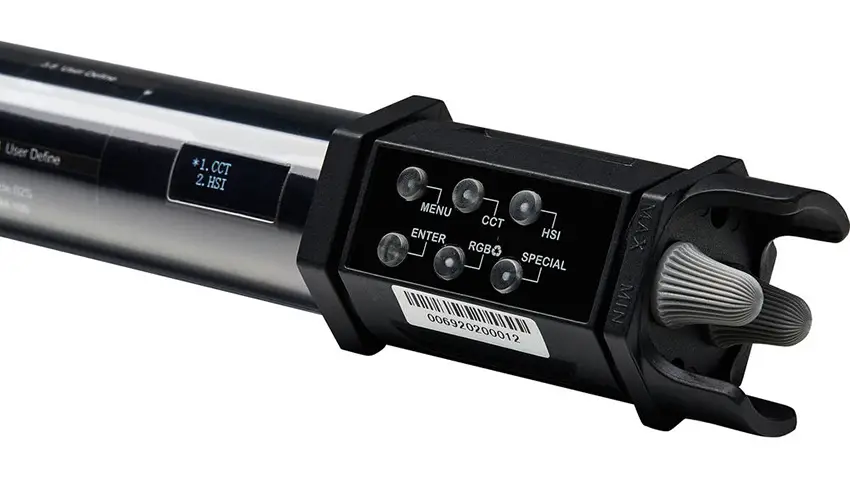
Image Credit: Nanlite
3. Key + Fill
Using the two tube lights as a key and fill might be the least practical example, especially in the colors he chose. Both are positioned vertical to the side of the subject on opposite sides. This should create a direct contrast.
Most of the time if you are shooting with standard color temperatures you would have them match and simply keep the fill light at a lower power setting to maintain contrast.
In this example, he has them set to very different colors which creates a more creative contrast.
This look can look very good if you take care and play around a bit.
Have you used LED tube lights? What setups do you like?
[source: Make Better Content]
Order Links:
Disclaimer: As an Amazon Associate partner and participant in B&H and Adorama Affiliate programmes, we earn a small comission from each purchase made through the affiliate links listed above at no additional cost to you.

