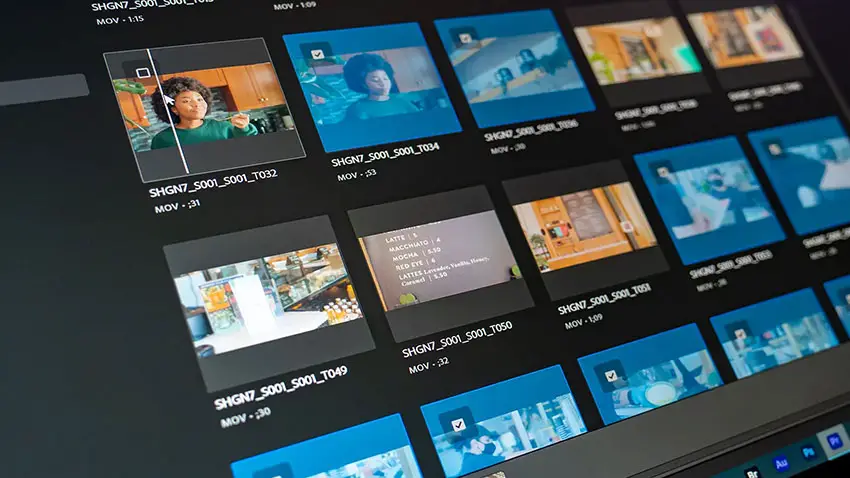
We recently covered how to edit and export high quality Instagram Reels in DaVinci Resolve 18.
How about a similar but different take for a different platform using another popular NLE? This time around we are looking into how to edit and export YouTube Shorts in Adobe Premiere Pro.
We are once again looking at a nice tutorial put together by filmmaker Matt WhoisMatt Johnson. He shows off how to edit, export, and then how to get it to your phone for upload.
These steps should apply to any platform whether you are on Mac or PC or iOS or Android.
You can skip all of this and just go download his preset. If you want to understand it though you need to read on.
Sequence Setup
It all starts with getting your sequence set up properly. That means getting a proper vertical sequence ready. Head to File > New Sequence… and find the settings. Starting with a DSLR setting is a good bet. Check your frame rate to match your camera, probably 23.976 fps. Then you’ll need to flip around your frame size to 1080 x 1920.
That’s all you need to do for the most part.
Resizing Clips
When you start dropping in footage if it isn’t already in vertical format you’ll see it get squeezed to fit with heavy black bars on the top and bottom. To resize the clip you’ll want to select the clip, head to Effect Controls, and adjust the scaling. This is around 316% for 4K on a 1080 x 1920 timeline.
Now you can use the position tool to get the clip looking just right.
The next thing to keep in mind is that you are limited to a maximum of 60 seconds for YT Shorts so trim any clips down to where you need them.
Export Settings
If you are ready then head to File > Export…
Choose a name, choose a location, and then for format select H.264. The settings will need some customization. First, under Basic Video Settings you should tap Match Source to get things most of the way there.
Click More to reveal additional settings.
Make sure Render and Maximum Depth and Use Maximum Render Quality are both checked. Then for Encoding Settings you’ll want to select Hardware Encoding for Performance if you have that option.
Most everything else should be okay.

Image Credit: Adobe
Head down to bitrate settings and change it to CBR, or Constant Bit Rate. Set the target to 40 Mb/s. This is high but it accounts for YouTube doing extra compression on top of it.
Audio is simple just set it to AAC at 48kHz with stereo and 512 kb/s bitrate.
Save this as a preset to save yourself some time later on.
Then you can export it out.
Copy to Your Phone
Use whatever platform you are most comfortable with for copying the file to your phone. Platform-independent options include Dropbox or Google Drive where you can quickly upload from your computer and download to your phone using the respective app.
If you are on Mac and have an iPhone you can make use of AirDrop to quickly move the file over.
Then just head to the YouTube app and upload the Short.
Have you started making YouTube Shorts yet?
[source: Matt WhoisMatt Johnson]
Order Links:
Disclaimer: As an Amazon Associate partner and participant in B&H and Adorama Affiliate programmes, we earn a small comission from each purchase made through the affiliate links listed above at no additional cost to you.


