
It’s not always easy to get excited about x.1 updates to software since they are usually just bug fixes, but Blackmagic actually added a ton of new features in DaVinci Resolve 18.1.
Among them is something that professional colorist Darren Mostyn found incredibly interesting – a new quick sky replacement tool. He created a step-by-step guide on how to use it and what not to do. It doesn’t even require getting into the more technical Fusion controls either.
This is a helpful tool to have in your back pocket since no matter how well you plan you can’t always control how interesting the sky is going to look on any particular day.
The usual method is to key out the sky, find some stock footage, and then just superimpose the image on the background.
He shows off how that looks and then shows off a sky replacement that was created entirely within Resolve using the new tool and I must admit that it looks quite good.
In the new OpenFX list there is a specific Sky Replacement tool now and that is what we are working with today.
You can work with it on the Color page and can either drag and drop it onto a node or use an Effects node for a little more control.
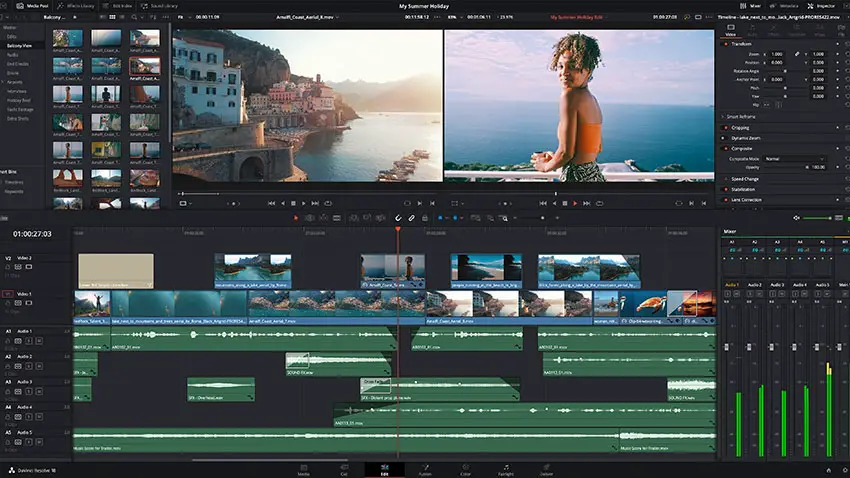
Image Credit: Blackmagic Design
Using a single node with the effect simply dropped on you’ll need to tell it what part of the scene is the sky. You can go about this a number of ways.
The first option is to use a mask, like the magic mask to do a quick key and then some tweaking.
Then just increasing the opacity on the sky replacement tool you should see the new sky start to take form. You can also blend that with the original for a more natural look.
With an FX Node added to the chain, you have a few more tools. With them properly connected you can use a qualifier tool on the original node to key out the sky. You can then feed this key directly into your FX node.
In the sky replacement tool, you have a ton of options. First, you’ll want to refine the mask as you need. The cleaner the mask the better the results. Bring up the sky opacity to get a look at the sky. You can change color and softness with ease.
There is a second set of options for the clouds. Resolve will in fact generate clouds for your background here. Turn up the cloud opacity to reveal them. You can change scale, shape, tilt, detail, and more. You can really dial this in and animate it over time.
Compared to stock footage you can get the image exactly as you want for the foreground. Even if the shot has movement there is a built-in tracking tool to match the motion. It’ll track or use keyframes to get the movement looking right.
That is a shockingly powerful tool that they added and should be fun to play around with.
What do you think about Resolve’s new Sky Replacement effect?
[source: Darren Mostyn]
Order Links:
Disclaimer: As an Amazon Associate partner and participant in B&H and Adorama Affiliate programmes, we earn a small comission from each purchase made through the affiliate links listed above at no additional cost to you.

")