
It may not be the newest and hottest camera on the market anymore, but the Sony a7S III is still an amazing pick that make it one of the best options available today. If you are an experienced a7S III user or just picked one up there are some things you should know to get the most out of the camera.
Part of the problem with cameras like the a7S III is also one of its strengths: a plethora of features. Advanced autofocus, Picture Profiles, dual native ISO, and more make this a camera you really have to spend time figuring out. Or, just watch this video from Make Better Content with 8 must-know tips for the a7S III.
1. Flexible Focus Spot + Joystick
The autofocus system in the a7S III is excellent. For a bit more control without losing the ability to quickly change the focus point to follow your subject you should take advantage of the flexible focus spot area setting.
By setting the focus area to either a small, medium, or large spot and then using the joystick you can quickly and precisely manage your focus. This is ideal for handheld use where your thumb is in the perfect place to operate the joystick.
2. Tap to Focus
Touchscreens took a while for Sony to get the hang of but now they are a great feature on their latest cameras. On the a7S III you’ll need to enable the tap to focus function to make the most of it. Down in the Setup menu under Touch Operation you’ll find the option to turn it on.
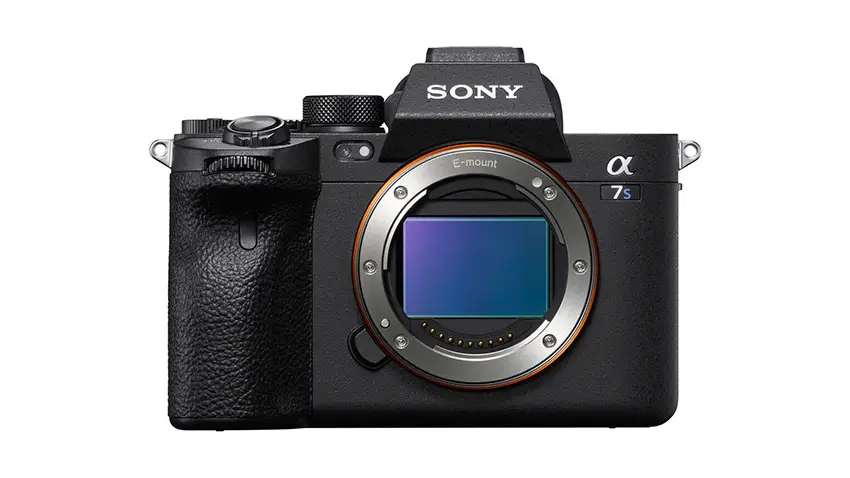
Image Credit: Sony
In spot focus, if you tap on an object that is 10’ or farther from you it’ll actually lock onto that distance. This should help with reveal-type shots or product videos. You’ll start where you want to end, lock the focus, and then do the move.
Tracking mode is the one to use with moving subjects and will include features like face priority. If you want to tap on a subject, like a bride walking down the aisle, it’ll lock on and follow them as they move.
3. Change the Focus Speeds
A neat addition to the a7S III was the addition of focus speed control. Medium is the default and while this often will be fine sometimes more cinematic looks call for a slower option. Or, depending on your subjects and shot you might want the camera to perform the move faster.
You can even control how quickly it’ll move from the current subject to the next. This can help stop the camera from accidentally moving to different subjects as well as help you more quickly work in fast-moving scenarios.
4. Auto White Balance Lock
Auto white balance is nice and easy to use, but it isn’t always the best move. Plus, if there is a change in lighting during your take it can result in an annoying shift mid take that will be tough to correct. The opposite can also be true.
There is an option to quickly shut off the auto white balance and stay locked where it was set. Setting this up for easy access will allow you to still use auto white balance but lock it down to give you more reliability.
5. Expose S-Log3 Correctly
To get the maximum image quality you’ll need to use S-Log3. If you are new to Picture Profiles you should use the Gamma Display Assist feature and make sure everything looks good.
Going beyond that you should know that S-Log3 benefits from extra light. Using the in-camera meter and getting the exposure to +1.3 or even a little greater will help you later on. This guideline combined with double checking with Gamma Display Assist can help get you a good take.
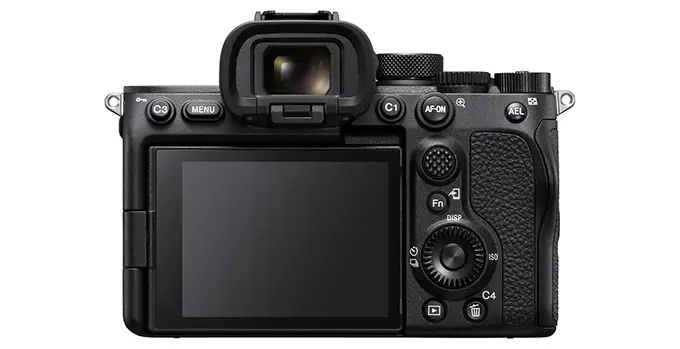
Image Credit: Sony
6. Dual Native ISO
The native ISO is the one that will produce the maximum dynamic range. Modern cameras often have a dual native ISO architecture that gives you low and high native ISO choices for use in good and low light, respectively.
You need to learn them for your camera and try your best to stick with them.
The a7S III has dual ISOs and while they shift depending on what Picture Profile you use the guideline is that the high setting is 4-1/3 stops greater than the low ISO. You’ll find the low ISO is the lowest setting before you start seeing the bars above and below the numbers in the menu. In S-Log3 it is ISO 640 and 12,800.
Lower is still the ideal, but the high ISO setting can be a lifesaver and may be essential for some situations.
7. Make Sure You Are Recording
The last thing you want to do is get home and realize you forgot to actually hit record for that killer shot. There are plenty of indicator options on the a7S III to make sure you are actually recording.
The first is audio signals. You can have the camera make an audible beep when you start recording. It’ll make a slightly different sound when you stop so you don’t get confused.
Another option is turning on the tally light on the screen. In the Shooting menu there is a Shooting Display menu with an emphasize display during REC option to turn on. This will have a bright red border show up on your screen while recording.
8. Use the Right Memory Cards
Certain recording options can be picky about what memory cards you use. The a7S III can actually use both standard SD cards and the newer (and more expensive) CFexpress Type A cards.

Image Credit: Sony
For the best results, you’ll need to pick up those CFexpress Type A cards. The camera won’t even let you use some settings without them, such as the 4K 120p XAVC S-I option.
However, if you don’t plan on using those modes you can actually get by without them. Anything except for that aforementioned mode is doable using V90 SD cards. They are pricey, but much cheaper than CFexpress cards.
If you are shooting in the simpler XAVC S format you can even get away with V60 SD cards.
Did you learn anything that you are going to start using? Have anything you’d like to share?
[source: Make Better Content]
Order Links:
- Sony a7S III Mirrorless Camera (B&H, Amazon)
- Sony 80GB CFexpress Type A TOUGH Memory Card (B&H, Amazon)
Disclaimer: As an Amazon Associate partner and participant in B&H and Adorama Affiliate programmes, we earn a small comission from each purchase made through the affiliate links listed above at no additional cost to you.

