
Love it or hate it vertical video is here to stay. With tons of consumption taking place on smartphones and similar devices it’s an inevitable fact of life.
Your problem might be that you are still working on creating content with a more normal 16:9 aspect and still need to occasionally produce some pieces for vertical devices with that tool.
Now, mirrorless and other small cameras now often come with vertical shooting modes. Cinema cameras like the ARRI ALEXA 35 not so much.
ARRI themselves isn’t ignoring vertical video, however, as they have just released a video on the ARRIChannel about how to properly shoot 9:16 with the latest ALEXA.
Vertical content is becoming more and more expected of content creators and even if your main rig is an ARRI ALEXA you’ll likely still have to think about 9:16 format at some point.
Time to admit the battle is lost. People are just not going to rotate their phones.
ARRI has thought about this and has workflows and accessories to make shooting vertically a bit easier.
It certainly helps some of their users working on shooting digital billboards or in online retail spaces. Production companies do create high-end vertical content.
Open Gate Recording
One place you can start is with the Open Gate recording mode. Instead of recording in a more typical 16:9 aspect or even something for anamorphic like 6:5 you can choose to record with the entire sensor area.
This is a 1.44:1 aspect that splits the difference between those two and gives you more vertical resolution if you need it.
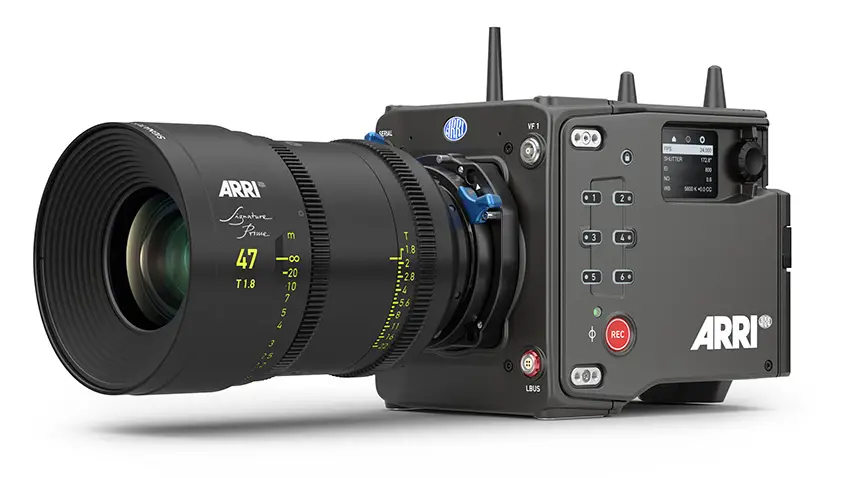
Image Credit: ARRI
Both the ALEXA Mini LF and ALEXA 35 have vertical resolutions over 3K, which should be plenty for most vertically-oriented devices like an iPad Pro or iPhone 14 Pro Max. That means you don’t need to turn your camera on its side to get the best quality.
Using the frame lines tool they offer on their website will allow you to create something with up to three different markers to use on your ALEXA.
The most common option would be a Swiss cross that gives you both the vertical video and horizontal video framing at the same time.
Shooting Double
It’s possible that you may have the time to do your shots twice, perfecting your framing for both horizontal and vertical formats.
For the best on-set experience you will want to make sure you can switch your camera to and from each orientation very quickly.
Some basic options include L-plates that allow you to very simply rotate the camera on your tripod.
Usually this isn’t the most ergonomic option and may not work with all your support types, such as gimbals. It also doesn’t account for other accessories where placement is important, like the viewfinder.
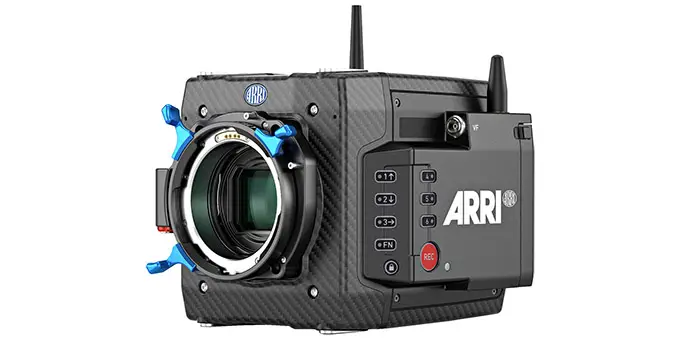
Image Credit: ARRI
ARRI has made some vertical shooting accessory kits that take all those concerns and address them. With the ARRI tools you’ll be able to rotate the camera quickly and make sure your other accessories are rotated and placed in the right position.
One thing to avoid is using the side brackets for direct mounting of your tripod plates. They aren’t designed for that use and you can end up with vibration.
ALEXA Mini LF
Being an almost perfectly symmetrical design, the ALEXA Mini system is very easy to work with in vertical orientation.
All they needed was a few Vertical Format Adapters for the corners that then allow you to use any plates that would be on the top or bottom of the camera and you can get them mounted where the side brackets would go.
The Vertical Format Adapter Set for the ALEXA Mini comes with all the pieces you need. As for plates you can mount these adapters will support both the MAP-1 and MAP-2 series. For the ALEXA Mini LF you’ll need to add the Vertical Top Plate since that will work with the camera with the Codex bay hump.
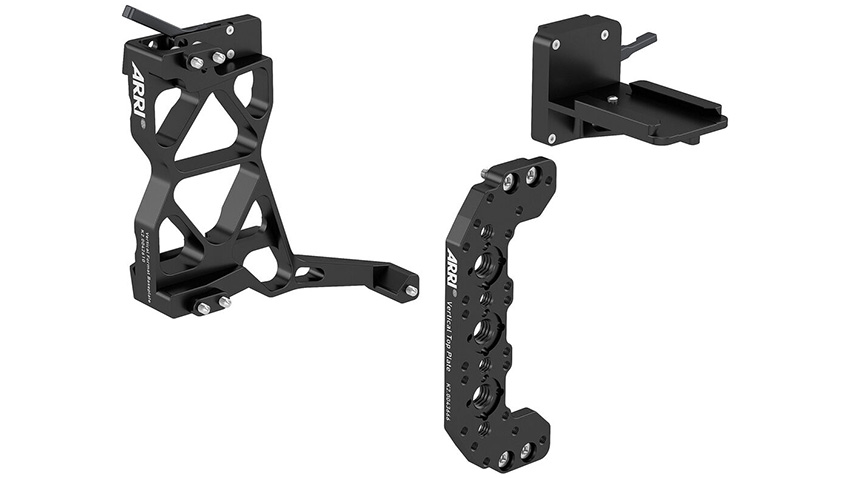
Image Credit: ARRI
Rods will work flawlessly here and with the vertical adapters they will remain optically centered. Can’t beat that.
Batteries will be fine and often can just be mounted sideways. The B-mount batteries especially since they were designed to be mounted in various configurations and orientations.
ALEXA 35
Being a different body design the ALEXA 35 does call for a slightly different setup to achieve vertical orientation.
Since the camera has mounting holes on the side that will support plates you can begin by adding the Vertical Format Baseplate directly to the side of the camera.
The plate has a few mounting points to make sure it is solid without any play. It has the same dovetail system as the baseplate so you can easily swap out accessories.
A note on rods, if you are running them at the bottom of the camera you will find that while they are centered they are not the right height. ARRI needed to leave some space at the back to keep access to your outputs and to run cables.

Image Credit: ARRI
There is a Vertical Top Plate which leaves room to access all the controls, screen, and card bay. You will have to use either the CCH-2 Center Camera Handle (recommended to be mounted backwards) or the LCH-1 Lightweight Camera Handle.
The top plate, baseplate, and viewfinder adapter are all included in the Vertical Format Set for ALEXA 35.
It feels almost wrong to want to mount an ALEXA vertically, but they seem like great, well thought out solutions from ARRI.
[source: ARRIChannel]
Order Links:
- ARRI ALEXA 35 Cinema Camera (B&H)
- ARRI Vertical Format Set for ALEXA 35 (B&H)
- ARRI ALEXA Mini LF Cinema Camera (B&H)
- ARRI Vertical Format Adapter Set for ALEXA Mini (B&H)
- ARRI CCH-2 Center Camera Handle (B&H)
- ARRI LCH-1 Lightweight Camera Handle (B&H)
Disclaimer: As an Amazon Associate partner and participant in B&H and Adorama Affiliate programmes, we earn a small comission from each purchase made through the affiliate links listed above at no additional cost to you.
Claim your copy of DAVINCI RESOLVE - SIMPLIFIED COURSE. Get Instant Access!


