
Still the standard after so many years, the ARRI ALEXA Mini LF is a remarkable camera. Most of us will never be able to purchase one for ourselves, but due to the camera’s popularity it isn’t unheard of to find yourself on set with a rental unit.
In those cases you’ll definitely want a better understanding of what you can do to get it rigged up for your shoot so you can save time before, during, and after the shoot.
Someone who is actually fortunate enough to get an ALEXA is Matti Haapoja. Fortunately for us, he is going to walk us through rigging it up for indie filmmaking.
If you have ever seen a BTS photo of a film production with one of these cameras there were probably moments, especially early in your career, where trying to figure out what all the different pieces are was intimidating. Matti had the same feeling.
Coming from more independent one-man-band type shooting those rigs seem a bit out of control. Matti is going to do a breakdown of the various pieces to help everyone understand and show how he is building out the rig to suit his workflows.
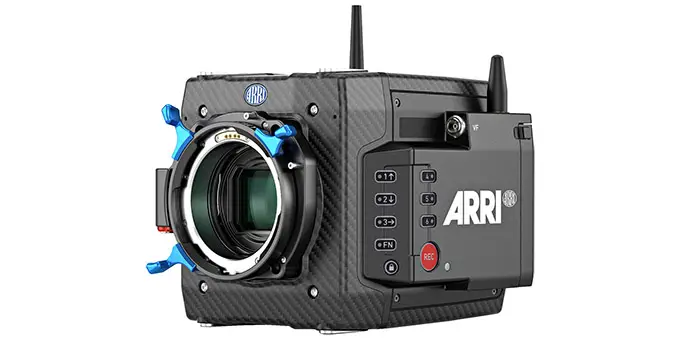
Image Credit: ARRI
When the camera rig is deconstructed to get to see what ARRI mean’s with the “Mini” branding. Compared to traditional cinema cameras this thing is tiny. A carbon fiber construction keeps it light without giving up strength or durability.
Unfortunately, the “brain” of the ALEXA Mini LF isn’t going to be doing much on its own.
The Base Rig Options
Adding a skeleton of sorts to the unit will help you expand with your necessary accessories. A cage seems to be in order. ARRI has their own cage in the Ready to Shoot Package, but there are plenty of third-party options like the one Matti has from Wooden Camera.
Each cage will have its own pros and cons and that will depend on what you prefer in your rig. Wooden Camera did have a nice battery plate that could be repositioned as you needed.
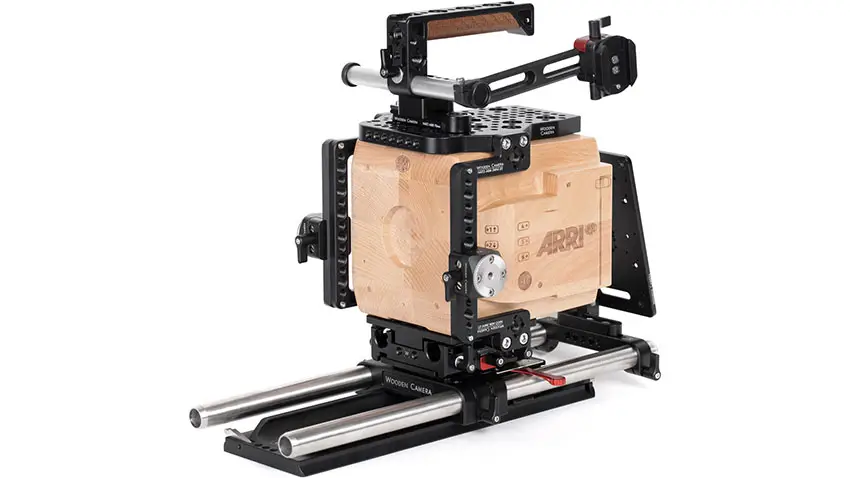
Image Credit: Wooden Camera
All these cages work very well because ARRI has dedicated screw holes around the camera body to get everything secured extremely well. Get all the pieces of your cage attached as needed and now you can start to see it coming together.
The battery plate is a fairly sizable piece of kit. Generally, you will be looking to mount it towards the back, though Matti does have an alternate mounting place at the top of the back.
To see what is going on you’ll need to attach a screen. The ARRI option is an EVF with a flip-out screen. It has some flexibility in mounting and at this point, you are basically ready to shoot. All the pieces to get to this point are in the $90,000 Ready to Shoot Set.
Next, you’ll want to actually get it turned on. Find a V-mount battery of your choice, though make sure you have the outputs to keep all your other bits powered as well.
For lenses, you have some good options. It comes with both a postive-lock PL mount and the newer LPL that supports large-format glass. Depending on your modes and what lenses you have already you’ll choose accordingly.

Image Credit: DZOFilm
This kit shows off a few Vespid Prime lenses from DZOFilm. They have been making some killer glass that is much more affordable than the traditional options which still delivering great quality.
At this point you can actually hit record—almost. You’ll need some media. Some very, very expensive media. ARRI uses a Codex Compact Drive and it is the only option you have to pick from.
These proprietary SSDs are a couple TBs and will cost thousands of dollars. These are as reliable as you can get because you can’t afford to have any issues with media on expensive sets.
Wire everything up and now you can actually hit record and capture some footage.
Matti’s Modifications
Even with the astronomical price point, there is one thing that Matti found disappointing: the screen. This is a lackluster display for such a premium camera so he swapped it out with the SmallHD ULTRA 5.
It’s super bright with great contrast with all the monitoring tools you expect. Plus, there is the ability to control the camera via the screen.
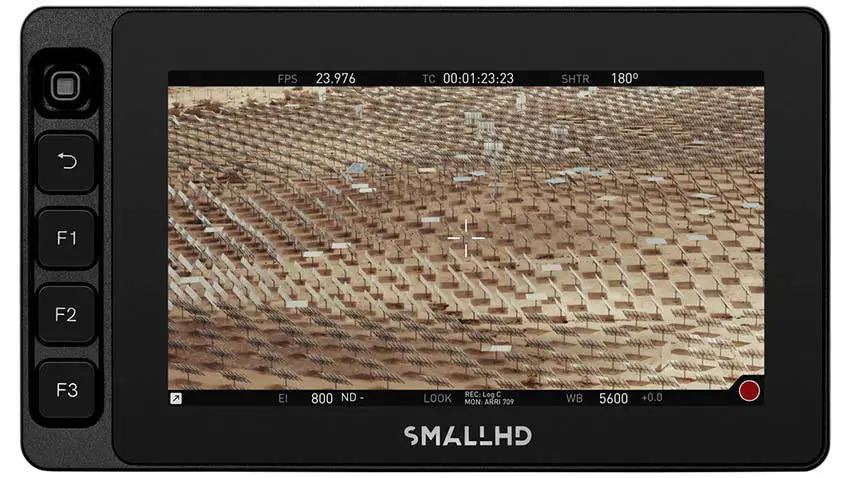
Image Credit: SmallHD
Since this relegates the ARRI screen and EVF to a secondary position just for menu diving he moves it to the other side and pops the SmallHD in its place.
At this stage, you are looking at the essential rig. There’s nothing extra here and there is enough to get you very comfortably up and running.
Something else he recommends is a follow focus of some sort. It’s going to be necessary to get some smooth focus pulls. He opts for a simple follow focus though you could just as easily get a wireless option.
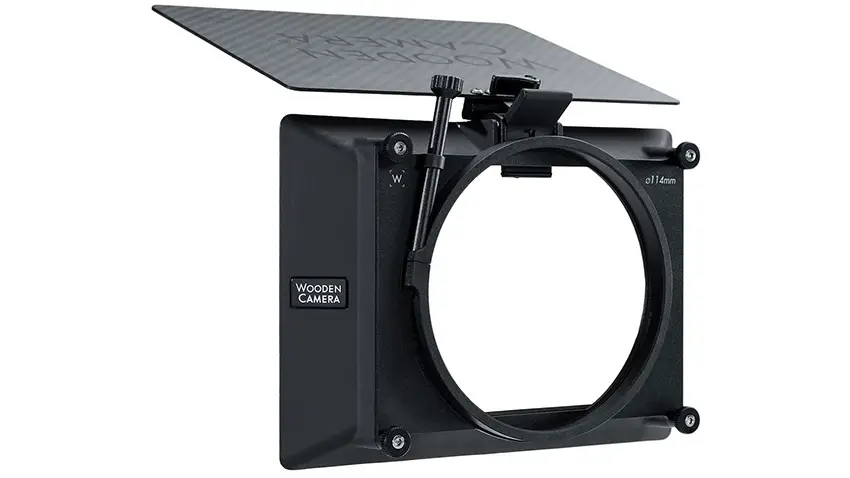
Image Credit: Wooden Camera
And the final piece is a matte box. He has a Wooden Camera Clamp-On Matte Box that does the job well. Supports filters and everything else you need.
There’s nothing too complicated with this camera rig once you break it down. Understanding how it works can help you better use the camera and make it a tad less scary.
You can take this knowledge to other cameras too, even ones that don’t cost nearly $100k.
What did you think of Matti’s rig? Still a dream to use an ARRI camera on your next project?
[source: Matti Haapoja]
Order Links:
- ARRI ALEXA Mini LF Cinema Camera (B&H)
- Wooden Camera Unified Accessory Kit for ARRI ALEXA Mini LF (B&H)
- ARRI Codex Compact Drive (B&H)
- SmallHD ULTRA 5 Bright Touchscreen Monitor with ARRI Control Kit (B&H)
- DZOFilm VESPID 35mm T2.1 Lens (B&H)
- Wooden Camera Zip Box Pro Matte Box (B&H)
Disclaimer: As an Amazon Associate partner and participant in B&H and Adorama Affiliate programmes, we earn a small comission from each purchase made through the affiliate links listed above at no additional cost to you.


