
I remember the days when upgrading the hard drive of your Mac was as simple as looking up a short guide on the internet and making sure you had the right screwdrivers to open up the computer.
It’s not so simple anymore with Apple Silicon. However, that doesn’t mean it is impossible to pull off you’ll just need to take even more care and understand more about Apple’s computer designs.
While I might not crack open the latest MacBooks just yet if you are the proud owner of an Apple Silicon Mac mini you may be able to tackle an SSD upgrade on your own. That entry-level 256GB model is probably getting filled up, so why not upgrade to 2TB with this guide from Luke Miani.
Apple Silicon has been a huge problem for post-purchase upgrades or repairs. Since Apple still has, frankly, extortionate prices for things like extra storage or memory a lot of people end up with less than they actually want and will find the limits of that choice quickly.
It is a lot more difficult, but it isn’t impossible. You can’t upgrade everything yourself just yet so we are going to start with the SSD, which might be one of the most practical upgrades.
Apple has been doing a lot more soldering and gluing of their components these days. The Mac mini being a desktop does make it a touch easier to get open and you shouldn’t have too many issues with that part.
Remove all the parts you possibly can though as the actual drive removal can be a bit scary if it is the first time you have tackled this type of project.

Image Credit: Apple
Physical SSD Upgrade
The SSD chips are secured to the board using underfill, which requires some special tools to remove. You’ll need a special underfill tool, which looks similar to an Exacto knife, and a hot air gun.
Using the hot air to heat up the chip and underfill you can slowly start to work around the edges of the SSD. Slowly as you work around it you’ll eventually need to get under it and start to pry it off. Be slow and cautious and eventually it should just pop off.
Apple actually uses two chips for the system SSD. Using two allows you to get much faster speeds and the system is designed to treat it as a single drive when you use it. So, you’ll have to do this twice and be extra careful to not damage anything.
Once the SSD chips are removed you’ll want to use the tool and a solder to scrape the underfill off the board. Clean it up with some rubbing alcohol and give it a look. You’ll then need to prepare your new SSD chips with the proper solder and tools and carefully secure them to the board.
Load up macOS
With that complete it is time to reload macOS onto the system. You’ll need another Mac with the Apple Configurator. They are actually using the Big Sur version because later versions don’t let you restore a computer with blank SSD chips.
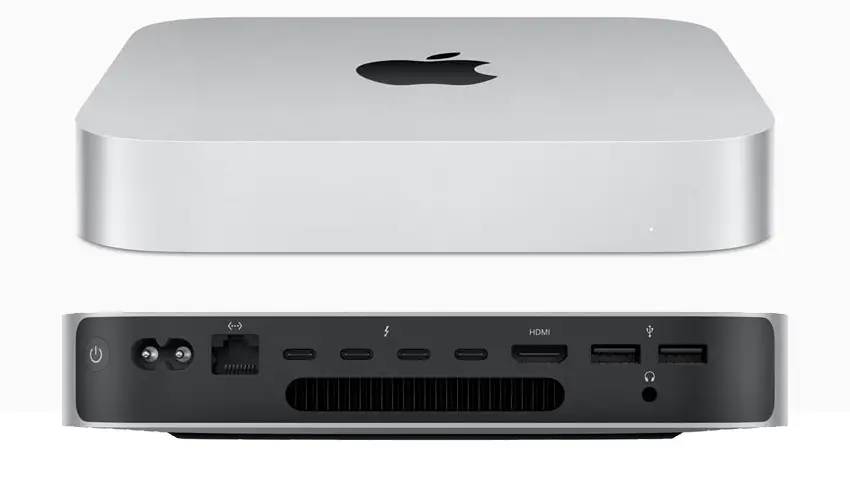
Image Credit: Apple
This part will take a lot of time. It’s also a scary part where it either works or doesn’t work.
They actually encountered some errors getting it loaded up. Looking into it the best guess was that the order of the SSD chips may matter a lot. So, they switched the chips and started the software process again. Again they hit a wall.
Apple makes their system super customized and locked down to prevent unauthorized installation of non-Apple components. It is likely that this is causing the main problem.
They had a set of programmed SSDs in the first trial and they looked into just going for unprogrammed, actually blank, SSD chips.
This time the Apple Configurator actually loaded everything up on the Mac mini and the full 2TB upgrade is functional.
It’s not an easy process, but oftentimes these computers turn into garbage after they reach the end of their useful limits. You just replace it with a new computer.
With this you might be able to save a lot of cash by just trying some affordable new parts. The blank SSDs in this case only ran about $100.
I’m surprised you can pull this off yourself and for the experimental among you it seems like a great deal. Would you try this yourself?
[source: Luke Miani]
Order Links:
Disclaimer: As an Amazon Associate partner and participant in B&H and Adorama Affiliate programmes, we earn a small comission from each purchase made through the affiliate links listed above at no additional cost to you.
Claim your copy of DAVINCI RESOLVE - SIMPLIFIED COURSE with 50% off! Get Instant Access!


