
The new Blackmagic Camera app will transform your iPhone 15 into what is basically a cinema camera.
You’ll get a menu system just like Blackmagic’s cinema cameras with a ton of new features that we haven’t really seen on an iPhone before.
One of these is the ability to shoot in an Apple-sanctioned log mode in ProRes to maximize dynamic range and editing flexibility.
Looking at that many camera settings on an iPhone may be a new experience for many. If that is the case, you might need some help getting started with the Blackmagic Camera app.
If you want to learn about the best settings for shooting log then look to this video from Matt WhoisMatt Johnson.
When you open up the Blackmagic Camera app you’ll want to head right into the settings menu. Start with the Record settings and check your codec.
Matt recommends going with HEVC (H.265). ProRes is there, but these files are absolutely massive and while they are good files it likely isn’t worth filling up your phone so quickly. The quality of HEVC is nearly as good as long as your computer can handle that.
The only time you might want to choose ProRes is if you plan on doing some major color work later, such as with a green screen. You could also do it if you just wanted to shoot in the best possible format.
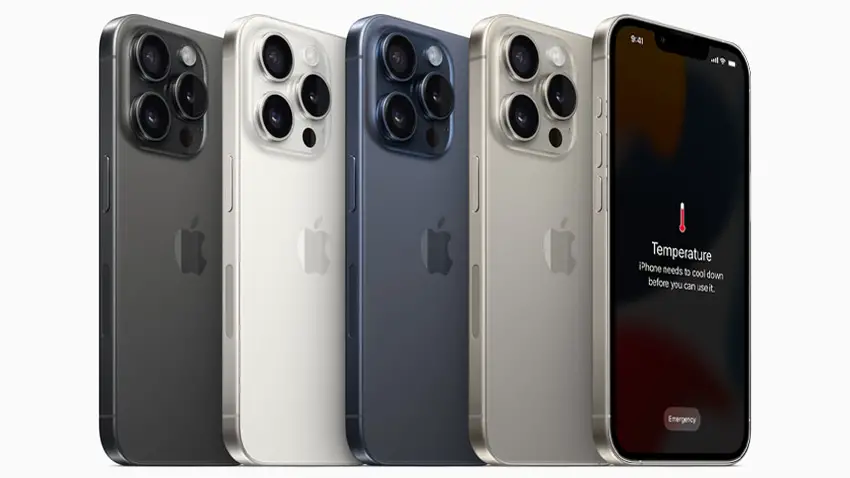
Image Credit: Apple
Resolution is the easiest – go with 4K. Color space is where you will find the Apple Log option. It’ll help in a lot of ways to maximizing the potential of footage from the iPhone. That’s all you’ll need to set in the major options at this point.
Going out to the shooting menu you’ll see all your common settings you might find on a traditional camera. Start off with white balance. You’ll want to lock this in to an exact setting. This will prevent unexpected color shifts that will make editing more difficult.
There are then helpful assist tools built into the app – making it infinitely better than the stock camera app. Tap the framing icon to reveal a bunch of these, including zebras. Set your zebras at 95%, which means when you hit 95% brightness you’ll see zebras and this shows when you are overexposed.
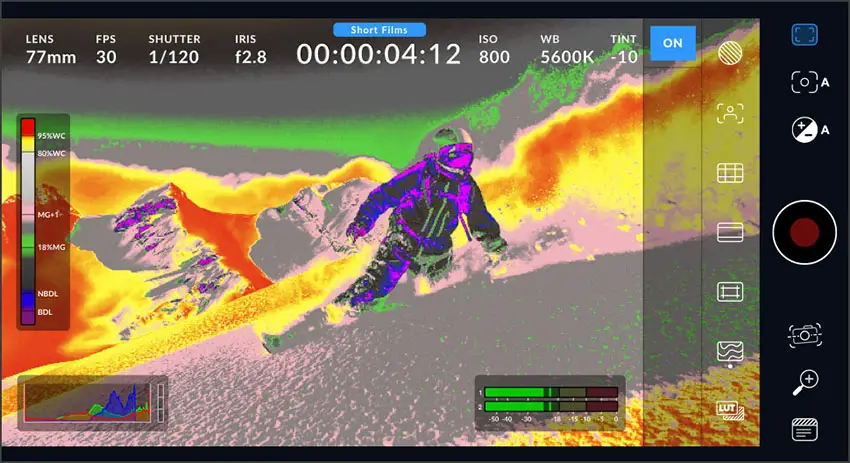
Image Credit: Blackmagic Design
To get the best possible dynamic range you’ll need to work around the iPhone’s base ISO, which is believed to be at ISO 1250. This was found through testing from a bunch of other creators and can capture up to around 14 stops.
Going back to the Blackmagic Camera app, you’ll notice that tapping on the screen to adjust your focus will also adjust settings like ISO and exposure.
The iPhone also has a fixed aperture so you can’t change that though you can change the shutter speed. You should lock your shutter speed because that will actually lock your exposure so that when you tap it will only affect the focusing. Set and lock your shutter to 1/48th second.
Now, working in daylight with these settings is probably going to result in overexposed footage. To address this you’ll want to start looking at actual accessories for your phone.
An ND filter is going to come in handy here. These come in a lot of varieties with ones that attach to cases, clip-on options, stick-on options, and more. Find one that you like or comes from a familiar brand.
With all that done you’ll be getting some impressive quality out of your iPhone.
What do you think about the iPhone 15’s video capabilities? Would you trust this as an A or B cam for your next project?
[source: Matt WhoisMatt Johnson]
Disclaimer: As an Amazon Associate partner and participant in B&H and Adorama Affiliate programmes, we earn a small comission from each purchase made through the affiliate links listed above at no additional cost to you.
Claim your copy of DAVINCI RESOLVE - SIMPLIFIED COURSE with 50% off! Get Instant Access!


