
The lavalier is one of the most tried-and-true mic options for shooting talking heads and doing interviews. It’s become a very visible and popular pick for the latest wave of social media as well.
Among the brands heavily invested in the content creator space is RODE and it should be unsurprising they have a good, relatively affordable mic option called the Lavalier II.
All videographers should learn that using a lavalier isn’t quite as simple as just plugging it in, clipping it to your talent’s shirt, and pressing record.
There are good practices and technique for getting it set up and who better to trust than the folks at RODE themselves.
Before we even get into setting up the mic, we should give a little information on it. Lavaliers are common for a reason. They are small and can be hidden close to the sound source, usually a person.
Being able to use an unobtrusive mic is important for many shooting situations. Plus, these integrate very well with wireless systems.
The Lavalier II has a more distinct look that is slim and low-profile which makes it an even better choice for discrete mic placement.
Now for some setup tips. The method you’ll learn is probably one of the most commonly used: the broadcast loop. This is simple, and to start you’ll need to decide which side of your talent’s shirt or clothes you are going to use.
If you want to use their left you’ll want the clip to have the RODE logo facing up. For the right side, you’ll flip the clip over.
Clipping in the mic is easy. You will see there is a neck of the mic under the housing that will just snap into place on the clip. It should lock in.
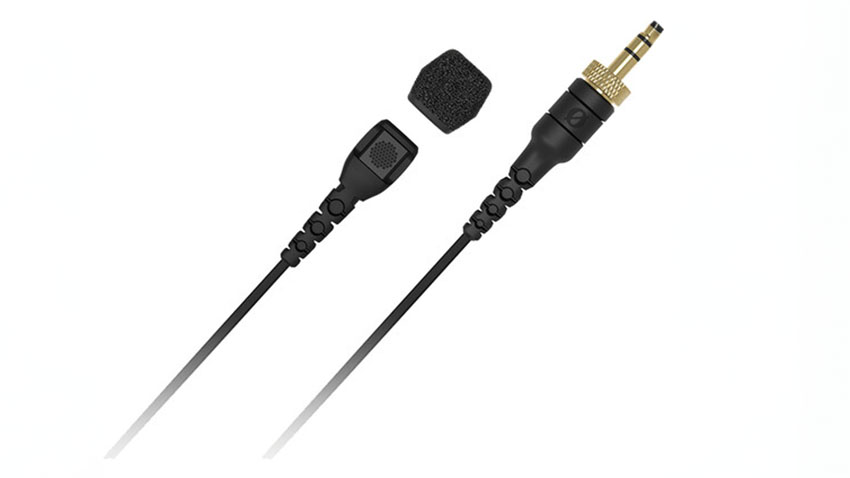
Image Credit: RODE
To make the broadcast loop you’ll start with the mic in one hand and the cable in the other. Make a U shape with the cable and then slide it into the clip. You’ll want to then hold the cable in place.
Grab the top of the cable and bring it back down and around. There is a groove on the other side of the clip which you will push the cable into. Once here, you’ll want to tighten it up a bit to shrink the size of the loop to make it smaller and more tidy.
With that done you are ready to attach it to your subject. This is easy for a jacket or button-up as you can just clip it to the lapel on either side.
For a t-shirt or similar, you will want to attach to the neckline or shoulder strap. Send the wire either behind or through the clothing and attach it to your wireless system. You might want to have some tape on hand to hold the cables in place.
Lavaliers are still susceptible to wind noise, so if you are outside on a windy day, you’ll want to use the windscreen to minimize impact.
Hopefully, now you better understand how to properly set up a lavalier.
[source: RODE]
Order Links:
Disclaimer: As an Amazon Associate partner and participant in B&H and Adorama Affiliate programmes, we earn a small comission from each purchase made through the affiliate links listed above at no additional cost to you.


