
Log is not easy to use. Every flavor of log is different, and I even mean that within the same brand. S-Log3 on the 10-bit a7S III is going to be a different animal compared to S-Log3 on the 8-bit a7 III. The potential upside of these profiles is massive, as this is where you can squeeze all the performance out of the sensor and processor and capture the widest latitude of information for post.
Working specifically with S-Log3, filmmaker Matt WhoisMatt Johnson has put together a guide on how to properly use this profile. If you are new to Picture Profiles you’ll definitely want to watch this and check out the preset LUTs.
As I mentioned earlier, the specific camera you use is going to have an impact on your ability to make use of S-Log3. This profile is designed for 10-bit systems – like the a7S III – and basically needs it to work properly. If you are limited to 8-bit recording there are better alternatives.
To turn the profile on, you’ll want to head to the Picture Profiles menu and select PP8 (this is specific to mirrorless). This should be S-Log3 with S-Gamut3.Cine as the color profile by default. Double check in the settings and you can reset if it doesn’t match up. You can also use PP9, which uses S-Gamut3, but the “Cine” version is a bit easier to grade.
One thing to watch out for is noise. A common thought of the profile is that it can be noisy. This look is why you need to account for this in the exposure. The basic procedure is to expose to the right, meaning to somewhat overexpose as much as possible without losing highlights. Using default metering (Multi) you’ll want to target around +1.7-2.0 stops overexposed per the in-camera meter. This will save you from noisy images later.
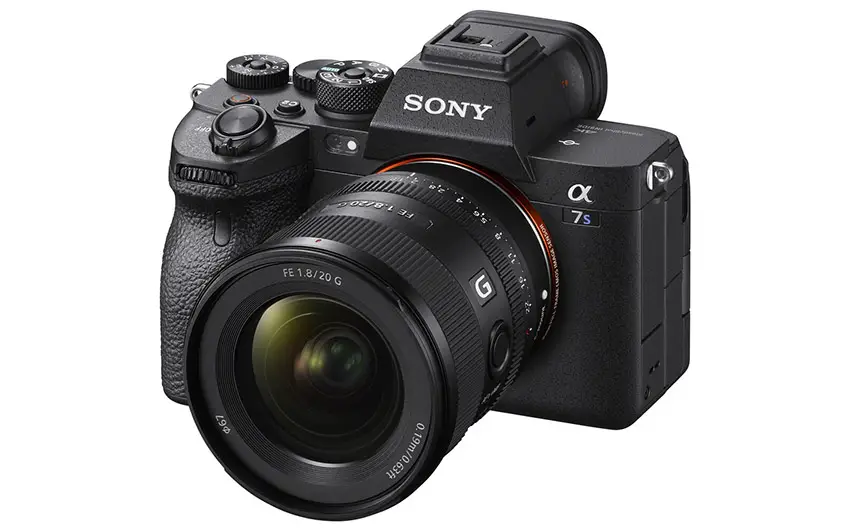
Image Credit: Sony
To prevent overexposure you should use the zebras. To set them up, you will want to set a Custom level. For lower limit, change it to 94+. Now, with that turned on as you bump up your exposure, you’ll see zebras pop up when you start to break into problematic overexposure. Keep in mind, having zebras show up isn’t always bad. The sun might always hit this point but it isn’t necessarily a problem for that shot.
To balance this, use your camera settings, with ISO being a common choice. If you are looking at the ISO menu and trying to determine where you should be, you need to pay attention to the formatting of the numbers. On the a7S III/FX3 in the ISO menu, you’ll see that all the ISOs below 640 have lines on the top and bottom. This means they are extended ranges. ISO 640 is the first normal number as is the base, aka best, ISO to use.
You can still go higher or lower as you need. However, if you drop below the base ISO, it’ll make things like zebras and exposure a little more difficult. You’ll start clipping faster too. You’ll lose dynamic range. It’s bad and why ND filters are a thing.
Base ISO will vary from camera to camera (unless they use the same sensor like the a7S III, FX3, and FX6).
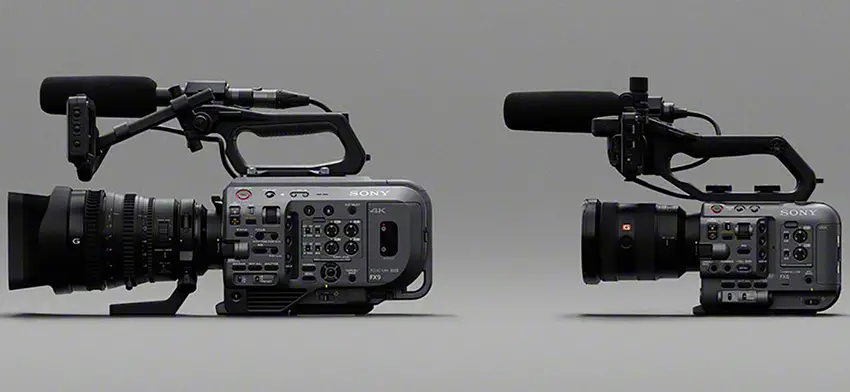
Image Credit: Sony
As you push above the base ISO you will naturally get more noise. A dual gain sensor design, or similar, will help you out in low light. On the a7S III at ISO 12800, it shifts into this mode and it becomes much cleaner than adjacent, lower ISOs. If you are getting close to that magic 12800 number, you are better off jumping all the way up and you’ll actually get a cleaner image.
Lastly, you’ll want to check your colors. To preview the footage you’ll want to use the Gamma Display Assist function. I like using it as a shortcut to turn it on and off quickly with a button. It helps you preview your colors and make sure you are in the ballpark.
This is a good primer for using S-Log3, though I would add on finding a decent LUT to get you close to a final image very quickly when you load the footage into an NLE.
[source: Matt WhoisMatt Johnson]
Order Links:
- Sony a7S III Mirrorless Camera (B&H, Amazon, Adorama)
- Sony a7 III Mirrorless Camera (B&H, Amazon, Adorama)
- Sony FX3 Cinema Line Camera (B&H, Amazon, Adorama)
- Sony FX6 Cinema Line Camera (B&H, Amazon, Adorama)
- Sony FX9 Cinema Line Camera (B&H, Amazon), Adorama)
Disclaimer: As an Amazon Associate partner and participant in B&H and Adorama Affiliate programmes, we earn a small comission from each purchase made through the affiliate links listed above at no additional cost to you.
Claim your copy of DAVINCI RESOLVE - SIMPLIFIED COURSE. Get Instant Access!


