One of the top priorities while working on an independent production is dealing with your budget limitations and constraints.There will be many situations while filming when you will need to find more efficient and effective ways to shoot a certain scene. Your role as a producer of a low-budget production is to find the most productive and cost-effective solution providing the optimal production value at the same time.
In the following video tutorial that you will find as a part of the DELUXE PACK of our No Budget Filmmaking Guide, I will show you how I managed to pull off a scene without spending thousands of cash by utilising a green screen instead.
The initial idea for the set up was to hire a stunt coordinator and a dedicated team that can help us to perform the stunt with the van in a real-world environment. Yet, there were two main challenges that we need to deal with. In the first place, the location where we’ve planned to shoot the scene was a hundred miles away from our place of residence, plus the winter was gone and the weather conditions during this time of the year in the mountains were absolutely unpredictable.
The other problem, of course, was related to the additional money that we have to spend to shoot this scene as the stunt itself was a way out of our budget, so we needed to find an alternative solution. Dropping the scene out of the script also wasn’t an option as it was a key part of the story. So, we’ve decided to take the green screen route instead.
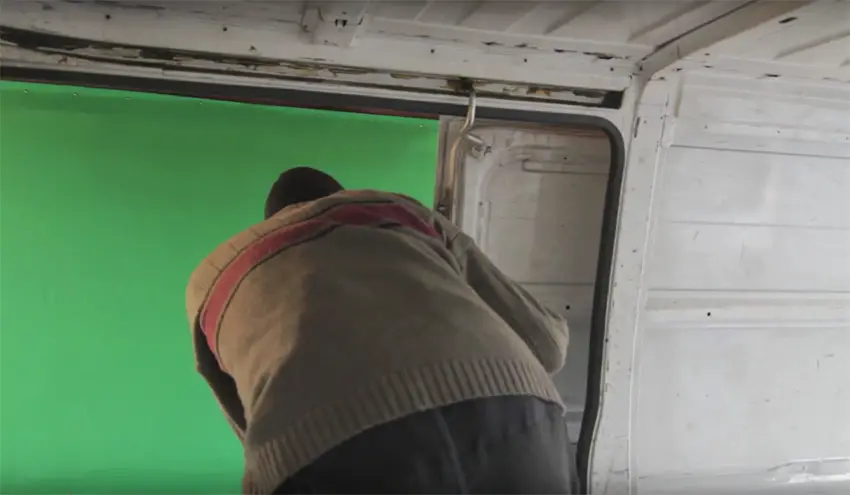
Back in the same winter during one of the weekends my producer and I went up to the mountains to film the background footage for the scene. It was really snowy, so we weren’t able to drive too fast, but we managed to capture some great shots in the end. It’s worth mentioning that we’ve actually shot the rest of the scene six months later during one of the hottest days of the summer. Nevertheless, we were ready to shoot a typical winter scene utilising the magic of a green screen. The van that we were filming in was still and turned off, and we installed the green screen itself outside of the vehicle.
After every take, I downloaded the footage and tested whether the chroma keying would work out. In the first takes, I’ve noticed some reflections of the green screen on the roof of the van that definitely would be an issue for the chroma keying later.
Keep in mind that I was able to find this only because I’ve done the keying tests directly on set. It’s also worth mentioning that it’s important to use the exact focal length and aperture of your lens when you are shooting both the foreground and background images in order to achieve the most truthful and believable results after applying the chroma keyer. The lighting is also an essential consideration.
After I’ve had both the background plate and the footage shot in front of the green screen it was time for the post-production itself. I managed to put together this scene only by using the tools provided by FCP 7.
This is the initial set up with the green screen.
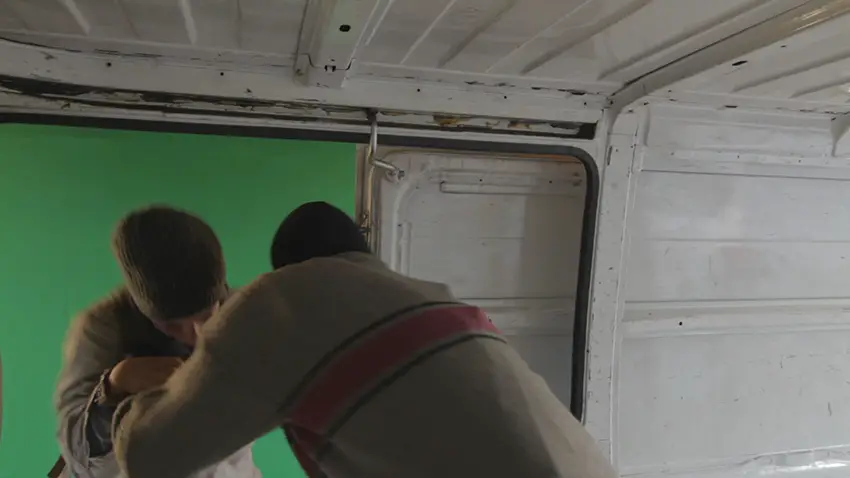
Here is the same screengrab with the additional background footage added in post.
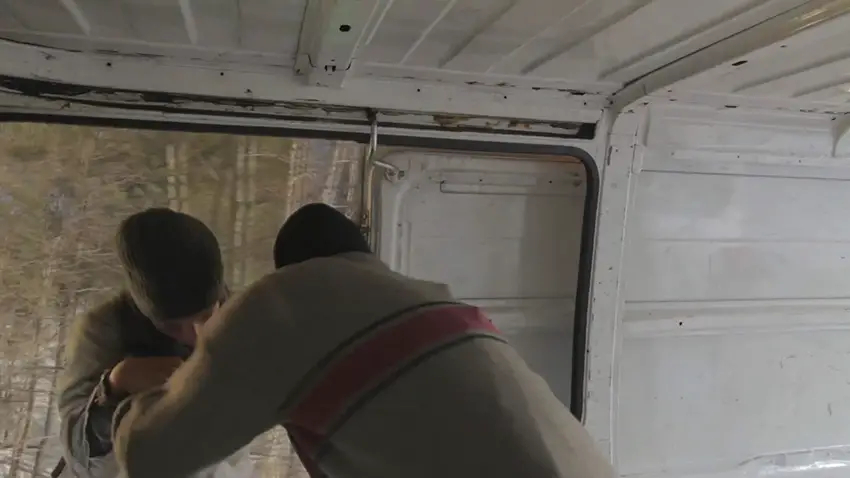
Finally, here is the completed color-graded screen grab taken from the final version of the scene.
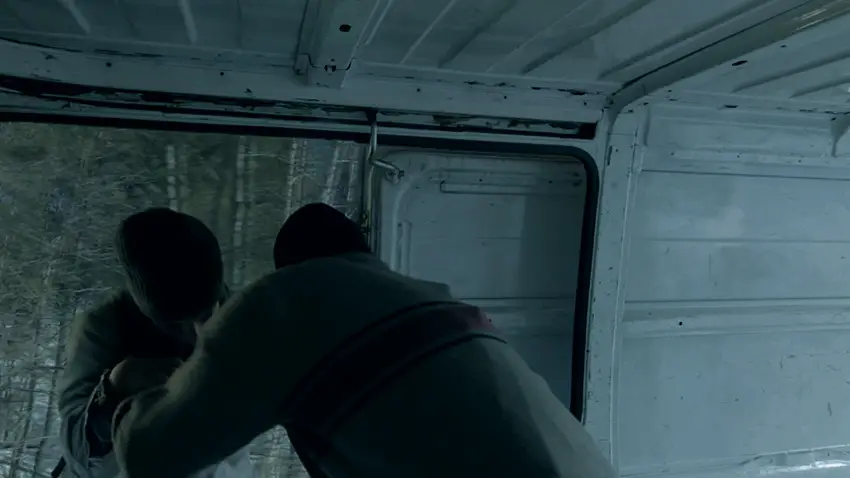
As you can see by using this alternative way of filming we’ve managed to save a couple of thousands of cash, and, more importantly, we’ve pulled off the scene and moved on further with the production. That’s why it’s so important to plan every sequence very carefully long before you start the principal photography. Take advantage of the available resources, go with the flow and always have fun.
Disclaimer: As an Amazon Associate partner and participant in B&H and Adorama Affiliate programmes, we earn a small comission from each purchase made through the affiliate links listed above at no additional cost to you.


Very good job on the sound design. Did you made it yourself or you used readymade samples?
Glad you’ve asked, Philip Jey! Both, I’ve used samples from a sound library and a reverse reverb technique to create this subconscious dreamy feel that turned out to be the perfect fit for the scene.