
Fix it in post is one of the worst plans you could make. Unfortunately, sometimes its the only plan you have left. Sometimes it’s you own errors during shooting that now you need to adjust for or you are simply the editor and got handed some less-than-ideal footage to piece together. It’s unfortunate but a reality.
Landon Bytheway of Full Time Filmmaker is going to go through five common video mistakes you might find yourself needing to fix and show you how to fix them in post. Some of these are even mistakes and are just the result of some shooting techniques, so even if all your settings are always perfect there is something to learn here.
Before we start, Landon uses Premiere Pro, though the tools are going to be common across all NLEs.
#1: Incorrect White Balance
If you let the camera run in auto white balance or simply didn’t get it quite right during the shoo you’ll end up with footage where the color can be a bit off.
For minor tweaks, you can get away with using the white balance tool’s eyedropper to select something that should be white and letting the software figure it out. More dramatic issues will need some work.
If you are way off the mark the eyedropper tool probably won’t work. Landon has four steps you can take to make it work. And it’s a good time to get familiar with scopes like the RGB parade waveform.
- Use Curves and bring down exposure. Using the RGB curves, individual try to balance the channels with each other in the midtones.
- Temperature controls should allow you to adjust the warmth of the image (either reduce or increase based on your image). Add a little vibrance since off white balance can reduce color information.
- Using HSL Saturation secondaries you can select different areas, like the sky, that might need additional adjustments.
- Follow up with any smaller color casts and use HSL secondaries, curves, and other tools to tweak the image as needed.
This will be harder with more compressed codecs as options like raw don’t even have a problem with changes in post to white balance.
#2 Poorly Exposed Images
Upfront, Landon says that during shooting you should always keep in mind that digital cameras generally work in a way that makes it easier to pull detail from shadows than to recover highlights. Still, sometimes a slight change in lighting or a high dynamic range scene can blow something out and cause issues in post.
There is a two-step process for overexposed footage:
- Pull down the highlights slider in the Lumetri color tab all the way. It’ll make it look kinda gray.
- Add some contrast to the scene to give it a bit of a pop. You won’t get the detail back but it’ll look okay.
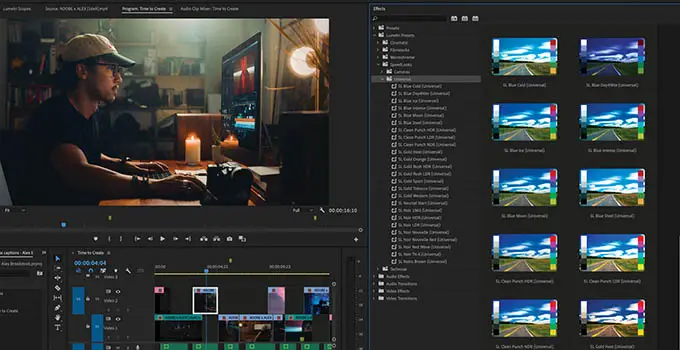
Image Credit: Adobe
A better plan is to just avoid this problem during the shoot. For shadows, it’s a bit easier and Landon lays out a three-step plan:
- Bring up the Exposure using the slider in Lumetri.
- Using the Curves tab you can make a couple points and bring up the shadows.
- Add a bit of saturation and pump the contrast.
This turned out quite well and if you want you can apply a noise removal effect to clean it up.
#3: Wrong Shutter Speed
This is interesting, but basically, it’s if you accidentally used the wrong shutter speed or were forced to use a weird shutter speed. This is basically when you didn’t use the 180-degree shutter rule of 1 / 2 x frame rate.
Why does this matter? It affects the look of the image with slower shutter speeds giving more blur and shorter speeds producing a sharper image. Sometimes this is a stylistic choice.
Image Credit: Motion Array
One real-world reason is if you pop into a higher frame rate for slow motion and forget to adjust the frame rate. It can become a blurry, choppy mess. However, if you do this and don’t slow down the clip and just keep it at 100% speed on a regular timeline, it’ll work just fine.
For the reverse, where you use a faster shutter speed than you wanted, you can use an After Effects effect called Time Warp. In here, you can enable motion blur and set the shutter angle to 180 degrees (the standard). you might want to tweak things like shutter samples to improve quality.
#4: Shaky Footage
This is actually an easy solution for most average shots. Apply the Warp Stabilizer or other favored stabilization tool and modern tools will track the scene and smooth out the motion. In a weird case, this might not work or it’ll add some warping. Reduce the strength of the effect until you get the desired look.
#5 Peaking Audio
Don’t forget audio! Peaking audio (aka too loud and clipped) can be an issue if you aren’t closely monitoring the audio recording.
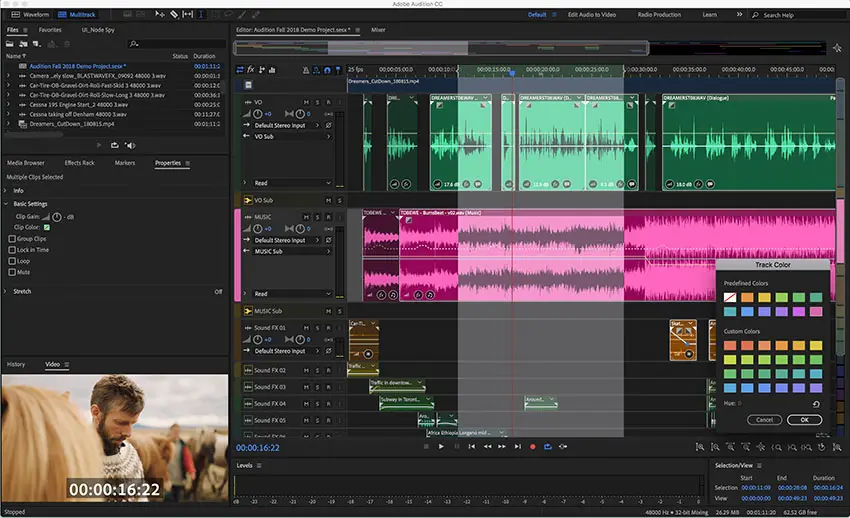
Image Credit: Adobe
Bringing a problematic audio track into Audition (as long as it isn’t too far gone) go to Effects > Diagnostics and then De-Clipper. Select Restore Heavily Clipped on the presets and hit scan. This will show you a list of points and you can hit repair. It can work magic, but it obviously won’t be perfect.
The best way to fix these problems is to catch them long before they get to post. Post is always going to be a bandage, not an ideal solution.
Do you have any tricks for fixing common video mistakes?
[source: Parker Walbeck]
Order Links:
Disclaimer: As an Amazon Associate partner and participant in B&H and Adorama Affiliate programmes, we earn a small comission from each purchase made through the affiliate links listed above at no additional cost to you.
Claim your copy of DAVINCI RESOLVE - SIMPLIFIED COURSE. Get Instant Access!


