
Chroma keys get all the attention. Sure, pulling off a great green screen effect is an amazing feat and can bring together a special effects sequence to elevate your project.
But, the luma key is also worth checking out for a different spin or take on these effects. Instead of looking at the color palette, luma key does its work by examining the luminance of the scene. Just thinking about that for a minute can lead to some ideas.
If you are looking for a place to start, Gilles from Premiere Basics has a great video that covers five super simple luma key effects in Premiere Pro CC.
1. Luma Key Transition
This is actually very easy to pull off and uses just a few keyframes with the Luma Key effect. You’ll obviously need two clips on the timeline for the transition. Drop the luma key effect on the clip you want to have fade into the second clip and head to the effect controls.
Moving to the timeline where you want the transition to begin you can then set a keyframe for the threshold and cutoff at 0%. Move to where you want the transition to end and set keyframes for threshold and cutoff at 100%. You can experiment with one hitting 100% before the other as well for a different look. That’s it. Though you can add a simple cross dissolve to smooth out the final frames.
2. Mist Filter Replicator
For those who don’t know, a mist filter is often used to help soften the highlights and create a more pleasing roll off. It’s also just a nicer, smoother look with bigger flares. Recreating this look can be done with the luma key.
With your clip in the timeline, duplicate it and bring it up a layer. Apply the luma key to the top layer. Adjust the cutoff until you have selected most of the bright highlights. Drag the gaussian blur effect onto the same top clip and adjust the blurriness of the highlights. Check Repeat Edge Pixels. Then just turn on the bottom layer and you should have a close approximate.
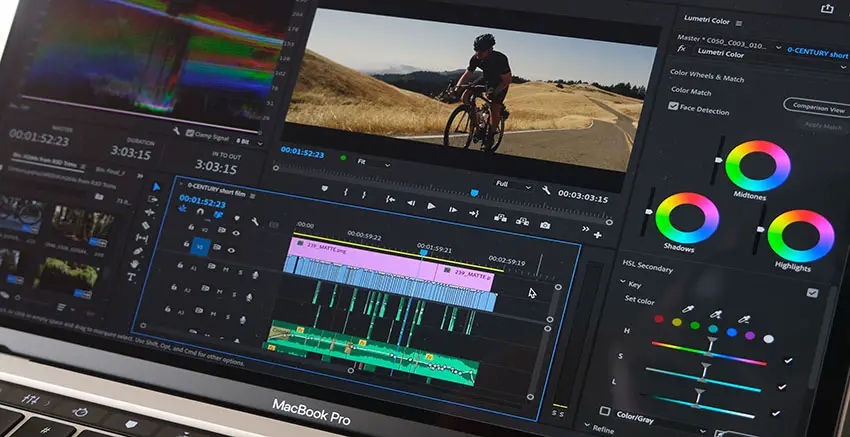
Image Credit: Adobe
3. Retro Look
Using a clip where a person is backlit a little by the sun Gilles creates a retro look. Again, duplicating the clip to a top layer which receives the luma key is where you start. Use the cutoff to make the highlight selection.
Then add the Directional Blur effect. The settings he uses are a direction of -45 degrees and a length of 30. Duplicate the clip and on this one set the direction to +45 degrees. Turn on the bottom layer and you should have a nice retro glow effect.
4. Light Trail Effect
Start the same way you started the last, by duplicating your clip (in this case a night shot for the effect to make sense) and placing it on the top layer. Apply the luma key to the top layer.
Adjust the cutoff to select the highlights. Now, we want to isolate just the actual lights, so on the opacity section draw a mask over the lights themselves.
From here you can apply the echo effect. Set the Echo Operator to Composite in Back. Head to the beginning of the clip and set a keyframe for number of echos. Starting with 0 makes sense.
Then he moves forward 10 frames and sets the number to 10. What this does is create a new echo every second. The look is a trailing light effect. You can even move forward another 10 frames and set the number back to 0 to create a smooth effect.
5. Glitches and Color Grades
Again, duplicate your clip to the top layer. Apply the luma key. Set the threshold to 0 and use the cutoff to select the highlights. Now you can apply the tint effect.
Now you can actually adjust the color and since you keyed the brightest white you won’t see an impact on those highlights. It helps bring control without harming certain aspects of the clip.
For a glitch, instead of the tine you’ll want to use the Color Balance (RGB) effect. Duplicate your layer a couple times and set one of the three colors (RGB) to 200 while turning the others to 0.
After doing that you should have one that is red, one that is green, and one that is blue. Adjust the position of the clips slightly and you have a split color effect. Changing up the mix or placement or keying of certain layers here can have a wildly different effect. It’s worth experimenting here.
Looks like a fun tool people should learn to use more often.
[source: Premiere Basics]
Disclaimer: As an Amazon Associate partner and participant in B&H and Adorama Affiliate programmes, we earn a small comission from each purchase made through the affiliate links listed above at no additional cost to you.
Claim your copy of DAVINCI RESOLVE - SIMPLIFIED COURSE with 50% off! Get Instant Access!


