
Just because you can get the latest and greatest full-frame camera for shooting video it doesn’t mean all your footage is going to instantly take on that “cinema” look. You have to nail your settings and understand how the various options and technology work together to get the shots that you picture in your head.
Among the best consumer options is the Sony a7S III. It’s an incredible 4K machine and has a compact mirrorless form factor. Not being exclusively a video camera, you will want to find out the best settings for cinematic shots and MAKE. ART. NOW. has the recommendations to do it.
Step one is to move to Movie mode since that is where all the settings we care about live.
You should absolutely create your own custom menus so you aren’t digging around for stuff you use all the time. Priority options may include:
- File Format > XAVC S 4K
- Movie Settings < 24p and 100M 4:2:2 10-bit (except 120p which he sticks to 8-bit)
- S&Q (for slow motion)
- Interval Shoot Func. (for time-lapses)
Secondary menus you might want to drop in your media format, the video custom button mapping, Fn menu settings, Camera Set Memory (the shortcuts on the mode dial). Next would be HDMI output, which is useful if you are working with monitoring and want to switch over to raw recording or different resolutions. There’s a lot more below this but I think at this point you are working with personal preferences.
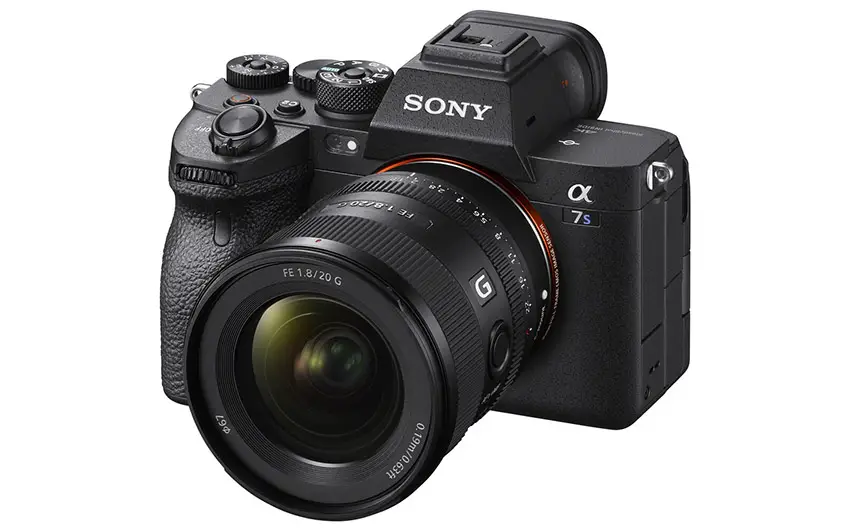
Image Credit: Sony
One thing to consider is to turn off the rear dial since you likely don’t want to be hitting that on accident. He also reprograms the AE lock to the Gamma Display Assist – I like this shortcut since it allows you to check out the log or Rec.709 look by just hitting a button. The AF On button to Focus Hold since it’ll stop a continuous focus function.
The C1 button he sets to zoom since it allows you to punch in when working with crop lenses. He even changes to Digital Zoom to get a little more range, though obviously, you are losing resolution. C3 becomes SteadyShot since there are new options like Active to give you a bump when you need it. And C4 (trash) is the AF on/off which is nice to have if you ever need to get a more precise focus or want to stop the AF system from tracking.
When you program buttons this will actually work when you use remote controls.
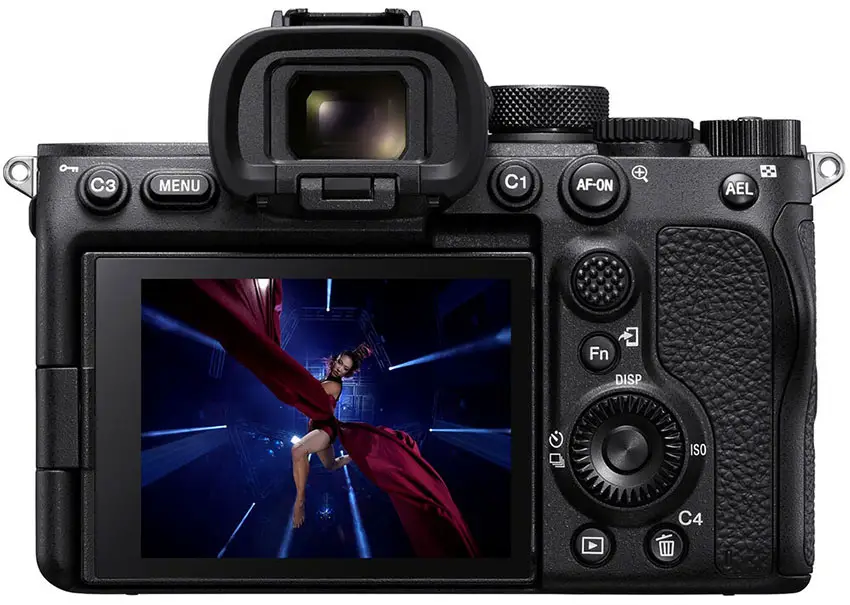
Image Credit: Sony
Some more buttons to program include the joystick to auto recording level for quickly getting proper volume. There’s the center button which you should set to focus magnification for double-checking focus. Feel free to tweak these to your own comfort level and preference.
A unique decision is to make the focus hold button on select lenses access the AF transition speed setting. This will be important because you’ll want slower for the “cinematic” look and faster if you need to keep a moving subject in focus.
Avoiding annoyance is to extend the auto power-off from one minute to five and to set the auto temperature off settings to high. Both of these will help you during longer shoots. For video, if you are not planning on using the EVF, you should manually set it to monitor only so that you don’t accidentally trigger the sensor on the EVF.

Image Credit: Kondor Blue
Finally, it’s less of a setting but he recommends the Kondor Blue Camera Cage for the a7S III. For the mirrorless form factor having a cage with top handle just makes the entire setup feel a lot better.
[source: MAKE. ART. NOW.]
Order Links:
Disclaimer: As an Amazon Associate partner and participant in B&H and Adorama Affiliate programmes, we earn a small comission from each purchase made through the affiliate links listed above at no additional cost to you.

