
Getting the “film look” is a much sought-after color grading technique and not one that is easy to pull off as one might think. Grading itself is quite difficult.
There are some nice tricks though if you want some help getting the look you want. One example of this being the FilmConvert plug-in for Adobe Premiere Pro and all the other common NLEs.
FilmConvert has a strong following and the newer Nitrate option adds even more options for emulating film. If you want to see it in action and learn how easy it is there is a nice breakdown from Premiere Basics.
For full disclosure, this video was sponsored by FilmConvert. To get started, we should define what the “film look” actually is. It refers to the type of baked in look that classic movies had because of how actual film stock rendered the scene. Today we can break it down by some aesthetics.
Contrast in the film look is odd-sounding but makes sense once you look at it. Contrast in the film look is how blacks aren’t quite black and whites aren’t quite white. If you want to do this in Lumetri in Premiere, you can start with a corrected clip to give you basic contrast and color – probably with a LUT.
Heading to the curves tool you can soften the shadows and highlights to give that filmic look. What you do is take the black point and raise it up while taking the white point and bringing it down. By decreasing the contrast it gives the appearance of more dynamic range.
Now you can head back into the curves and add some contrast by creating an S curve with darker shadows and brighter highlights. Another nice touch is to add some warmth just to the highlights.
In FilmConvert you can do this a lot more easily and create a more effective look. Using Nitrate you can select your source footage settings to get more accurate results. Doing the same curves work in FilmConvert and using the color wheels you can quickly see how the results look a lot nicer.
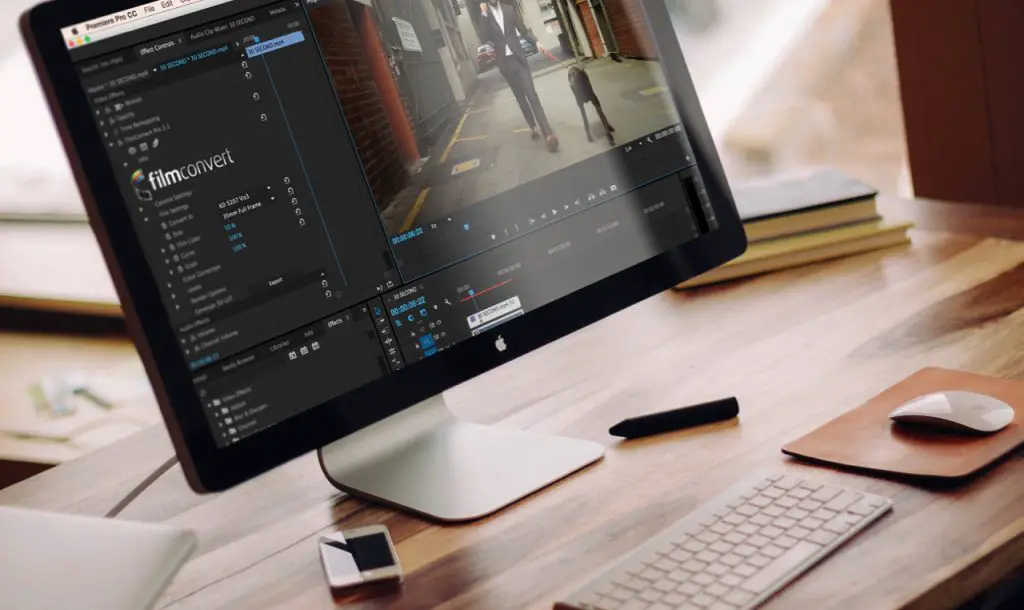
Image Credit: FilmConvert
Next up is grain. Noise is the digital equivalent of grain but it isn’t anywhere near as visually appealing. Grain is much more muted and provides a layer of texture over the footage.
In FilmConvert you can simply select a Film Stock and Film Size to dial in a specific look for your clip. It’s nice as you can mimic many classic looks with easy. Plus, there is a way to customize the parameters of the grain.
You can also export a LUT with your settings to quickly apply it to a range of clips.
In Premiere, you do have a native Noise effect that you can use. Make sure to turn off the color noise option or you will just get a digital mess. Premiere’s options don’t look as natural either and aren’t so appealing.
Another option is to use a grain scan and then using a blend mode to layer the grain over top of your existing footage.
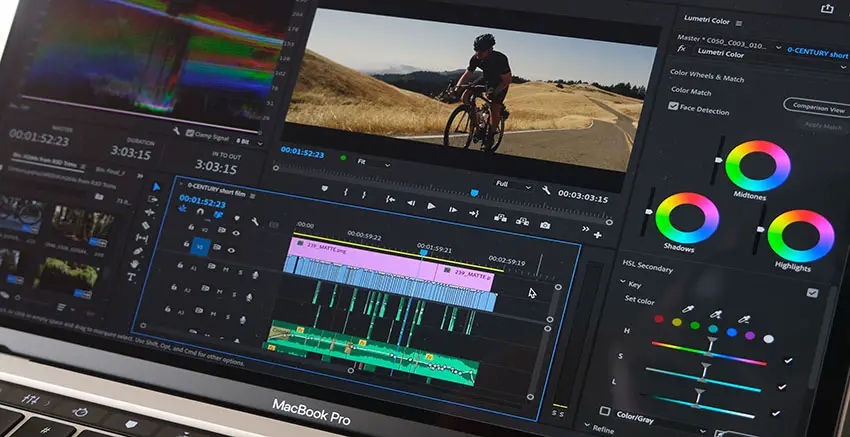
Image Credit: Adobe
The third step is to adjust the colors of your footage. Digital sensors react differently to different colors, such as how you often get a strong green or magenta color cast. It often impacts foliage and skin tones.
In Premiere’s color tools you can use the HSL limiter to select just the green in your footage. Using the color wheels you can reduce saturation and add some yellow to tone it down a bit.
In FilmConvert’s Cinematch you select your initial camera footage settings and then select a camera to match. You can take a Panasonic GH5 and transform it into an ARRI ALEXA. You also have tools for adjusting specific colors within the clip.
Skin tones can be treated the same way with a limiter to select it. You can also use Cinematch to select your skin and then take a sample from a second clip to match them up. If you have a target look you can quickly get the looks to line up.
FilmConvert is often recommended by editors for its ease of use and effectiveness and this tutorial once again shows why.
Are you a fan of FilmConvert’s plug-ins?
[source: Premiere Basics]
Disclaimer: As an Amazon Associate partner and participant in B&H and Adorama Affiliate programmes, we earn a small comission from each purchase made through the affiliate links listed above at no additional cost to you.
Claim your copy of DAVINCI RESOLVE - SIMPLIFIED COURSE with 50% off! Get Instant Access!


