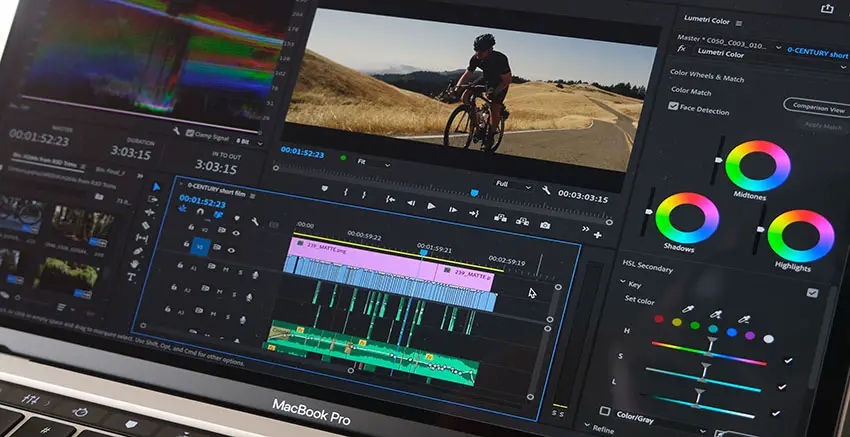
Captions and subtitles are becoming more and more important. Accessibility is alone a very good reason to start doing it for your videos, but plenty of average viewers also might have a preference for having subtitles turned on.
There are even some benefits to search results since, depending on your destination, they might be able to “read” your video and serve it up to people looking for something specific.
Subtitling can be a huge drag though. Fortunately, it is getting easier in the latest versions of Adobe Premiere Pro CC with some specific features that will do all the heavy lifting. For a rundown, you’ll want to see Matt WhoisMatt Johnson test it out.
You need to be running Premiere V22 or later and have a project that you want to add captions to. It’s basically the final step since you should have your audio locked before you do this.
From here you’ll need to open up the captions workspace – it’s conveniently up top. From here you’ll have two panels, “Transcript” and “Captions”, and Captions is the one you want.
You’ll want to select Transcribe Sequence first, not to create a caption track as you need your text first. In the transcript options you’ll want to select the track where your dialogue lives. If you have multiple tracks you’ll want to select mix, but be careful about music and other effects. You can mute tracks to help fix that issue.
Other options are transcribing only within previously set in/out points, merging output with existing transcription, or to recognize different speakers. You can select based on your needs. Then just hit transcribe and wait for it to finish.

Image Credit: Adobe
When it is done you should get a nice transcript with timecodes and everything. You can actually select text and be brought to that moment in your video. You should watch through the video and make any adjustments or corrections.
With your transcript, you just hit the Create Captions button at the top. Then you have a few options to put them into place. For maximum length the defaults seem to be good. Then just give it a minute to work and it’ll produce a caption track.
There are a few options for your captions in the final product, such as baking them into the export or creating a sidecar file. For most cases you’ll want to just make a sidecar file as baking it in will take away all control during watching. You can also export just a captions file without needing to export the whole video again.
In YouTube and other video hosts, you can just upload this sidecar file and since timing is attached it should just automatically match up and work.
If you want to customize the look of your captions you can do that with the type tool in Premiere. You can select type and then click on your captions to select them. You’ll have the graphics panel with all the usual options. To apply the edit to all of the captions at once you can select one to change and then hit Track Style where you can push to all captions on the track.
That’s basically all you need to know to do captions. Have you started using captions yet?
[source: Matt WhoisMatt Johnson]
Disclaimer: As an Amazon Associate partner and participant in B&H and Adorama Affiliate programmes, we earn a small comission from each purchase made through the affiliate links listed above at no additional cost to you.
Claim your copy of DAVINCI RESOLVE - SIMPLIFIED COURSE. Get Instant Access!


