Among the biggest battles with mirrorless cameras gaining pro video features has been how to best work with log footage. Think about how the first mirrorless cameras with a true log profile were stuck with 8-bit footage, which can be problematic when you try to push the grade. This resulted in a lot of people recommending overexposing and other nonsense.
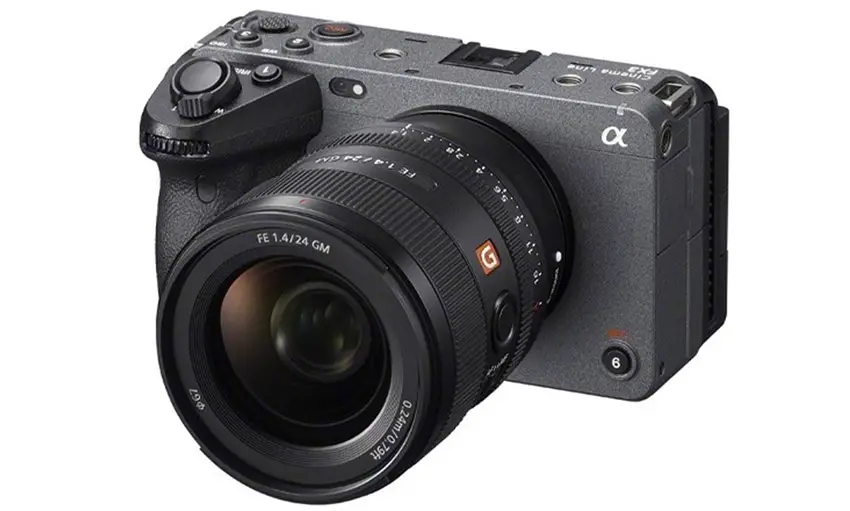
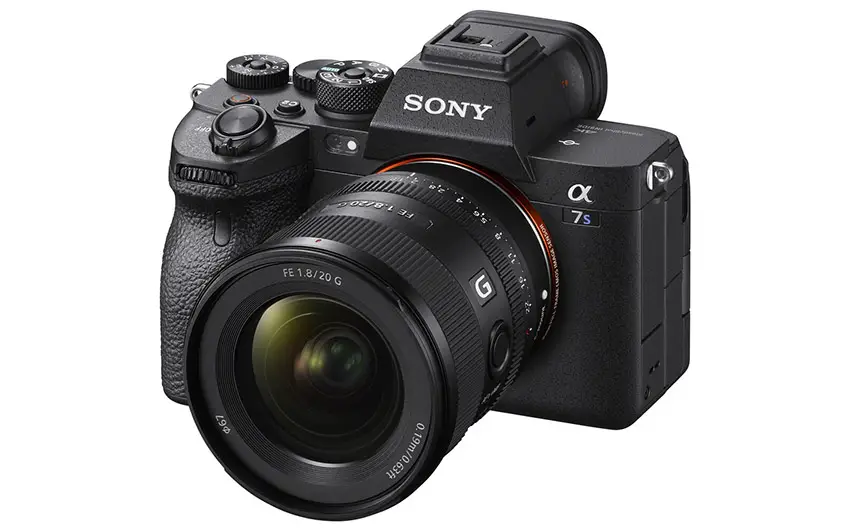
Now, cameras like the a7S III and FX3 feature excellent quality codecs and newer log options, so its another learning curve to figure out how to expose them. Working specifically with S-Log3 on the latest Sony cameras filmmaker Jacques Crafford has put together a nice guide on proper exposure techniques.
This S-Log3 exposure guide will apply to even newer cameras, like the a7 IV. Jacques actually recommends using this profile all the time because of how much better it is in regards to things like dynamic range. So, how should you use it?
There are a collection of tools available to judge exposure:
- Using your eyes (Gamma Display Assist)
- Using camera’s metering modes
- Using zebras
- Using external monitor
Jacques doesn’t recommend using your eyes all the time since it is far from ideal, but also points out that having an external monitor, while nice, isn’t essential to get started.
Working indoors or in controlled light you can use your eyes along with the Gamma Display Assist setting. This will apply a display LUT that makes the image look “normal.” If you are coming from monitoring footage this way with other profiles you will feel at home, though you might want to manually set display brightness to +2 for consistency.
For metering modes, you will want to stick to the Multi option as it provides general metering of the entire image. If your shot is fairly balanced then the metering modes are a good option. Generally, it has been recommended to overexpose by +1.7 to +2.0. However, on these newer cameras going with something closer to +1.0 can be better as it’ll better represent the skin tones. Overexposing will save you from some noise in the shadows, but you will give up some range in the highlights.

Image Credit: Sony
Where the metering modes don’t work is if you have extremely bright or dark areas filling a large portion of the shot. In particular, bright highlights are a problem. Having the sun in the back or simply a light will trick the meter into thinking it is too bright. In these cases if you switch to the spot meter you can check exact spots on the image, such as skin tones, to more accurately meter your shot.
If you want to check how the entire image looks and is exposed you should turn on zebras. These will show up when you hit certain exposure levels. In Jacques case, he uses C1 to set a zebra to show at 50 with a +2 range. This will help you nail midtones as you can watch the zebras show up and know you might be on the way to clipping if they start to disappear.
The C2 setting is for checking the highlights. The standard setting is 75 with a +2 range. This shows that once your main subject is showing zebras you are hitting the upper limit. You will want to bump down when they are showing on the main subject, though having a little show isn’t the end of the world either.

Image Credit: Sony
That’s it for in-camera options, but if you want even better tools you will need an external monitor. Most of these will offer waveforms and false color. False color paints colors over the entire image representing different exposures. This way you can quickly identify which areas are brighter or darker and exact how bright or dark they actually are. Now you can make more precise adjustments on the fly.
Using waveforms you can see the exposure across the entire scene and if you have been using it is color grading work you will already know where exactly you want your subject to be. You will want to check the waveform before you apply a LUT, though you should also check it out after as well.
Creating or using a LUT can make the whole editing process take a fraction of the time. It’ll get you nearly there if you find or have a distinct look.
Do you have any best practices for exposing S-Log3 footage?
[source: Jacques Crafford]
Order Links:
- Sony a7S III Mirrorless Camera (B&H, Amazon)
- Sony FX3 Cinema Line Camera (B&H, Amazon)
- Sony a7 IV Mirrorless Camera (B&H, Amazon)
Disclaimer: As an Amazon Associate partner and participant in B&H and Adorama Affiliate programmes, we earn a small comission from each purchase made through the affiliate links listed above at no additional cost to you.


