
One of the callout features of the iPhone 13 was the new Cinematic Mode, essentially a Portrait Mode for video. Being able to capture images with a shallow depth of field and being able to do rack focuses during shooting is an incredible accomplishment for phone video. Being a new option with its own quirks there is still something to be learned about using it.
From ZY Productions is a nice set of tips to make the most of the Cinematic Mode. It’s a cool trick to have a powerful camera in your pocket in the event your iPhone happens to be your only camera at the time or you want to throw up a second angle for your shoot.
1. Exposure Control
The tap and drag function to control exposure no longer works in Cinematic Mode. However, you can still control exposure manually. If you swipe towards the top of your phone (the top meaning in portrait orientation not the top you are likely seeing while you shoot in landscape) you will reveal the exposure compensation dial.
2. Rack Aperture
Where you might do a rack aperture to control depth of field on a traditional cinema camera, the lack of a real aperture control is a problem on the iPhone. Cinematic Mode doesn’t even use aperture to create the shallow effect. To emulate stopping down you will want to tap the “f” at the top of the screen and you will then get a slider for controlling the “aperture” setting. This will allow you to change the depth of field.
Stopping down is helpful if the iPhone is struggling to nail the shallow depth of field effect. And the best part of Cinematic Mode is that you can actually change this after the fact if you want.
3. Find a Good Soundtrack
One basic tip is that you should find some good music to go behind your clips as it elevates the shot so much. The video sponsor is Epidemic Sound and that is a recommendation here but there are plenty of other options, like Soundstripe or Artlist.io.
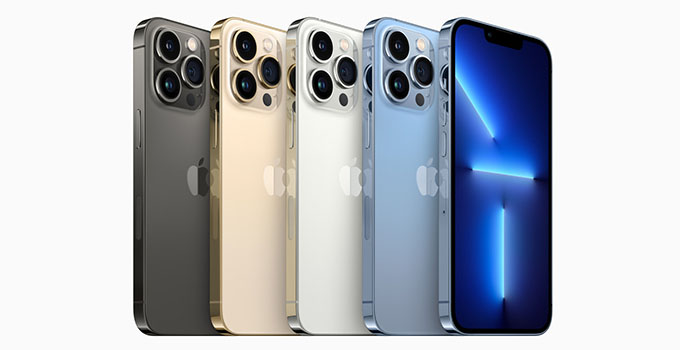
Image Credit: Apple
4. Best Quality AirDrop
When you AirDrop your footage – a common way to transfer media from a phone – you will want to make sure all the data is embedded in the file. Before you hit send, check the Options menu and you will find a switch to turn on “All Photos Data”. This is important to get the post control over Cinematic Mode settings. Otherwise you won’t be able to make changes to things like depth of field or where you are focused.
5. Edit Cinematic Mode in Final Cut
Using Final Cut Pro you can have full control over the Cinematic Mode settings, the depth of field and focus options we just mentioned. To do this properly you have to import the right file from your folder, specifically the original .MOV, not the one with an “E” in the name.
6. Try to Get it Right in Camera
Even though you can make adjustments to things like focus in post, you shouldn’t aim to do that every time. While a lot is software based, the cameras are still shifting focus physically as well. This means that ideal performance is still dependent on getting it right in camera. To be fair this is only visible in extreme shifts, but it still best practice to get it as close to possible in camera.
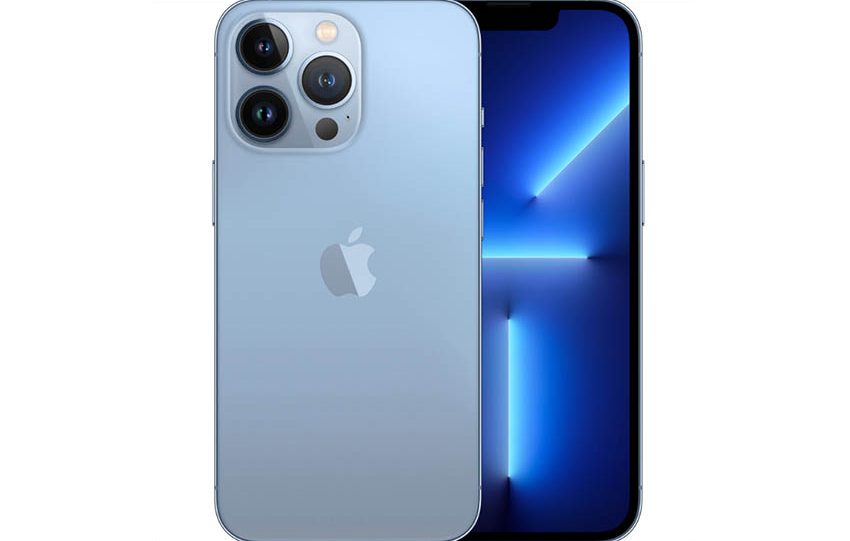
Image Credit: Apple
7. Plan Ahead for Frame Rates
At the moment, Cinematic Mode only records in 30p. This means that you’ll need to account for this if you plan on using any of these clips in a bigger project that is using a different frame rate, say 24p, you’ll need to adjust the playback speed for smooth performance.
8. Enable HDR in Camera Settings
Even though there are some limitations, Cinematic Mode can still record in HDR. This is an important settings because the HDR mode will record in 10-bit vs 8-bit for standard video. If you want the best quality possible HDR is the way to go. Plus, you can still use it in an SDR timeline if you want.
Do you have any tips for shooting on an iPhone?
[source: ZY Productions]
Disclaimer: As an Amazon Associate partner and participant in B&H and Adorama Affiliate programmes, we earn a small comission from each purchase made through the affiliate links listed above at no additional cost to you.