
As you develop your editing skills you’ll have to start taking a closer look at color grading. Most people starting out simply use this step as a way to correct any issues with contrast or white balance – it should be far more than that.
It can get complicated quickly and it is easy to make some basic mistakes in your workflow that will prevent you from getting the best of the best from your footage. If you want a good lesson in some common color grading mistakes you should avoid (and how to fix them) there is a great video put together by Jacques Crafford.
In this video, Jacques is using Blackmagic Design’s DaVinci Resolve. You can use whatever NLE or software you prefer.
1. Inconsistent Contrast
When you are cutting between shots in the same scene you need to maintain contrast consistency just as much as you need to maintain color consistency. This usually happens when you are trying to judge the contrast by eye.
You need to learn to read scopes. The best one for contrast is the waveform as it gives you a look at brightness and contrast throughout the shot.
In Resolve, you can compare two clips side-by-side as well as their waveforms. This is a very technical way to see where two clips differ. Jacques recommends that you turn off the colorization of the waveforms if you are looking purely at contrast.
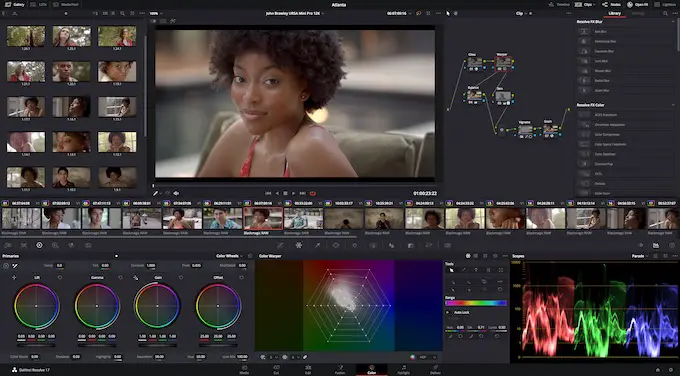
Image Credit: Blackmagic Design
2. Misreading the Waveform
What you still need to avoid is not understanding the waveform and reading it incorrectly. By default you might just think you have to stick between the top and bottom lines where the highlights and shadows start to clip.
You have to grade based on your clip and if you don’t have true black or true white then you shouldn’t be pushing to these lines.
If you do something like crop in and lose your true black or white then if you adjust the contrast in the new clip then you no longer have consistency in contrast.
3. Flow of Color
Sometimes you’ll be cutting footage together that was shot at different times or locations. This can create inconsistency between your shots that you’ll need to deal with.
For example, if you have some greens in the background but at different times of day these greens can vary quite dramatically. By adjusting the color using the HSL qualifier you can get them all the line up.
The qualifier is a powerful tool that lets you select and only work on a specific area of a scene based on color or brightness. You can then use the waveforms to compare these areas to make sure things are consistent.
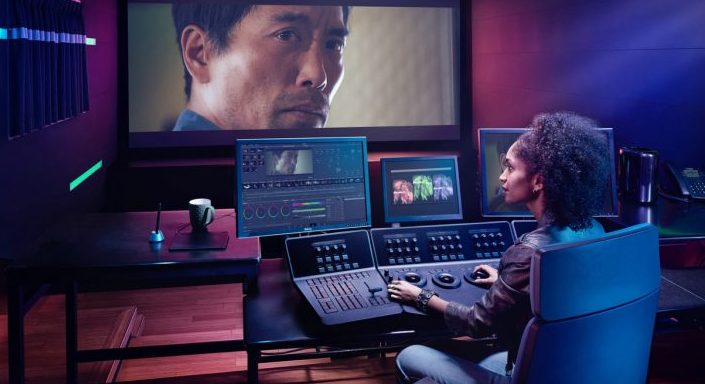
Image Credit: Blackmagic Design
4. Incorrectly Using LUTs
If you apply your LUT first then anything that happens after is fully dependent on the LUT. If the LUT clips your highlights or shadows first then you will actually be losing detail even if you try bringing it back in another node.
You will generally want to make your main adjustments to color and contrast before applying the LUT. Using nodes this is easy since you can have tools applied in a series.
5. Messing Up Midtones
A lot of attention is paid to your highlights and shadows. Where you also need to look is in the midtones, and in particular this means skin tones.
This normally makes up the most important part of the image and where your audience will be focused, so if it isn’t done well it can be more harmful than shadows and highlights that are a little off.
Do you have some color grading tips of your own?
[source: Jacques Crafford]
Order Links:
Disclaimer: As an Amazon Associate partner and participant in B&H and Adorama Affiliate programmes, we earn a small comission from each purchase made through the affiliate links listed above at no additional cost to you.


