
Lenses are perhaps the most important item for cinematographers. Today, the camera can be almost anything and give you a great image, but for style or a “look” that comes mainly from the glass.
Because of this, many amazing lenses are only available in older mounts or as an owner you are looking for maximum compatibility across camera brands. In these cases lens adapters are here to save the day.
There are some technical aspects to understand about adapters as well as some changes or quirks you’ll want to look out for. For one of the best guides I’ve seen on adapting lenses, you should watch this video from DSLR Video Shooter.
In every case you will need to check out the specs of the lens mounts themselves, specifically the flange distance. To adapt a lens you need a lens with a larger flange distance than the camera’s mount.
Flange distance refers to the distance between the actual lens mount and the sensor. That is why most mirrorless cameras (with very slim bodies and no mirror box) are able to work with many DSLR lenses.
That doesn’t mean you can’t use lenses with cameras where this doesn’t line up, it just means you will need a corrective element which usually degrades image quality and is harder to find. Sometimes the difference is also too small for a physical adapter.
Another very important aspect of adapting lenses is checking the format coverage. Lenses are designed to project an image that covers a specific sensor size, like full-frame or APS-C/Super 35mm. You can always adapt lenses that cover larger formats to cameras with smaller format sensors (e.g. full-frame lens on Super 35mm camera), but you can’t go the other way around.
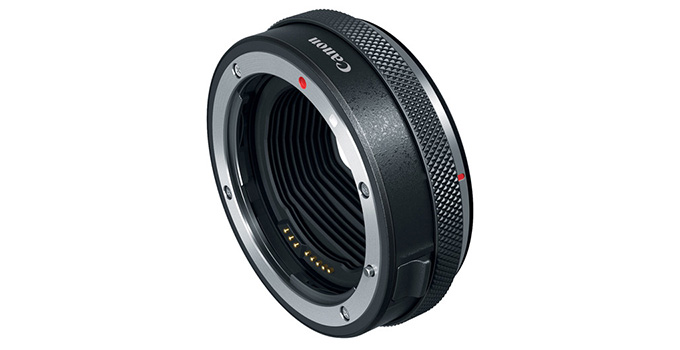
Image Credit: Canon
Though, some cameras do offer crop modes that will allow you to make use smaller-format lenses in some cases. You need to double check all your settings, formats, etc. to make sure you have full compatibility for how you plan to use your equipment.
Now we can get into more specifics on the adapters themselves. To start, there are two types of adapters: passive and active. A passive adapter is purely mechanical and will simply connect the lens to the camera.
An active adapter has some form of electronics that will allow select lenses to communicate with the camera, usually for aperture control or autofocus.
Some lenses will require active adapters – any more modern lens with autofocus or an electronically-controlled aperture will do it.
Where adapters can actually add a feature is with focal reducers, aka speedboosters. It’ll condense the image from a lens to fit on a smaller format. In simple terms, it’ll take a larger-format lens (full-frame) and reduce the effects of crop factor. You can get a full-frame look on Super 35mm or even Micro Four Thirds cameras this way.
Screw-mount lenses can benefit from some features, such as being able to rotate the position of the lens. Because it is a simple screw mount without some rotation you may end up with your markings in the wrong place.
To get a more secure mount, some adapters have a positive-lock system. Instead of just a simple bayonet attachment these have a collar that will rotate to lock the lens into place. This is what many cinema cameras use.
And, since adapters have some extra space in them, some manufacturers are making adapters with filters in them. A variable ND is super nice to have in the adapter if your camera doesn’t have them.
The last feature to look for is a mounting point. These can secure the adapter to your camera to make sure the lenses are attached securely and safely. It can be a bigger deal if you are using bigger or longer lenses.
If you are looking for an adapter here are some recommended brands:
- Metabones
- Leitax
- K&F
There are some decent cheap adapters out there which are good for starting out or testing a lens, but spending a little more than the bare minimum is recommended as you will see improvements to build quality.
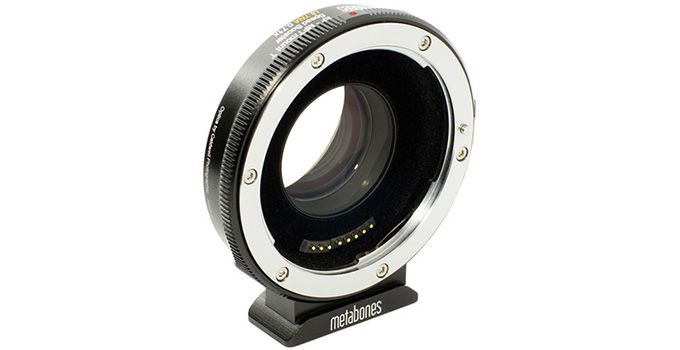
Image Credit: Metabones
Caleb shows off a “double adapter” system that he uses to make things easier. In the example, he has a GH5 with a pricey Metabones Speedbooster that works with Canon EF-mount lenses.
Then he just adapts all his lenses to Canon EF so he doesn’t have to remove his speedbooster. If you end up using another system then you can just get the same adapter type and all your lenses will continue to work as is.
An alternate option is to get the lens permanently or semi-permanently modified with the new mount.
If you are getting started with classic lenses here are some recommendations on fun lenses or sets to check out:
- Helios 44-2 — Unique, swirling bokeh
- Canon FD 50mm f/1.8 — Affordable, classic warm look
- Olympus 50mm f/1.8 — Compact and good quality optics
- Any M42-mount lens — Simple adapters and tons of options
- Nikon F-mount lenses — Nikon makes good lenses and they have a long history
- Other Canon FD lenses — Solid and classic Canon lenses
- Carl Zeiss Jena lenses — Exceptional optics and M42 mount
- M39/L39 — High-performing lenses
There is an unbelievable number of lenses and series out there and you can easily fall down a rabbit hole. It is fun and can actually lead you to developing a unique style for your shoots. It can also be an affordable way to get a ton of different lenses.
Do you have a favorite lens that you picked up and adapt to a modern camera?
[source: DSLR Video Shooter]
Order Links:
- Lens Adapters (B&H)
- Metabones Speedbooster (B&H, Amazon)
- Panasonic Lumix GH5 Mirrorless Camera (B&H, Amazon)
Disclaimer: As an Amazon Associate partner and participant in B&H and Adorama Affiliate programmes, we earn a small comission from each purchase made through the affiliate links listed above at no additional cost to you.

