
Fast computers are amazing for video editing – seriously, we talk about them a lot – but real editors will tell you that keyboard shortcuts are the essential time saver.
Mousing around through all the menus and options just won’t cut it when you start needing to turn out jobs on a regular basis and when time wasted will literally start costing you money.
DaVinci Resolve users will probably want to learn a thing or two about which shortcuts are the most helpful, especially if you have never used many of them before. For that, this rundown by S. Friedrich Videographics talks about some of the best shortcuts.
Let’s just get right into it. Note: This is on Windows.
1. Create Bins
Bins should be used to organize all your media. To make a new bin in your media pool just Shift + Control + N. This makes a new bin and you can name it whatever you want.
2. Import Media
Importing is something you have to do every single time. Just hit Control + I and you’ll bring up the import window.
3. In/Out Points & Append to Timeline
Open up a clip in your media pool to bring it to the preview window. What you can do in this view is simply hit I when you want to set an in point and hit O when you want to set the out. After you do that you can tap P and have this clip appended to the end of your timeline.
4. Sync Audio on Waveform
Select all the clips you want to align based on waveform and then hit Control + Alt + W and it’ll start up the synchronization process. This was set to be this shortcut manually.
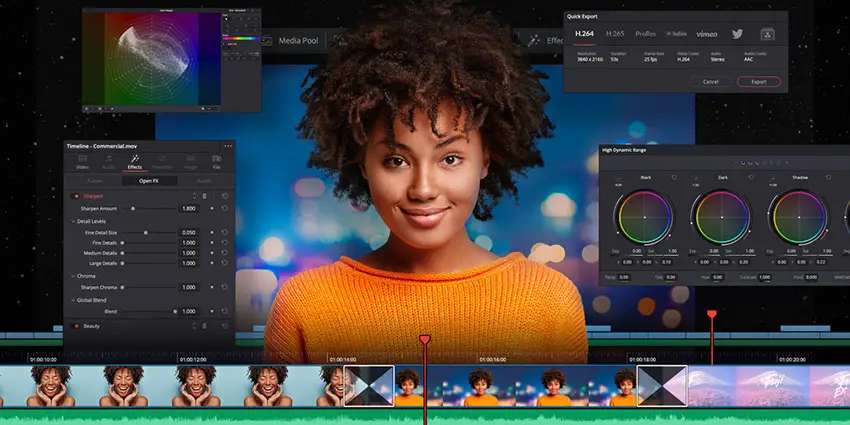
Image Credit: Blackmagic Design
5. Split Clip & Start/End to Play
When working on the timeline when you are on a clip you can hit W to create a cut at the playhead. What you can do now is hit Q to delete anything from the previous cut to the playhead. If you want to go from the other side, which is delete anything from the next clip back to the playhead position you hit E.
6. Navigating Between Pages
You may want to speed up switching between the different Resolve tabs. Shift + a number will do it.
- Shift + 1: Project Manager
- Shift + 2: Media
- Shift + 3: Cut
- Shift + 4: Edit
- Shift + 5: Fusion
- Shift + 6: Color
- Shift + 7: Fairlight Audio
- Shift + 8: Delivery
- Shift + 9: Project Settings
7. Retime Controls & Curve
Speed ramping is a common tool today and it can be a bit of a hassle. With a clip on the timeline selected you can hit Control + R to open up the retime controls. Alt + R will then open up the retime curve. The retime curve is a custom shortcut.
8. Navigating the Timeline
Some of these you likely know already. If you use the left and right arrows you can move forwards and backwards a frame at a time. The down arrow will head to the end of a clip and the up arrow will bring you to the beginning. If you add a Shift to the right/left arrows you will just forward/backward one second.
9. Zoom In/Out
If you need to zoom in on your timeline to get a little more precision all you have to do is hit Control + “+” or “-“ to zoom in or out quickly.
10. Play, Pause, Play Reverse
Spacebar is the common play/pause function. If you want some more control you should use L. Tapping L multiple times will speed up the playback which can help you speed through longer projects or clips. K is another pause option. Or, you can hit J to play back in reverse and multiple taps will change the speed.
11. Paste Attributes
If you are working with a ton of similar clips you might want to apply the same exact effects to them all. Edit one and you can copy and paste the attributes over to others. Select your source clip and hit Control + C and then select the destination clips. Using Alt + V will bring up the past attributes window. Here you can select any or all of the settings you want to copy over.
This will work with things like color effects and can even be done with audio.
12. Markers
Using the M key you can quickly add some markers. These can be used however you need to better save points on your timeline.
That is a ton of keyboard shortcuts and I hope you start using them. Anything missing here that you think is essential?
[source: S. Friedrich Videographics]
Disclaimer: As an Amazon Associate partner and participant in B&H and Adorama Affiliate programmes, we earn a small comission from each purchase made through the affiliate links listed above at no additional cost to you.

